Box Making
I make boxes (and more) by reusing cardboard from other boxes. Actually it’s a bit of a love affair. For some reason I love making things from cardboard. Perhaps its reuse and recycling or perhaps cardboard is simply a damn good material. It’s called corrugated fiberboard by the way. 🙂
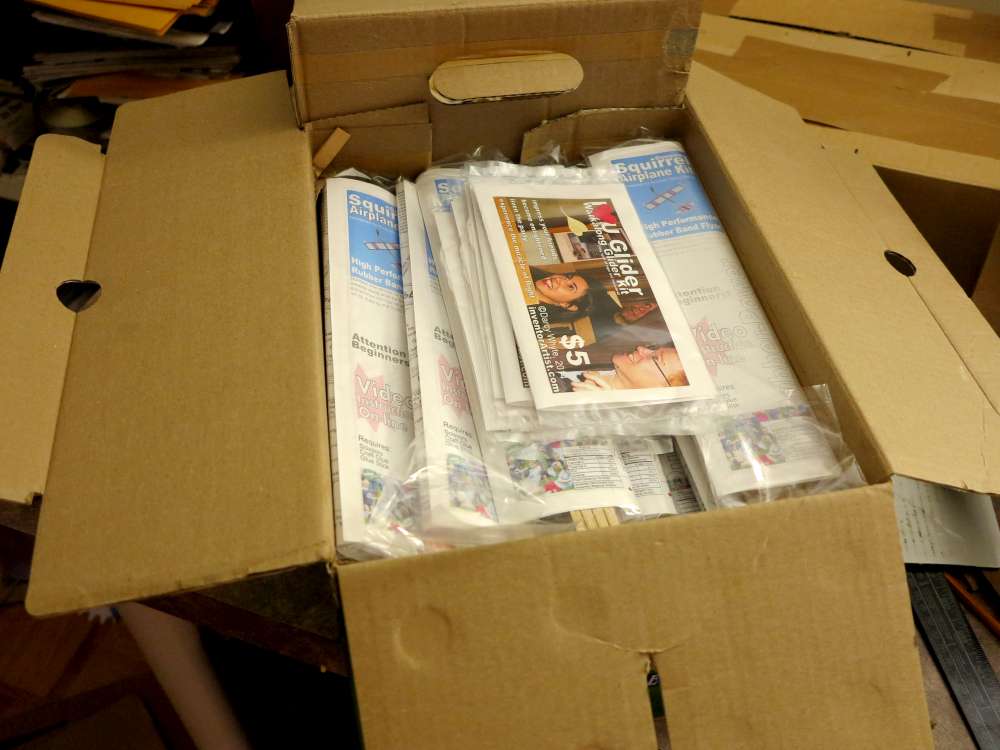
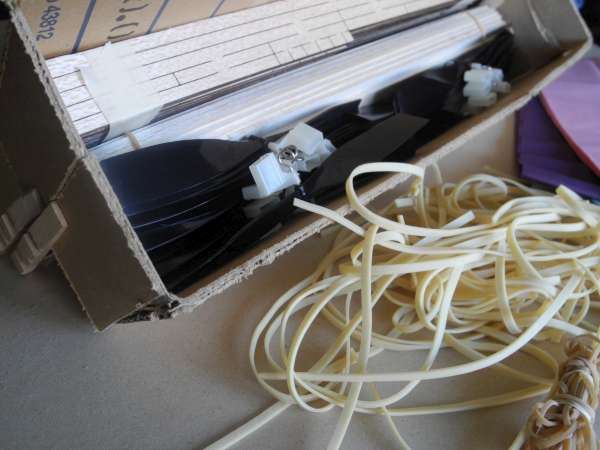
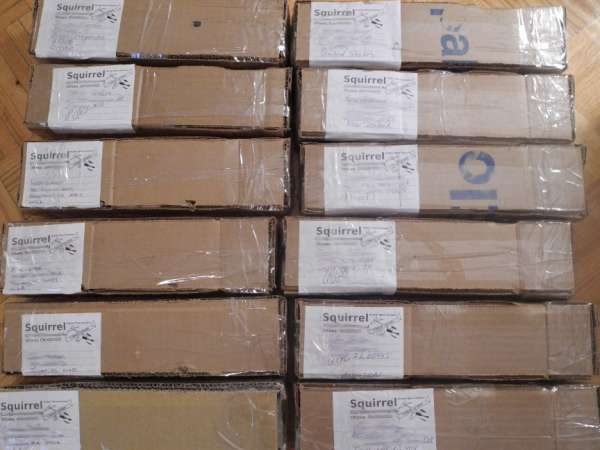
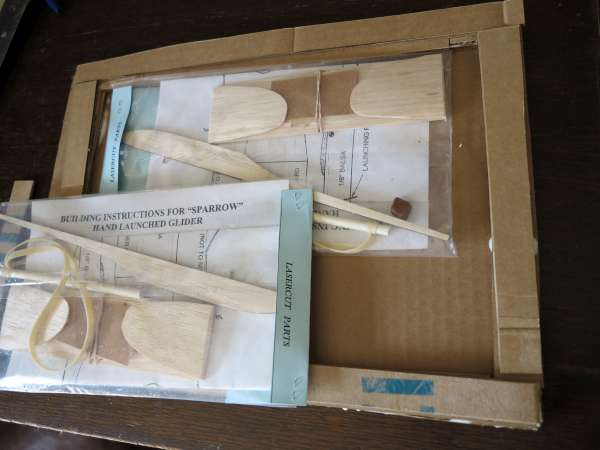
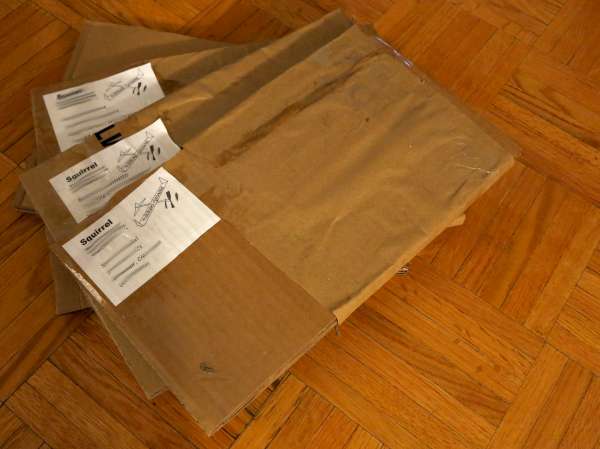
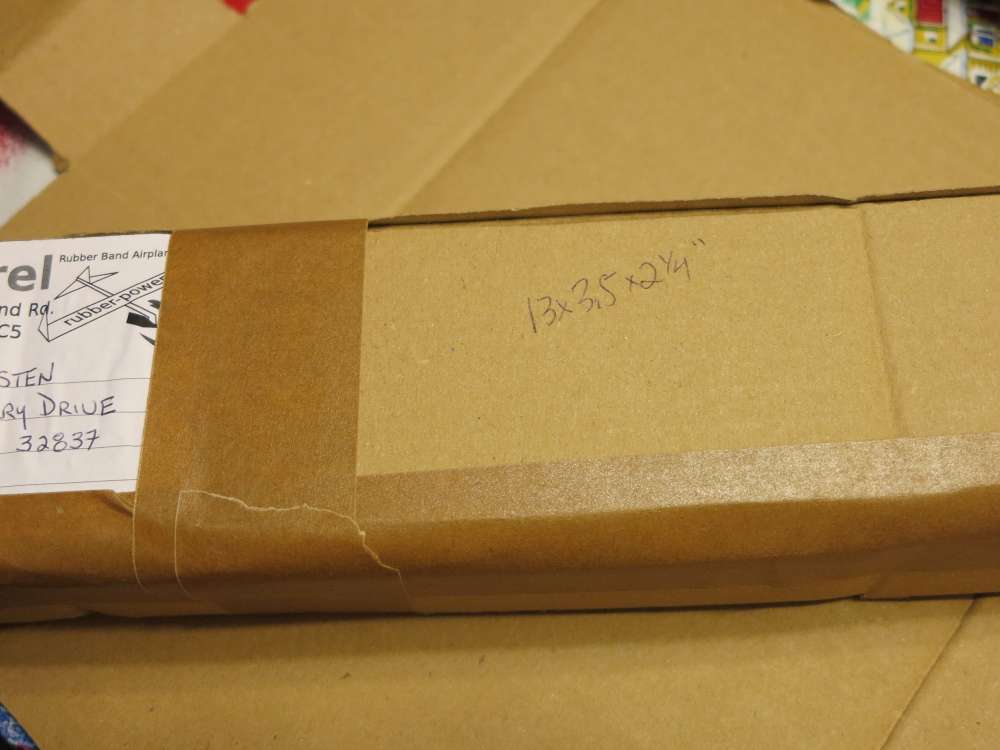
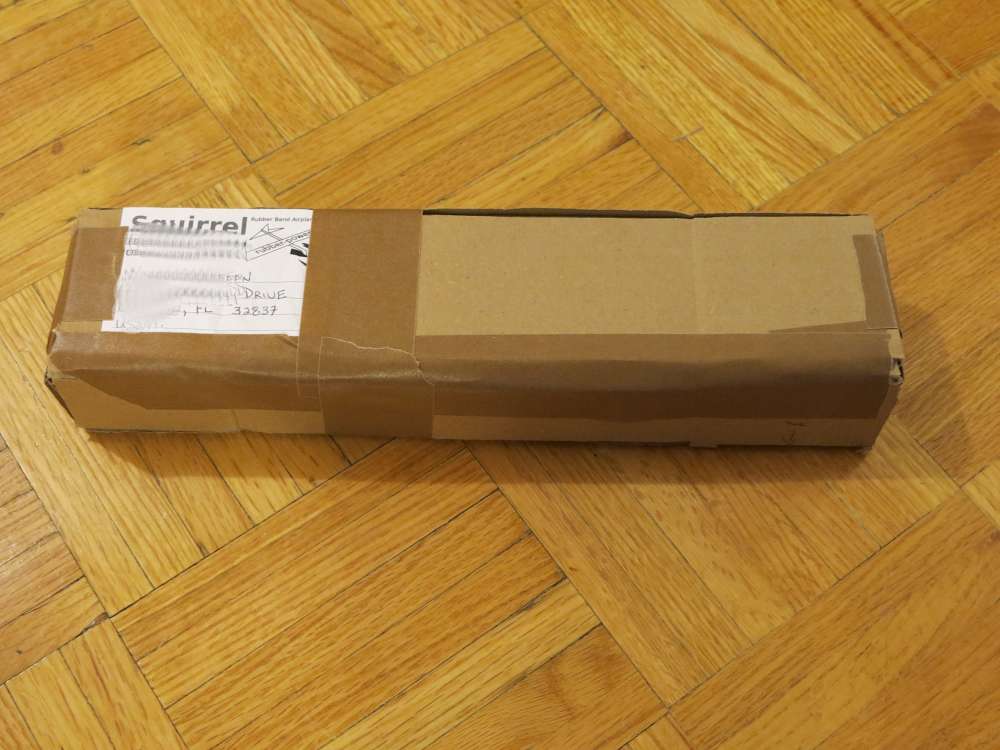
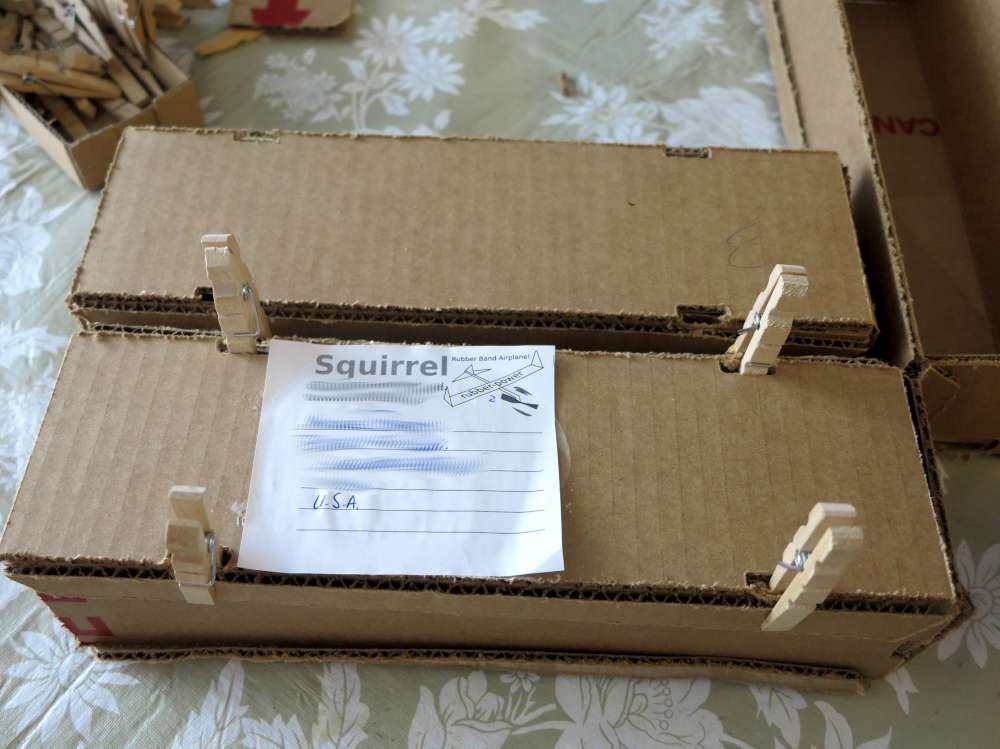
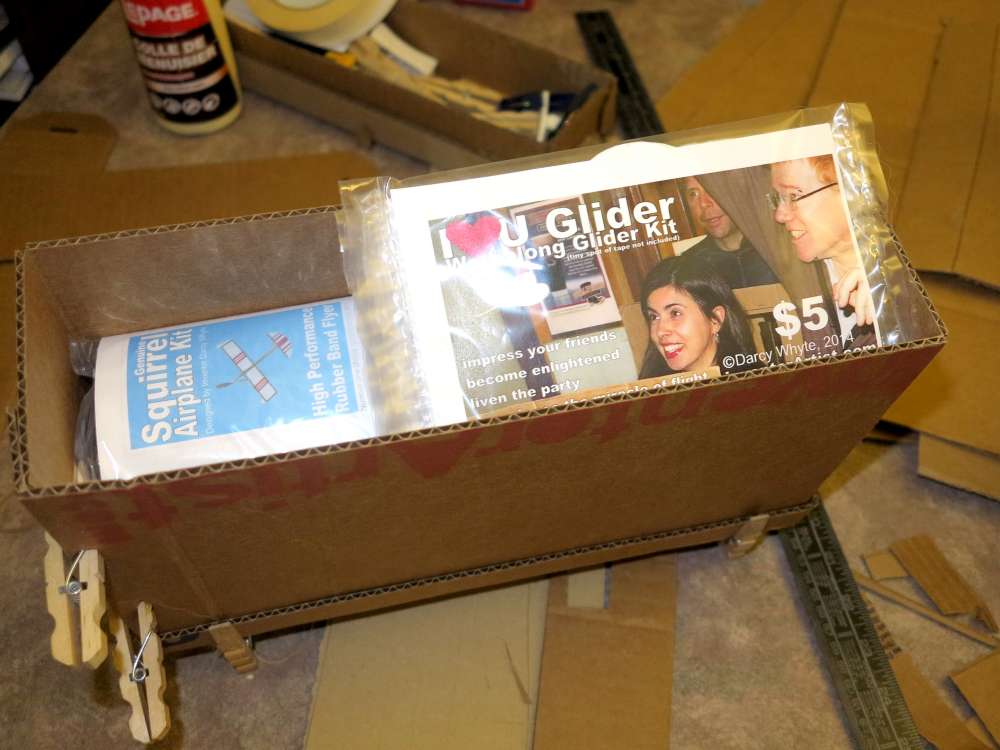
It all started when I needed some small shipping boxes for the Squirrel rubber band plane project. This can get expensive and complicated so I decided to make my own. It brought me great happiness.
I have gone from hand making boxes to using CNC equipment to cut the box (laser and rotary cutter). Here’s my old “box-o-matic” in action cutting some cardboard. I’ve since upgraded to a faster machine but you can get the idea.
Here are just a few designs to wet your appetite. Also there is a version 2 of the machine above I will post video the next time I use it. I will also detail the software as requested in the comments.
Feel free to subscribe to my newsletter for updates on this and other projects.
Long live reuse. And Cardboard. 🙂
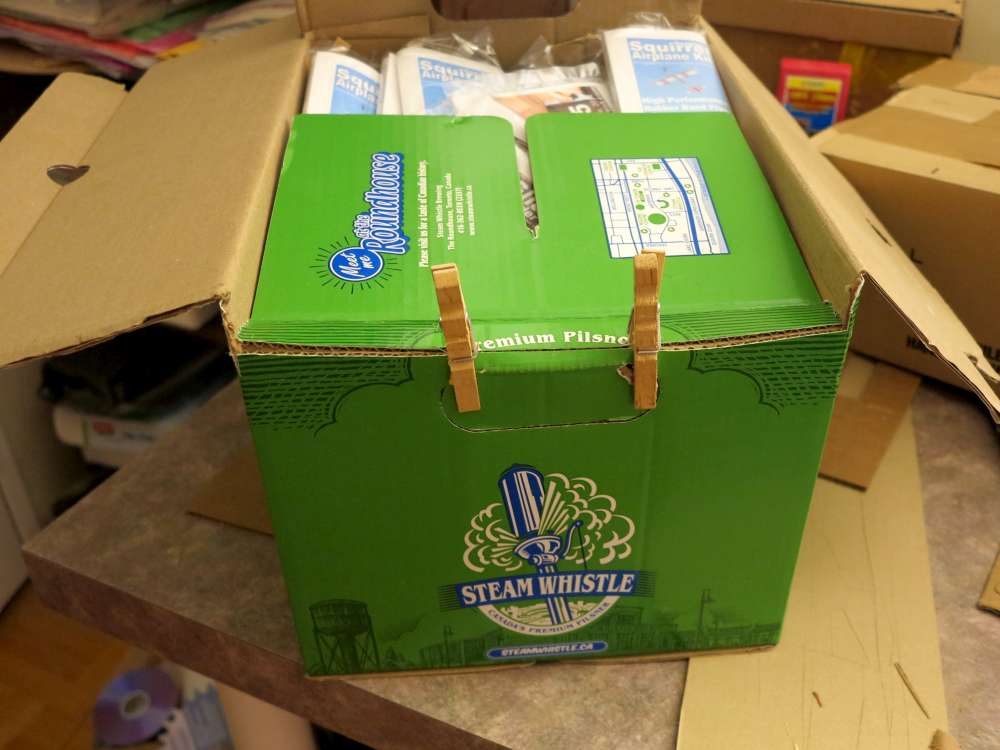
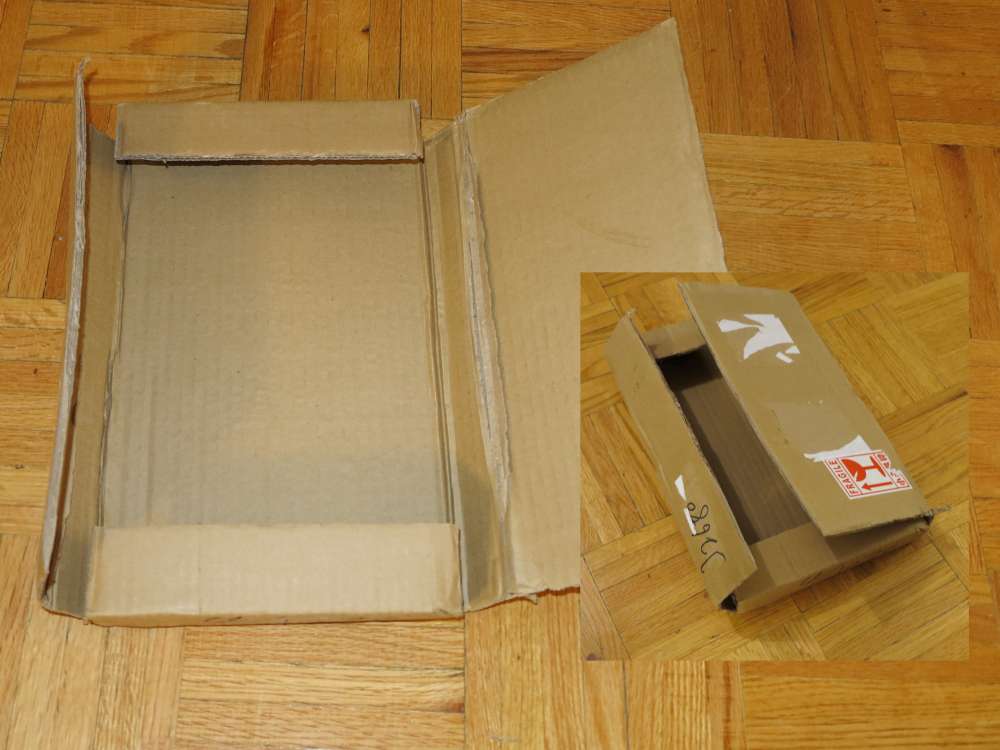
Found Box
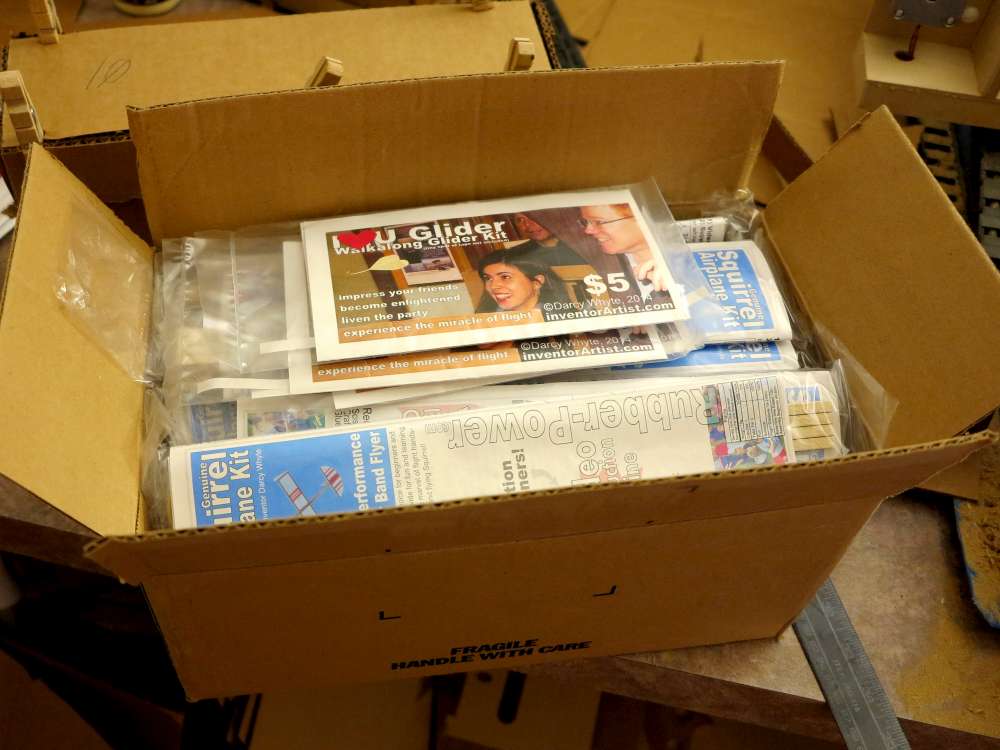
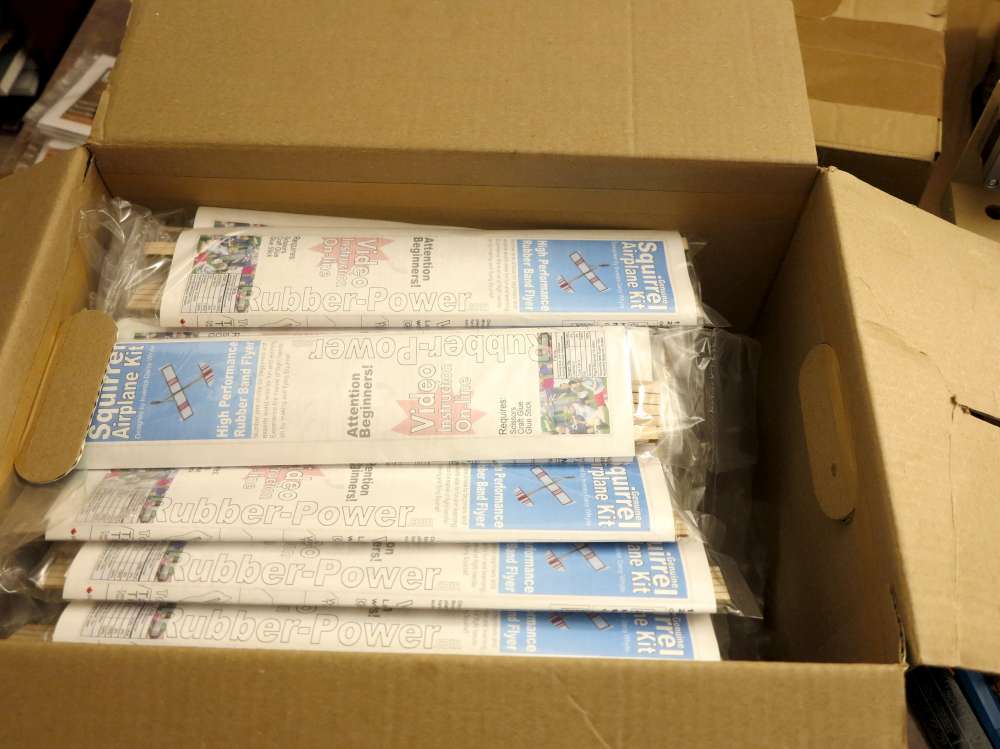
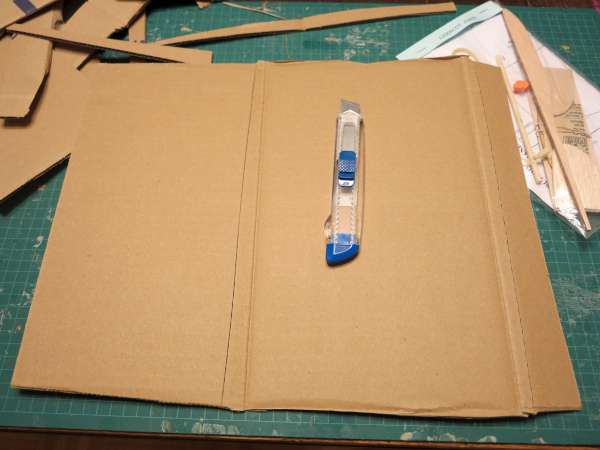
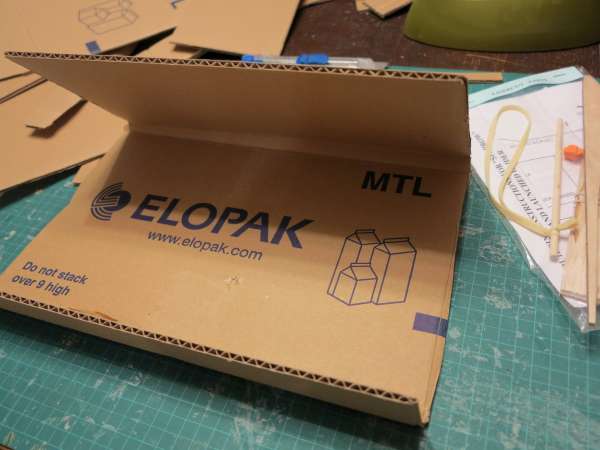
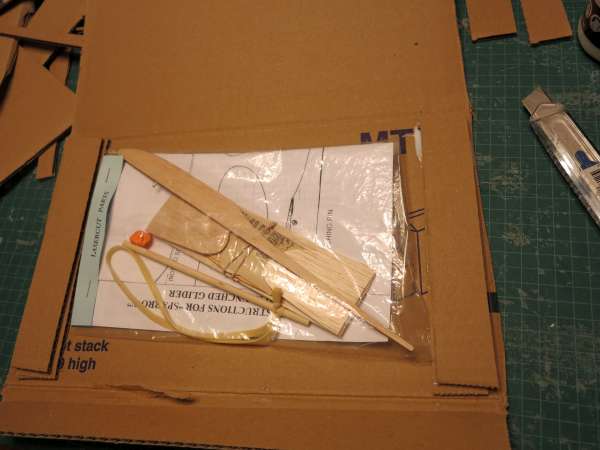
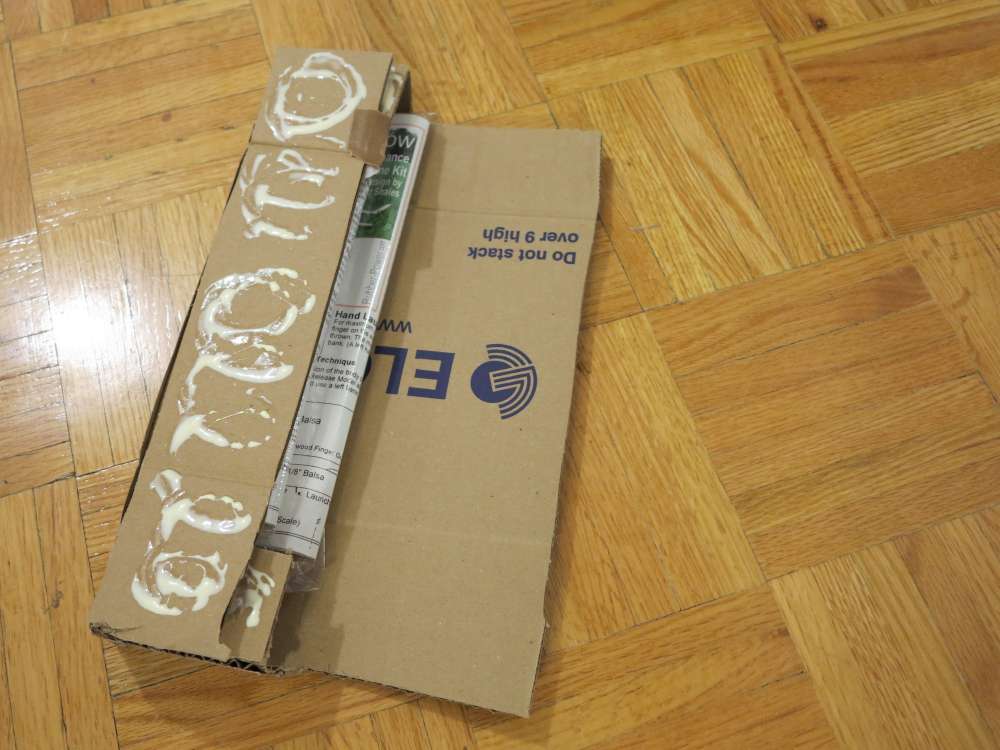
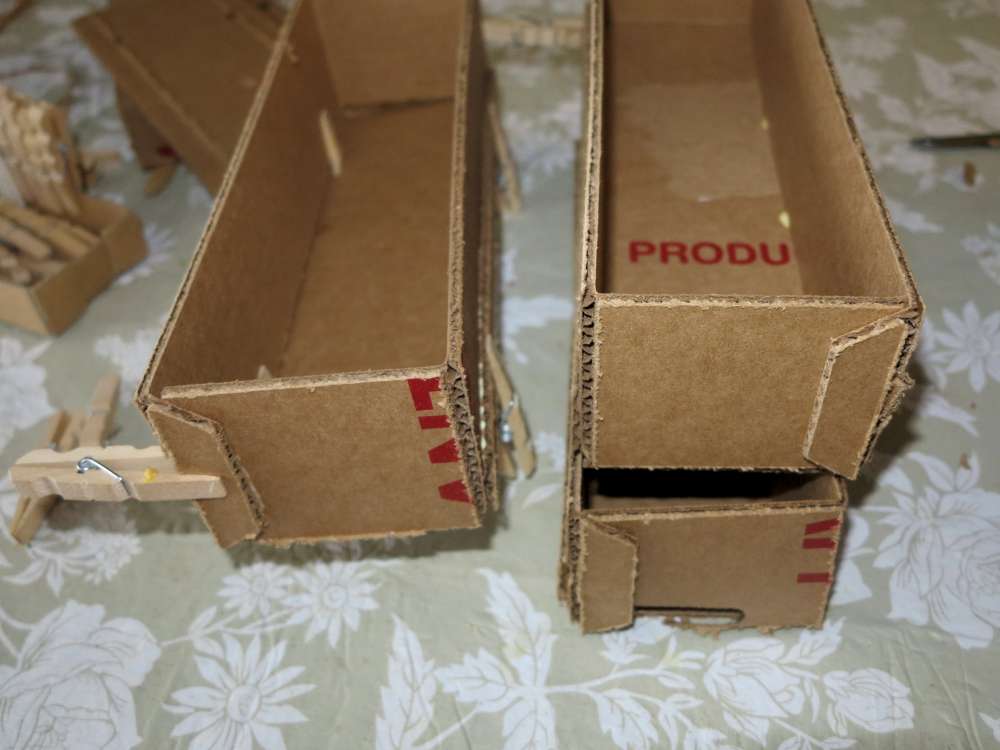
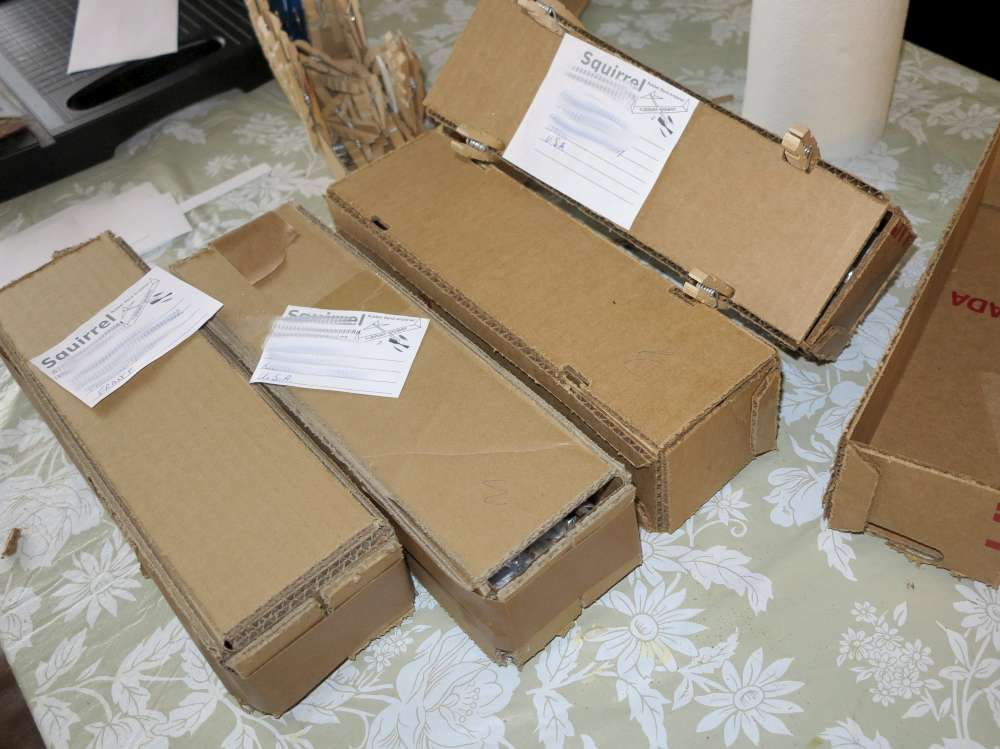
Okay, before I get all hot and heavy into box designs I wanted to bring forward the ideal situation of finding the right box. Below I’m shipping some rubber-power planes and gliders. Wohoo, what a thrill, I have the perfect box.
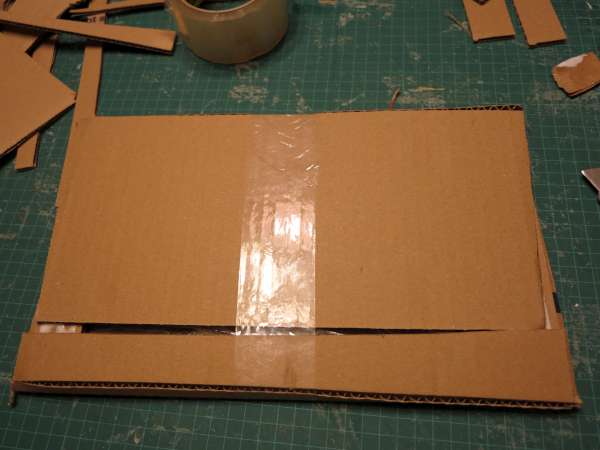
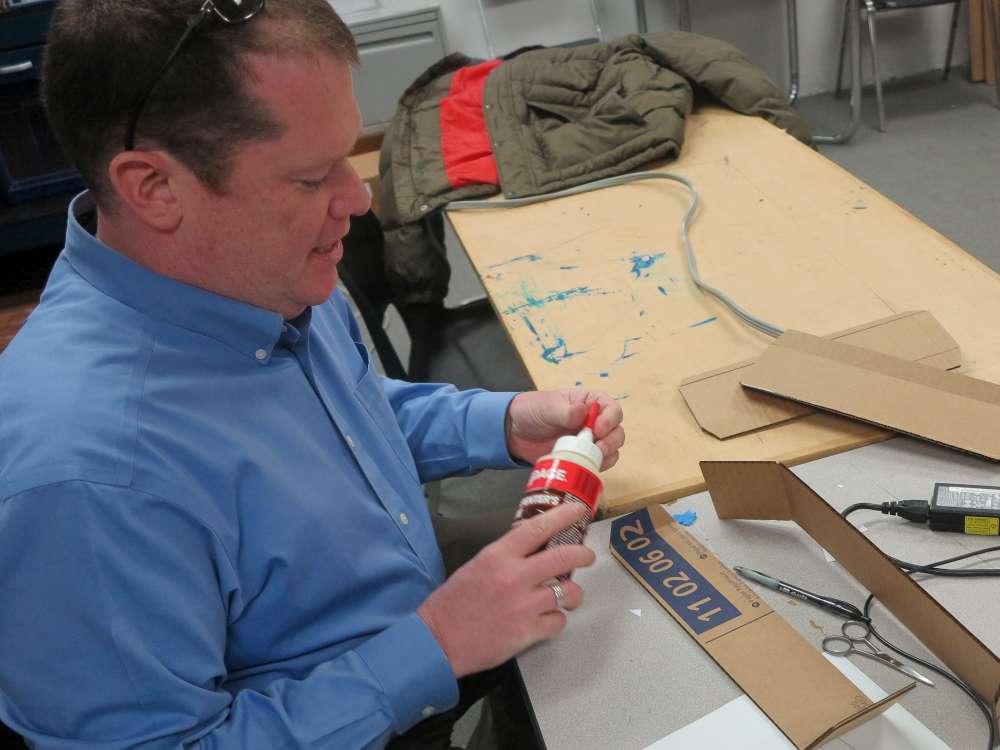
Most boxes are taped shut. This is okay for shipping a product on a pallet (where most small boxes come from). But when it comes to mailing. This isn’t a good system. The trick is to not only glue the top but to open the bottom and glue it too.
This seems like nothing but it increases the rigidity of the box very significantly since the pieces can’t slide around.
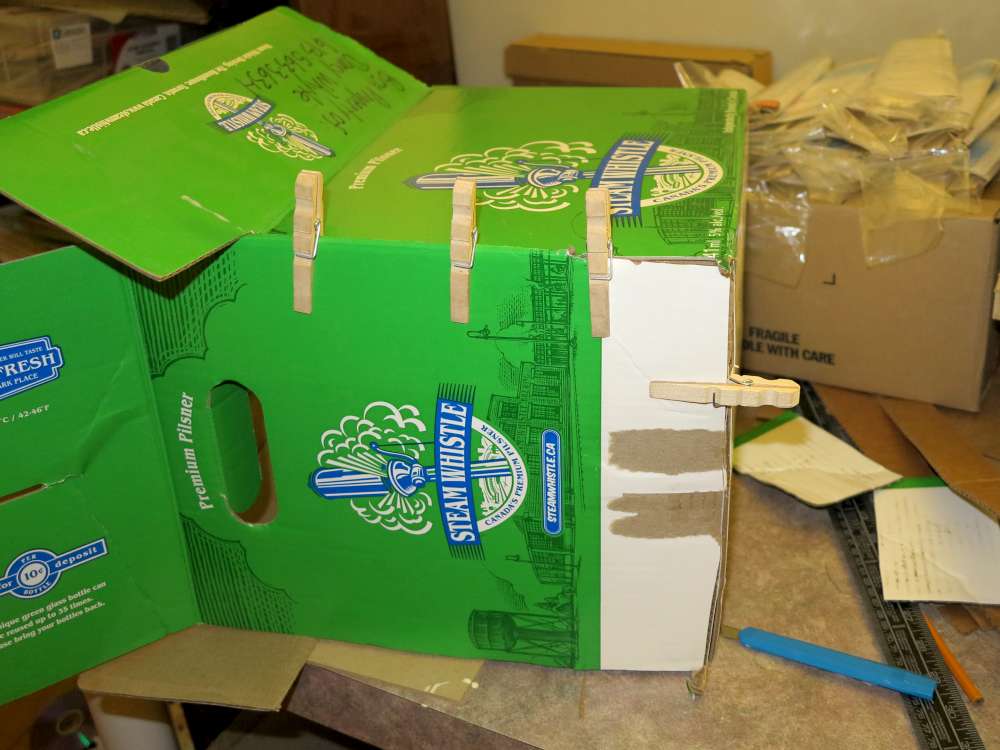
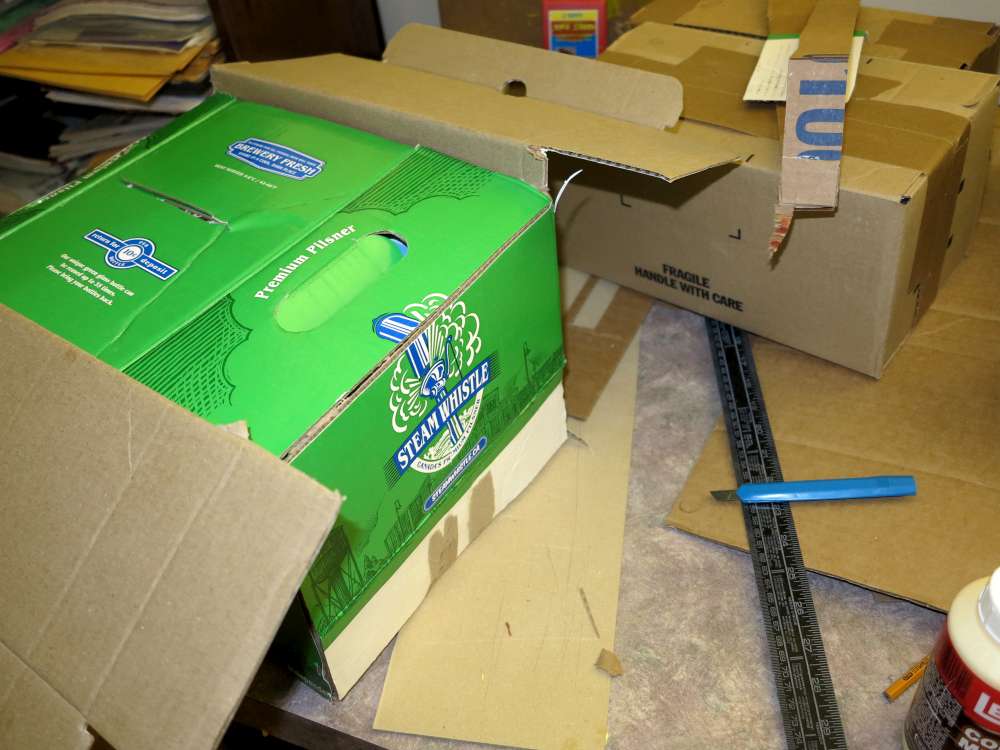
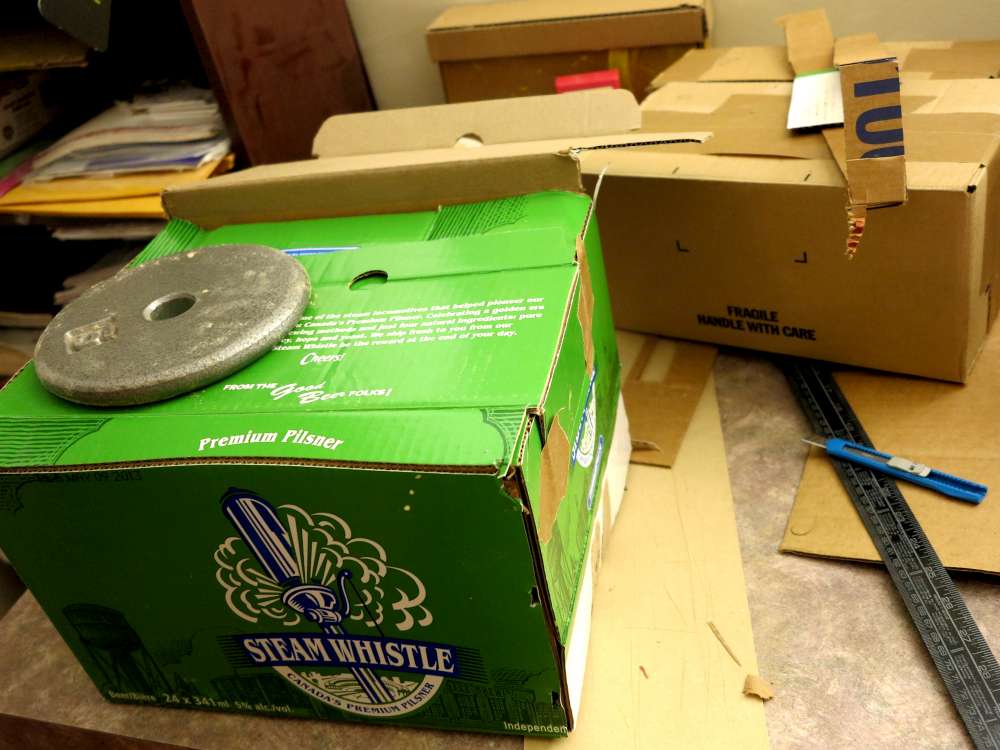
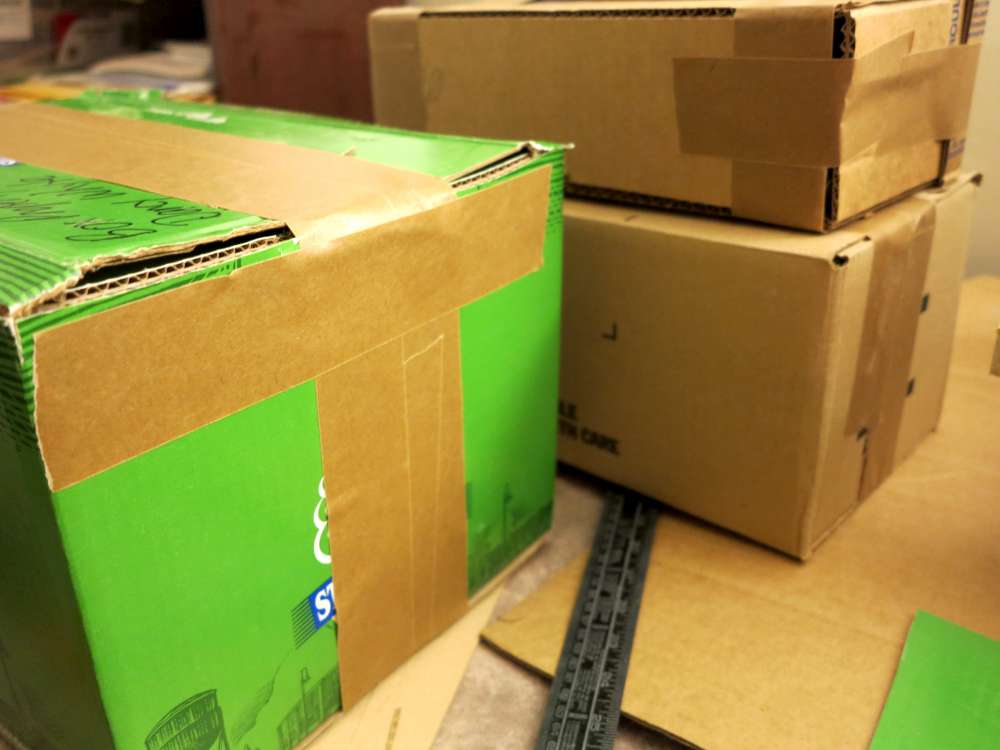
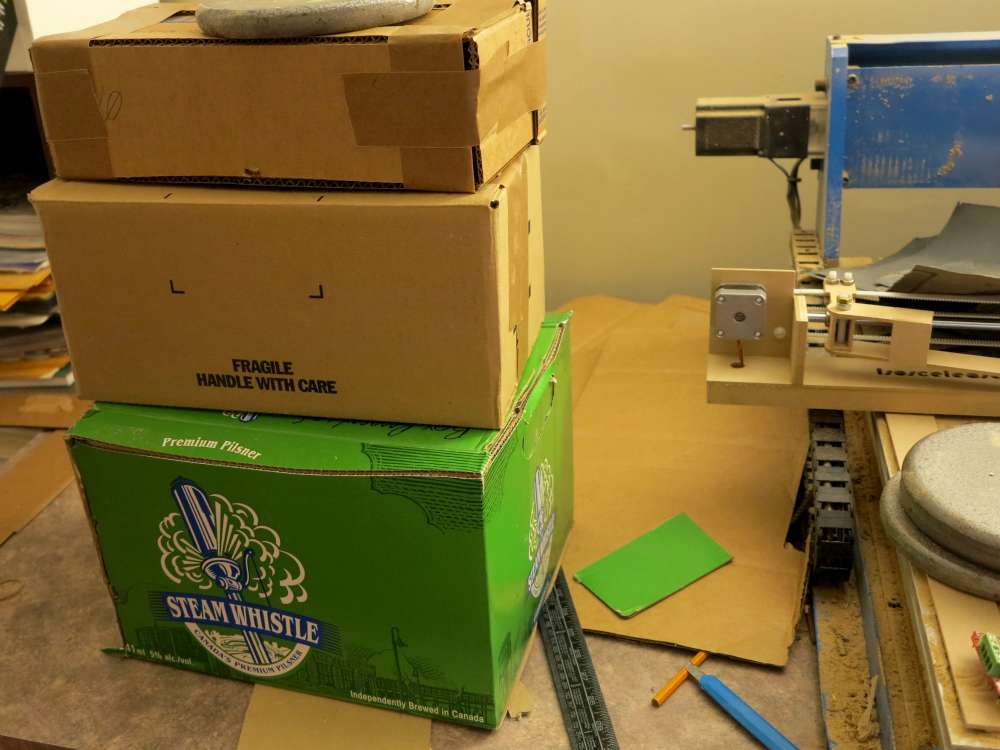
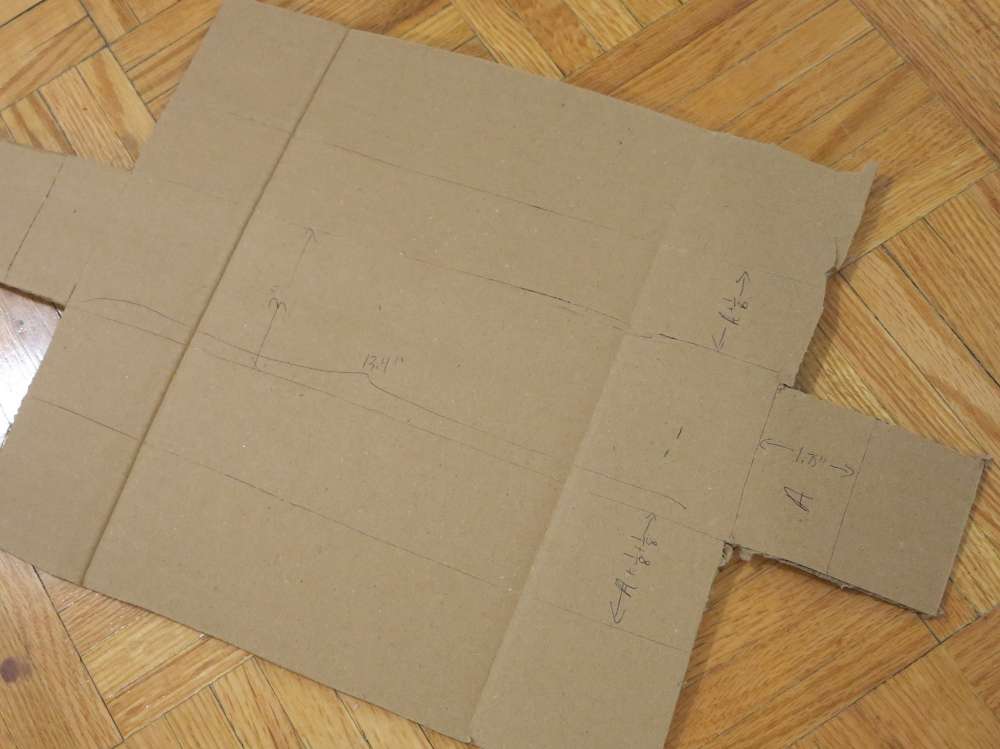
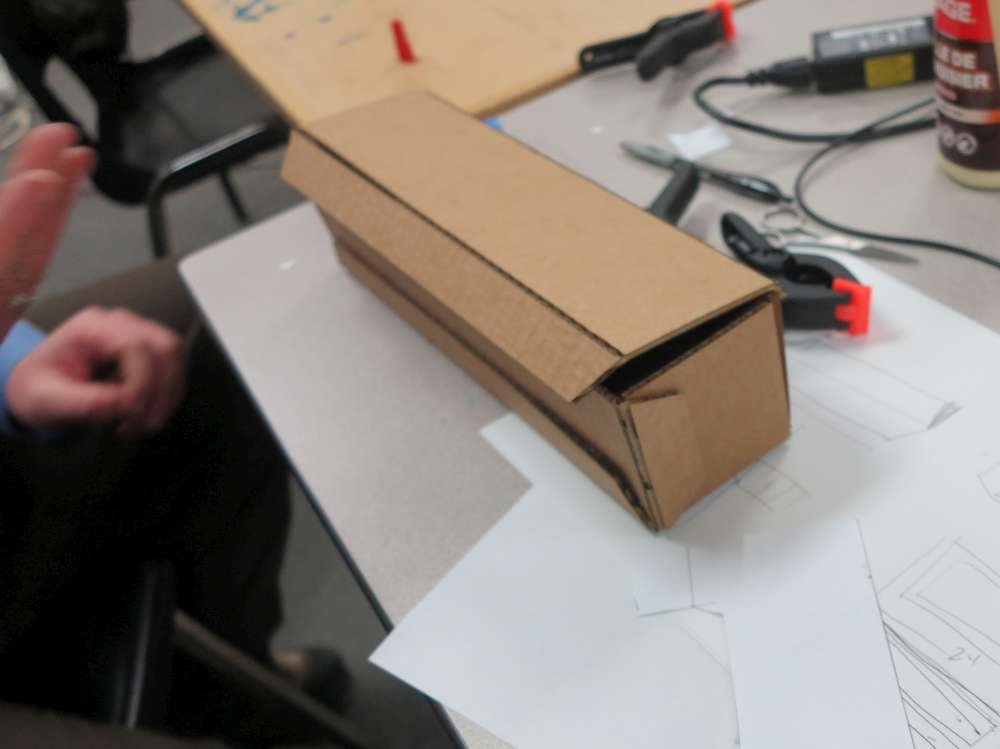
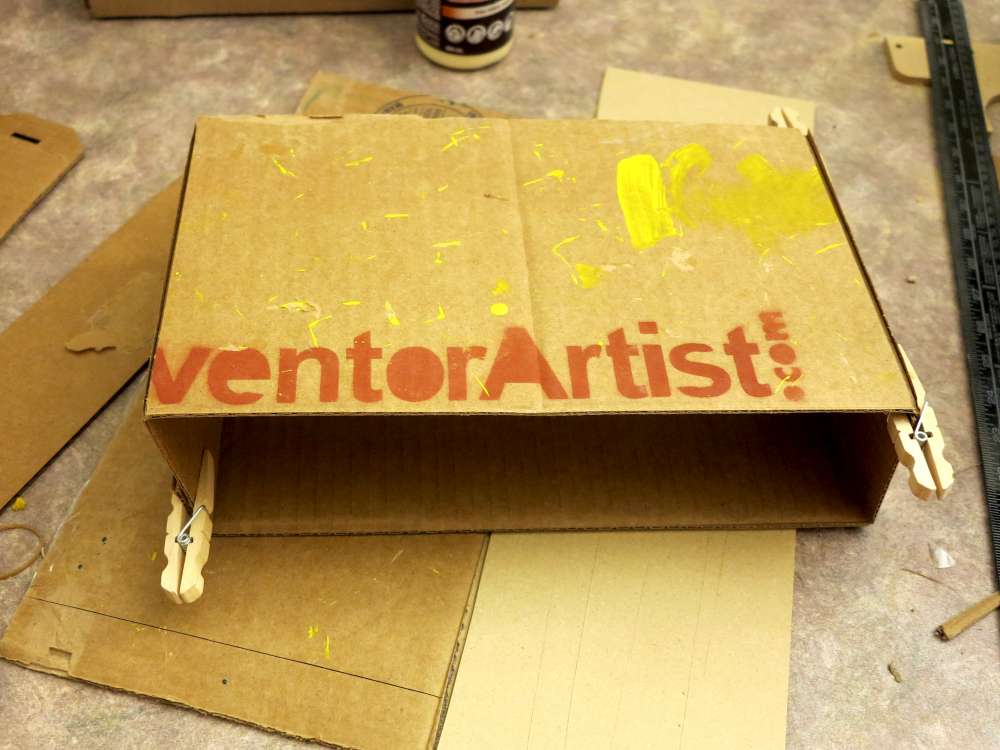
The Aproxo-Box
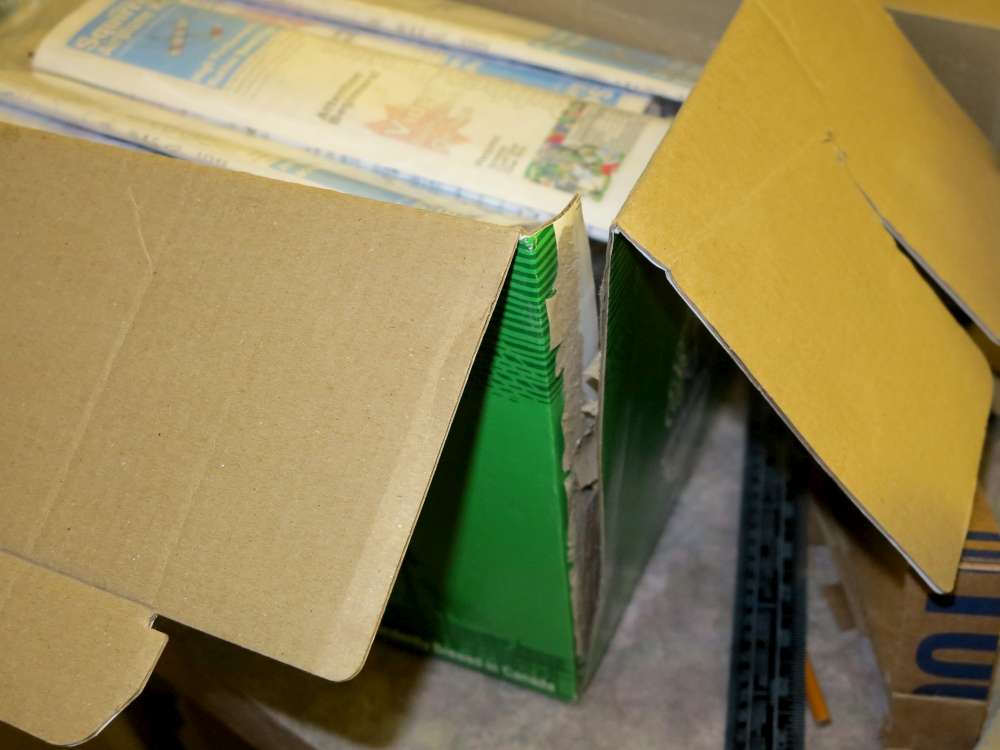
Another thing that happens often is to have a box that close. If it’s a bit to big it can be adjusted.
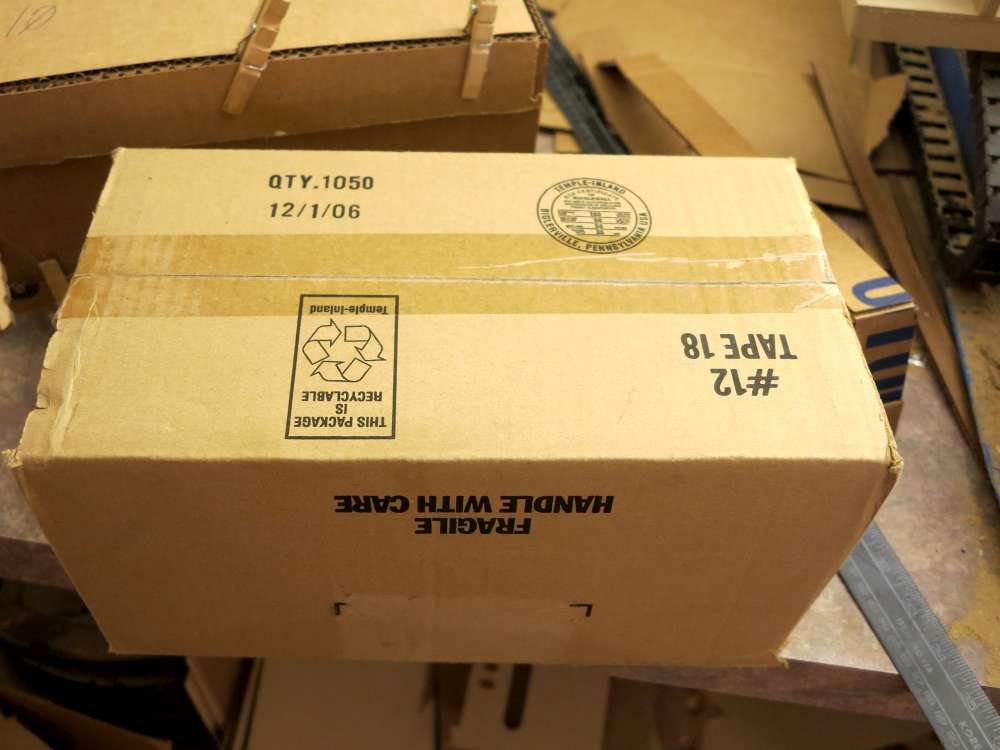
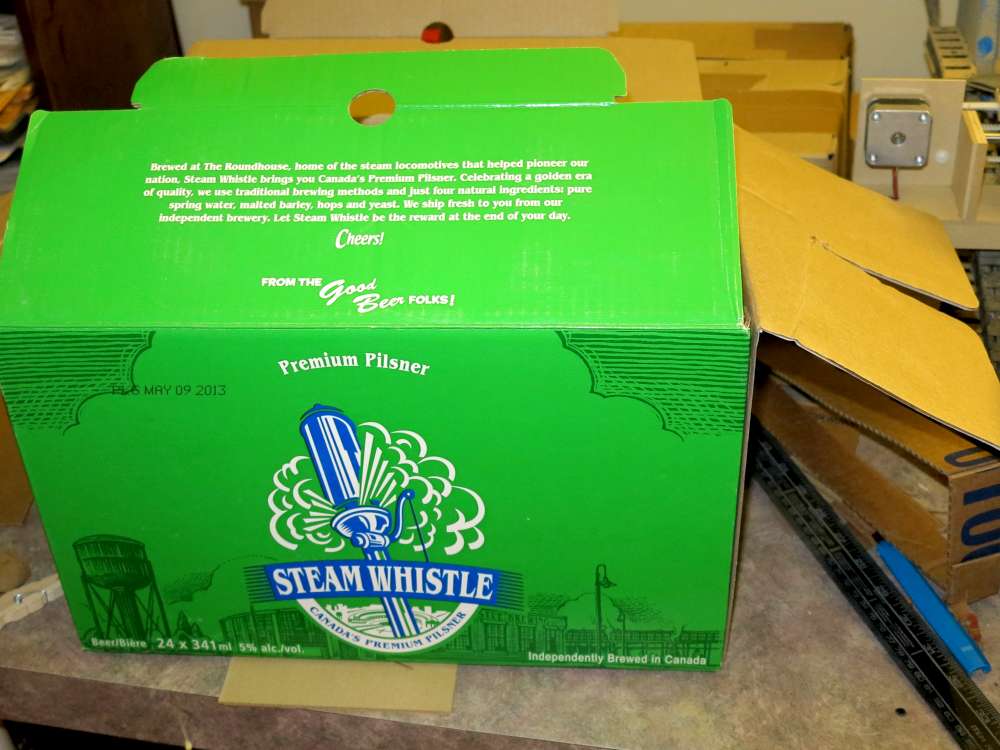
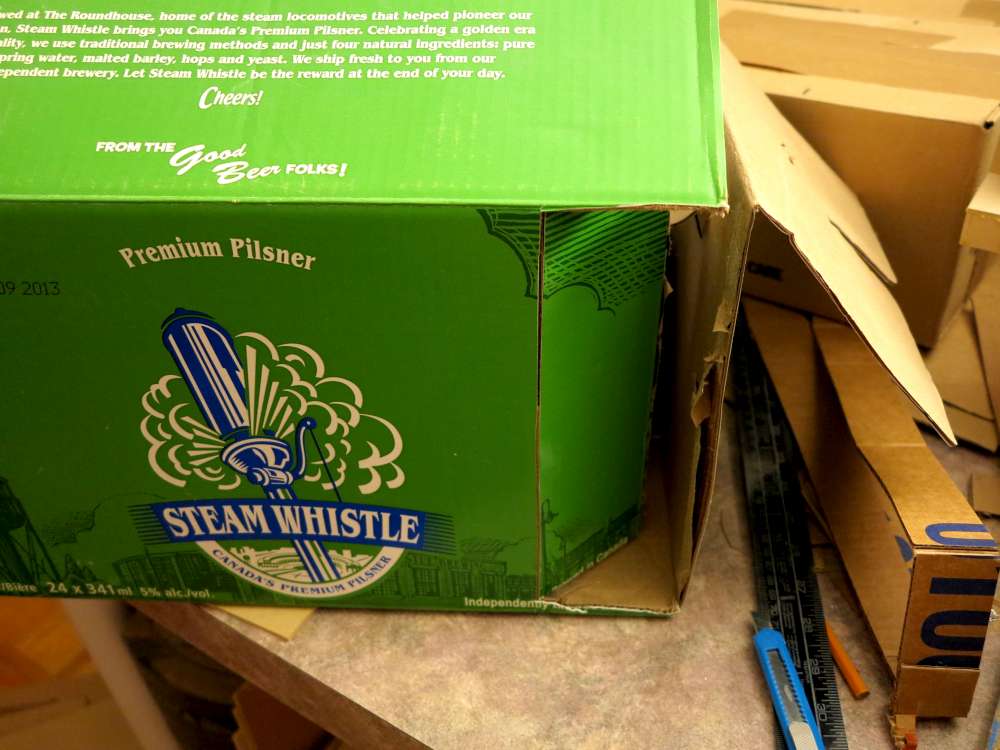
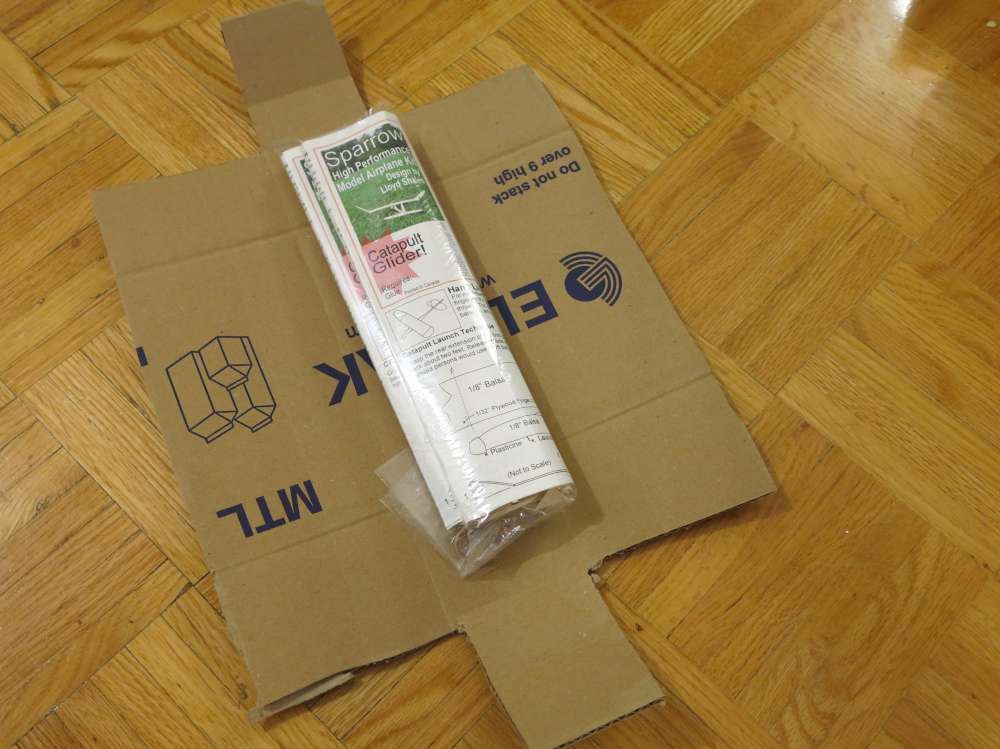
This looks daunting but if you approach it systematically it can be easy. Here’s a beer case that’s being adjusted to ship stuff.
It has two problems. It’s too long and it’s too tall. It seems like a good idea to just use it but when you’re shipping something light you are paying for volume.
I add the payload to assess where the excess is. Break the adjustments into stages. This is all about glue. I make cuts to fold in the sides to shorten the box. Then cuts to fold the bottom to match the sides.
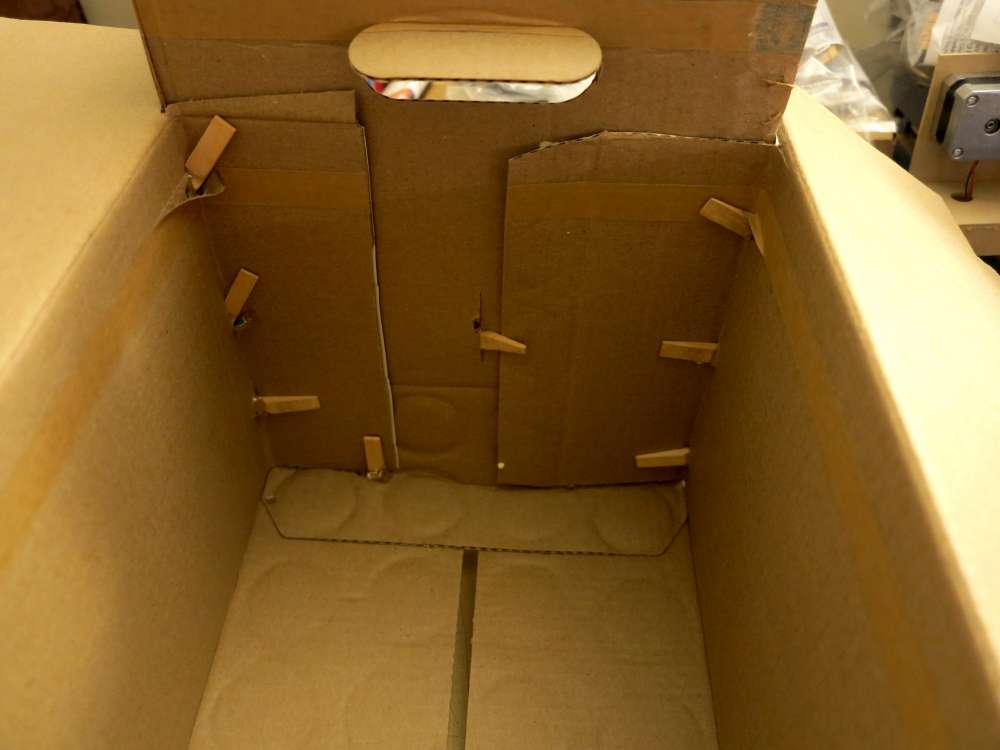
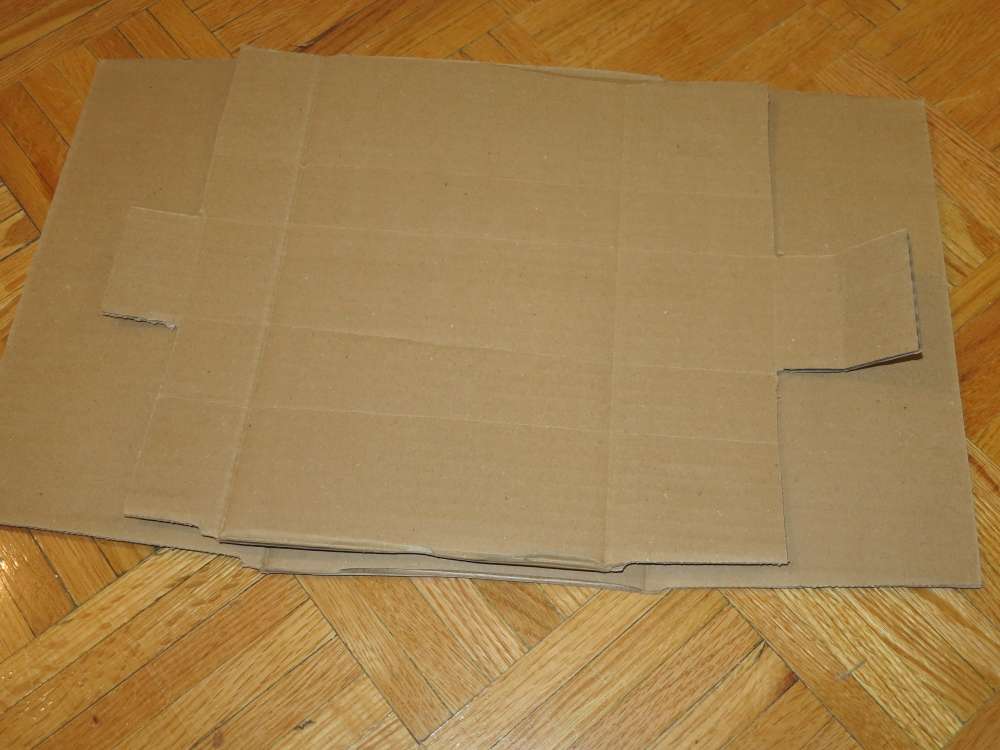
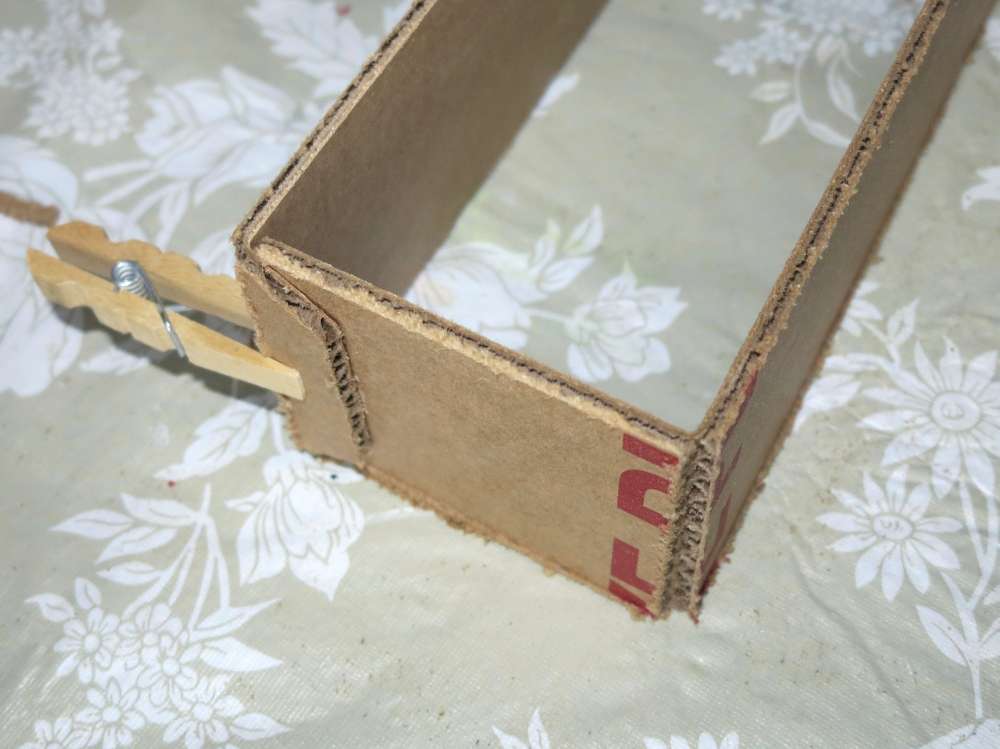
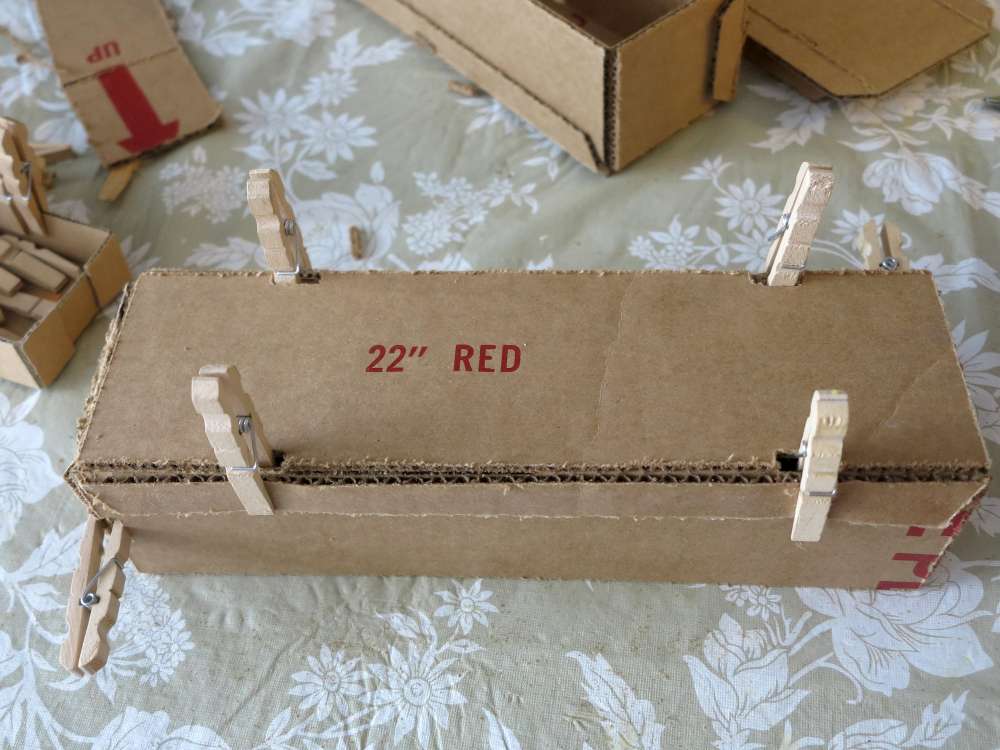
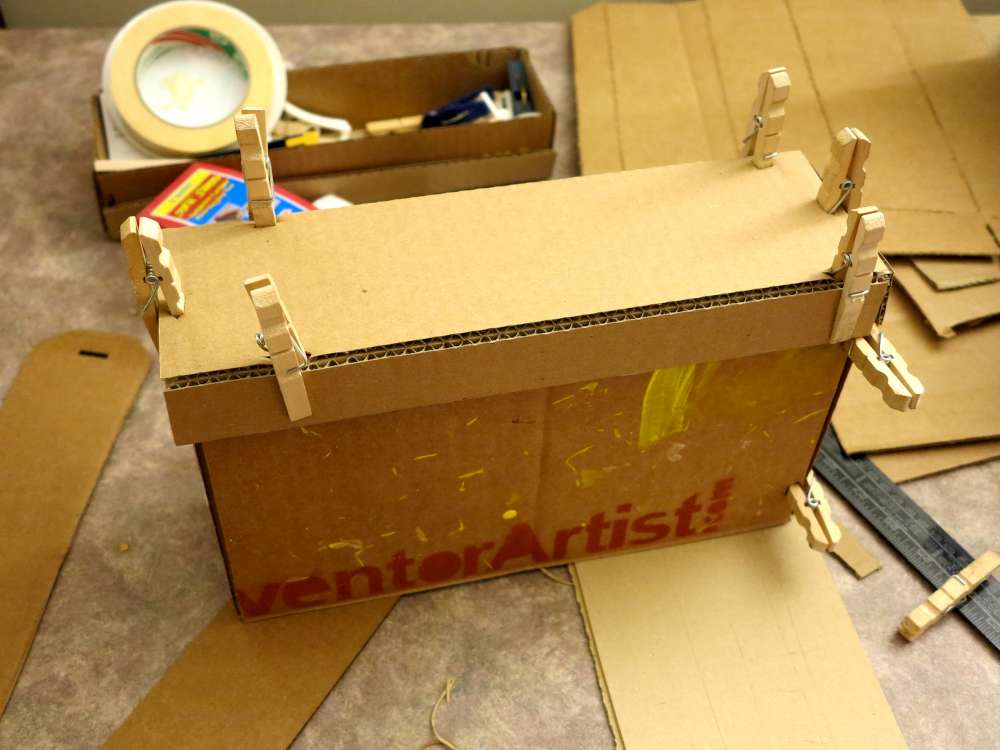
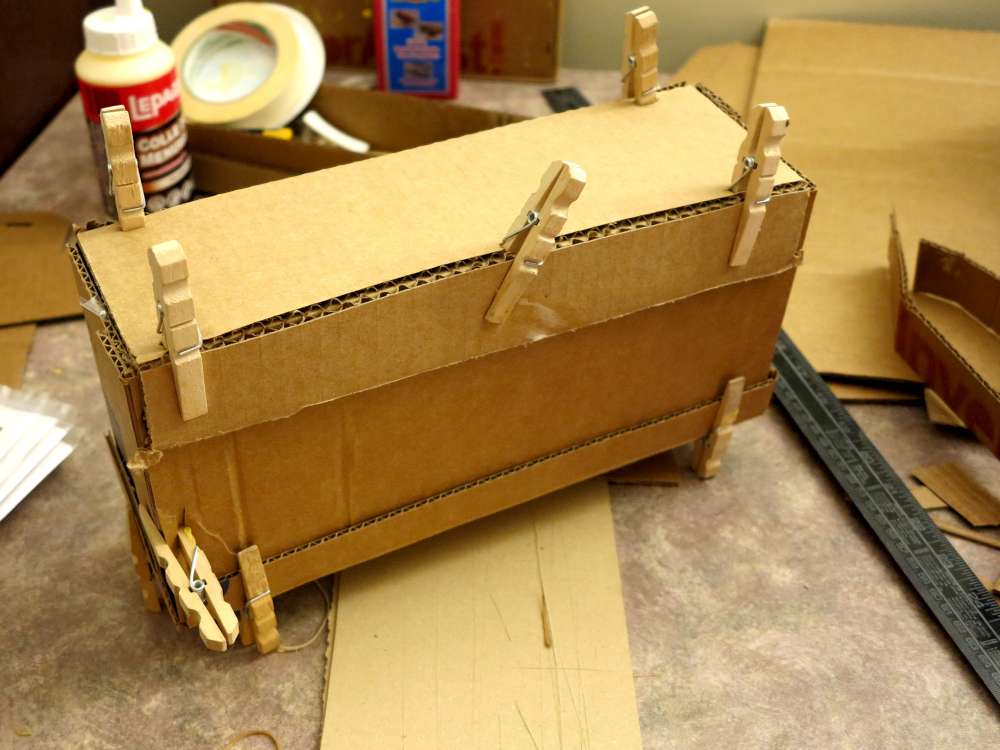
Clothes pins can be turned inside-out. They will become your friend. You can stab through the box with a knife to insert a clamp. Have a look at the pictures to see what I mean.
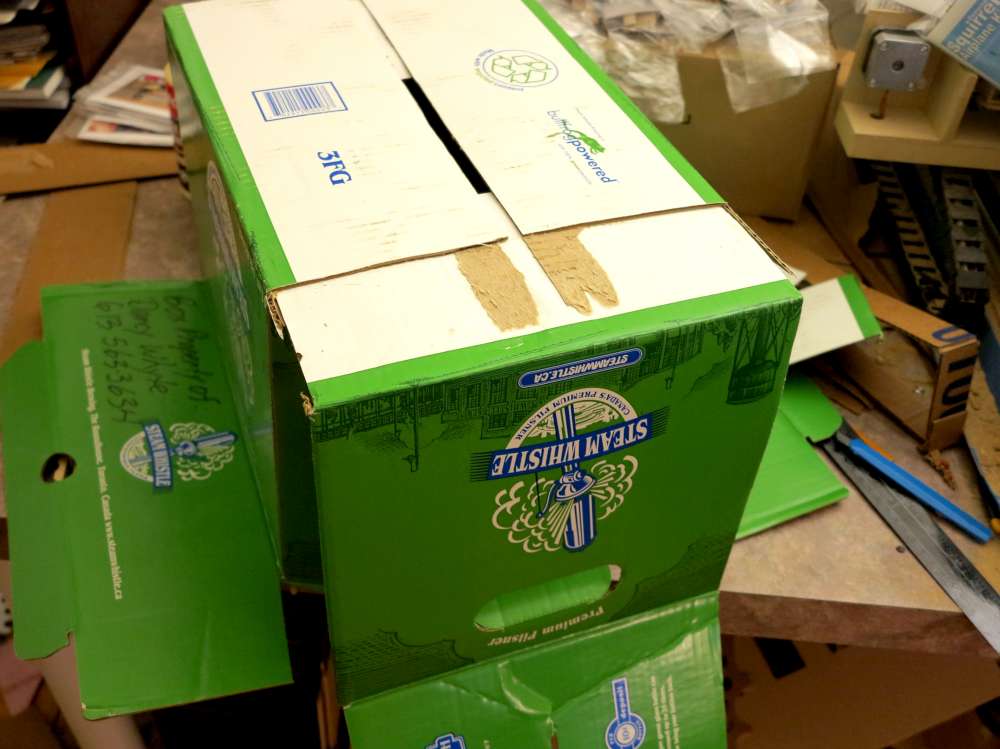
After you shorten the sides and fold up from the bottom, you’re ready to worry about the height. Make cuts and fold everything down. Ends, then sides. Use a weight to hold the top down.
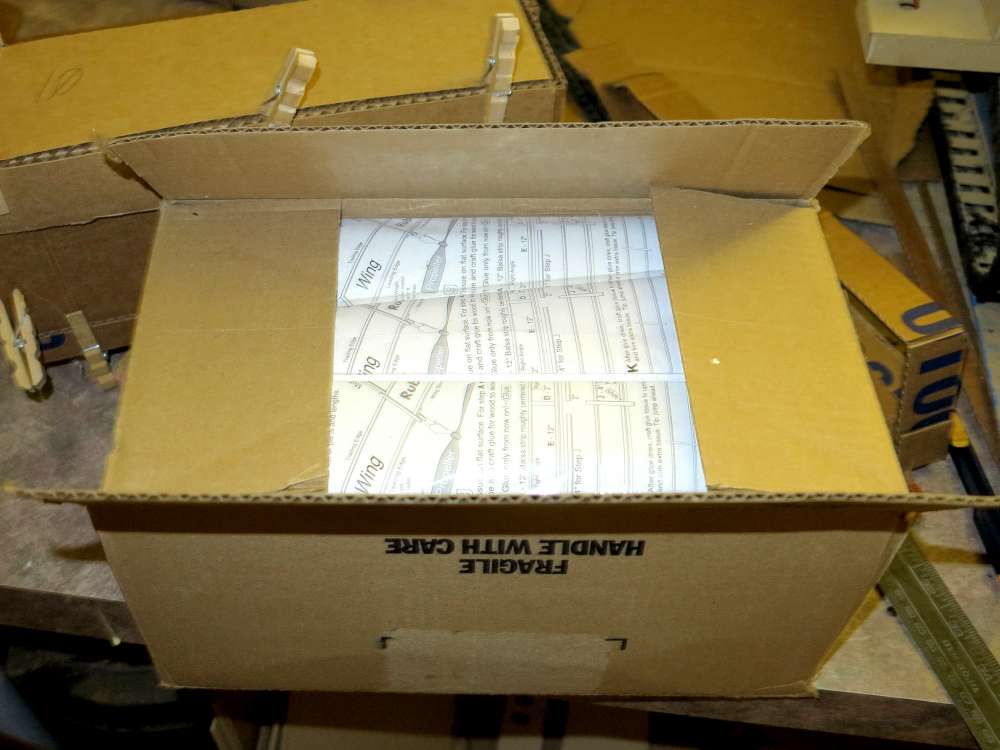
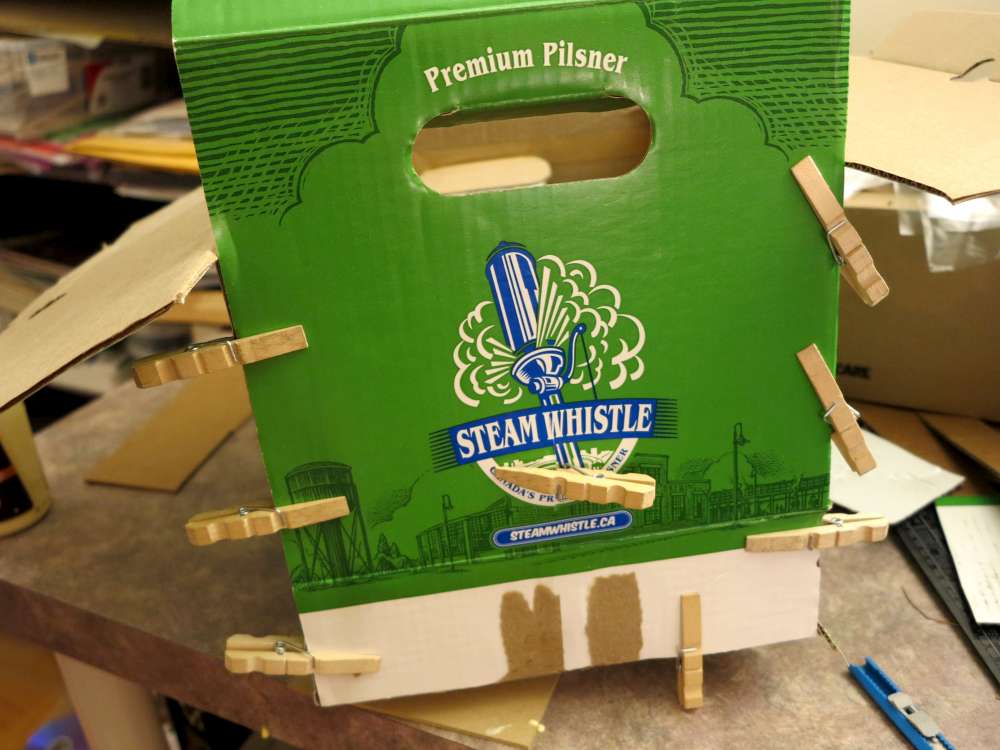
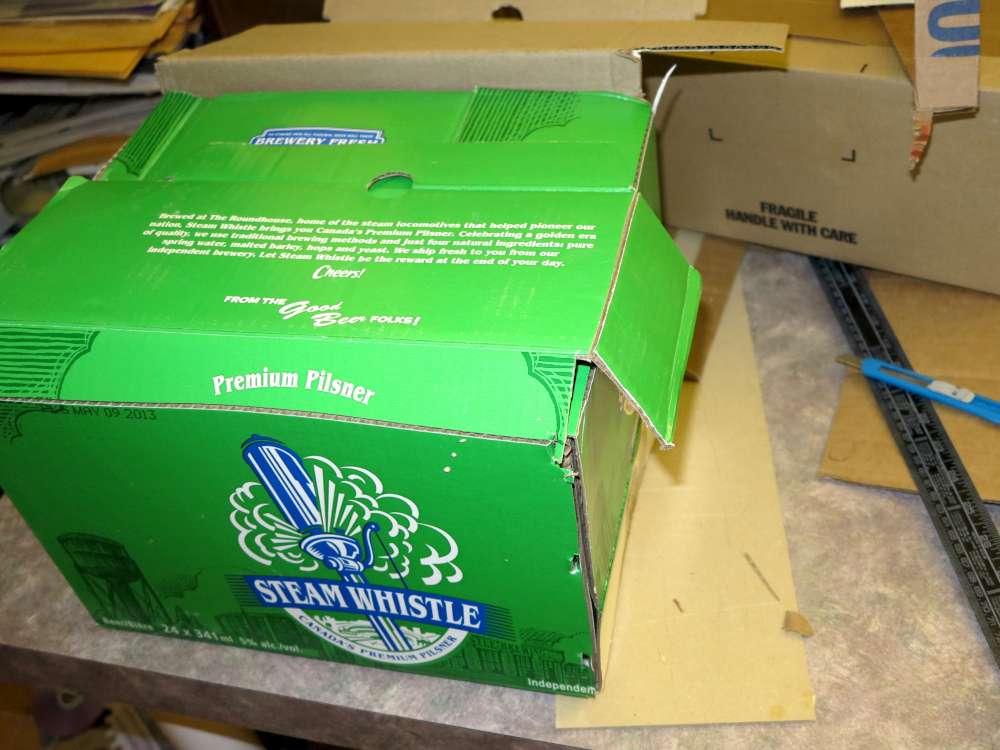
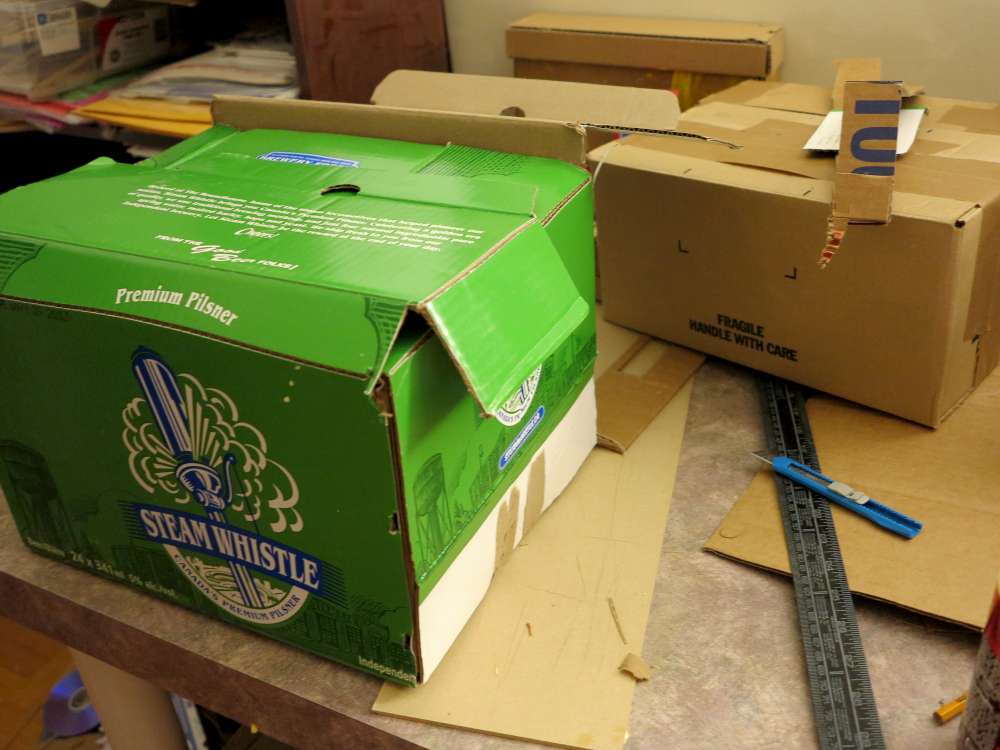
In this case it’s a beer box. They already know about robustness and the bottom is already glued.
Add some cardboard to blue any handles closed. Cover that with tape or something to make sure a handler doesn’t try and reopen the handles.
Inverted Clothes Pins
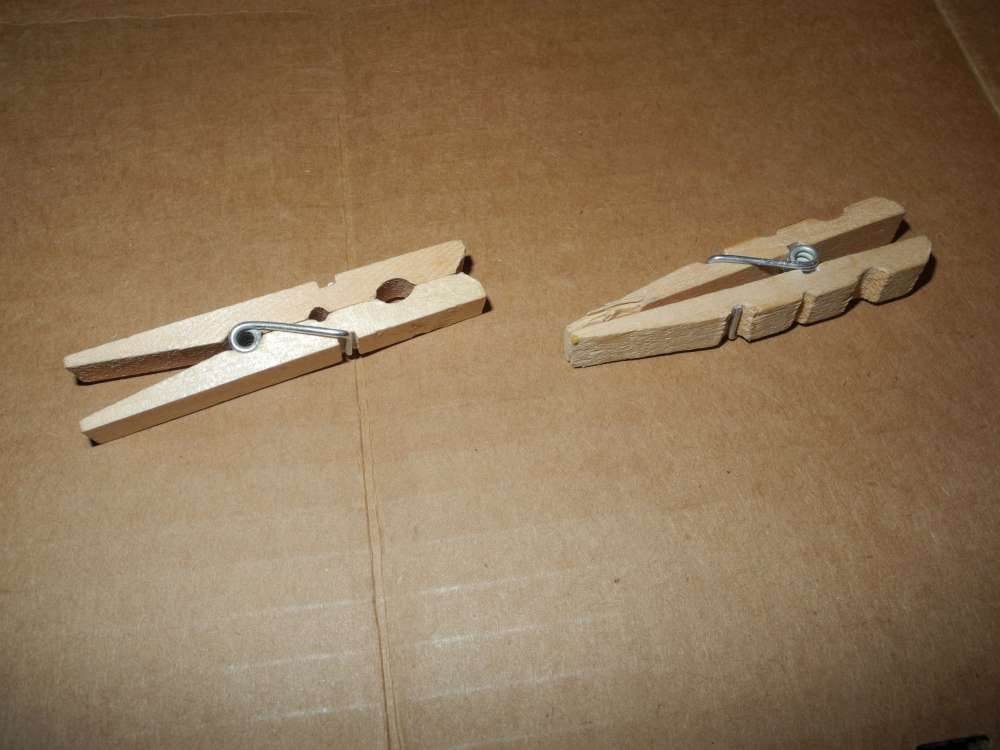 I turn clothes pins inside out to make great clamps for projects like this.
I keep most of my clothespins this way. They have more reach, lower pressure and are way more useful.
I’ve been doing this since childhood. I think my childhood friend from Saskatchewan Bruce Sanborn (then 30 years old) may have showed me this. If not him, then Brian Wattie (then 40ish). If it wasn’t any of those two then I probably made it up. ![]()
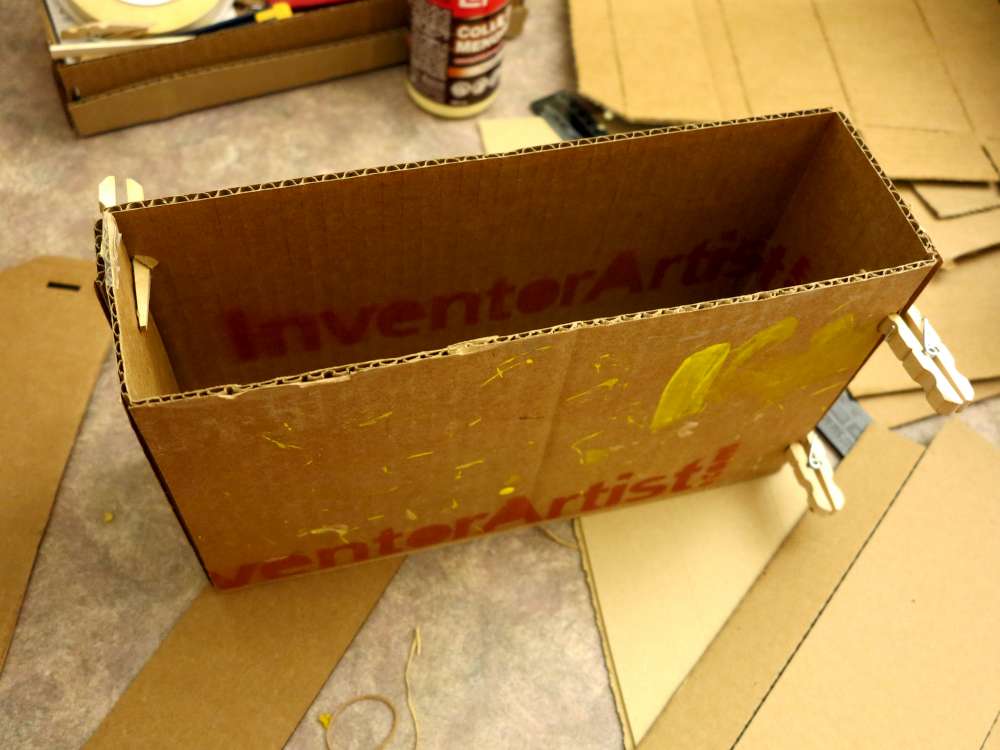
Zen Box
I love this box. There have been many different configurations of the flaps and pins that help speed assembly. I’ve made a lot of these boxes. I’ve reused a lot of cardboard. It’s easy to assemble and is VERY rigid. This box has been a staple for shipping Squirrel rubber band planes.
Flat Box
This is a great box for small shipments and it is under 2cm thick. That gives me a thrill since it can be sent as an envelope.
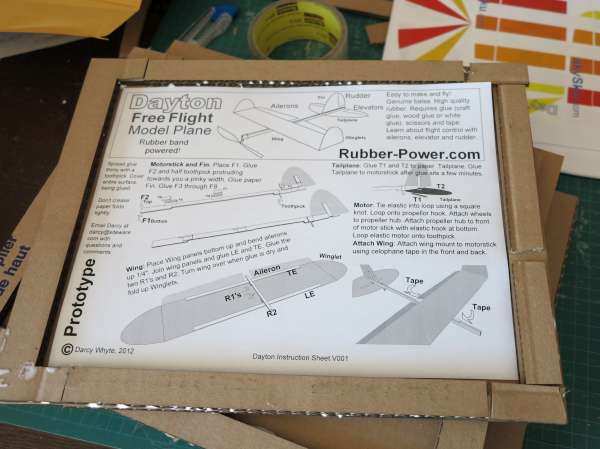
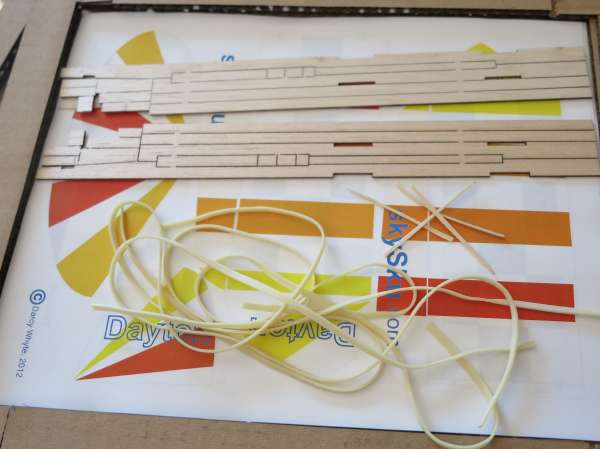
Dayton Box
This one has been used to ship the Dayton Rubber Band Plane prototypes. It’s my only “limited run” box. 🙂 Once I complete the Dayton rubber band plane design I will probably use the Scalable Box (below).

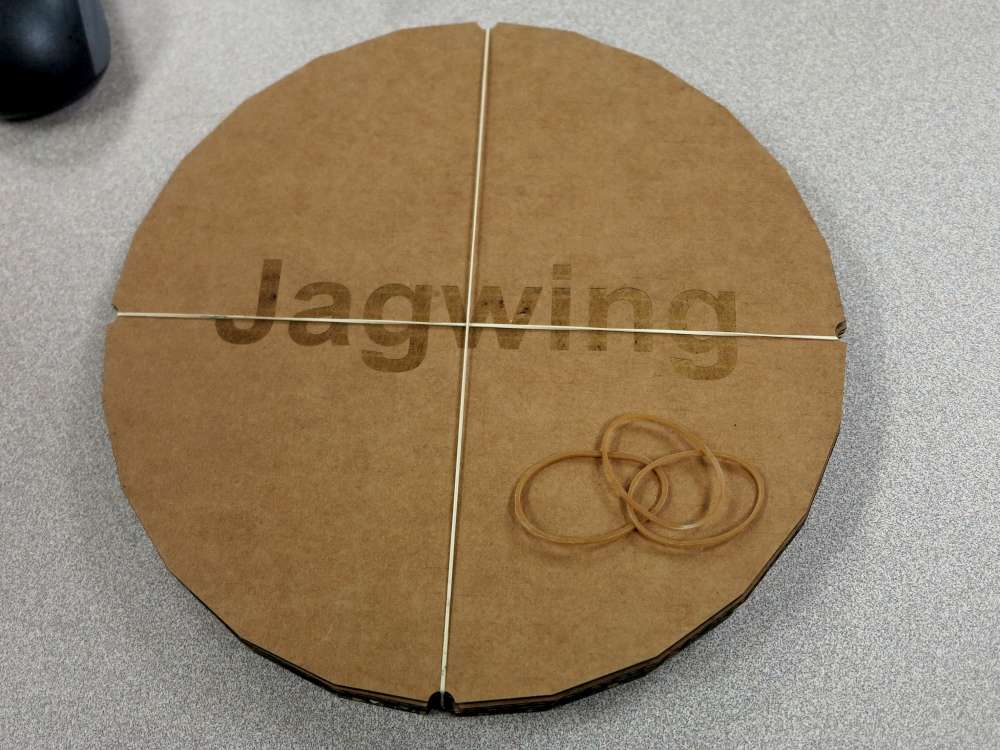
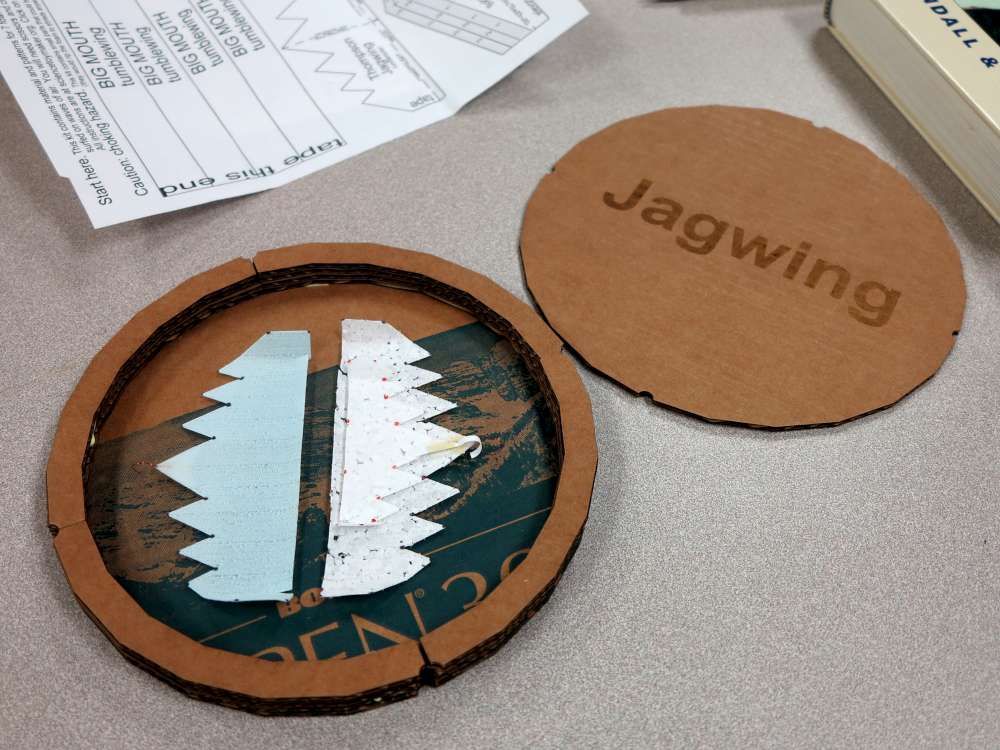
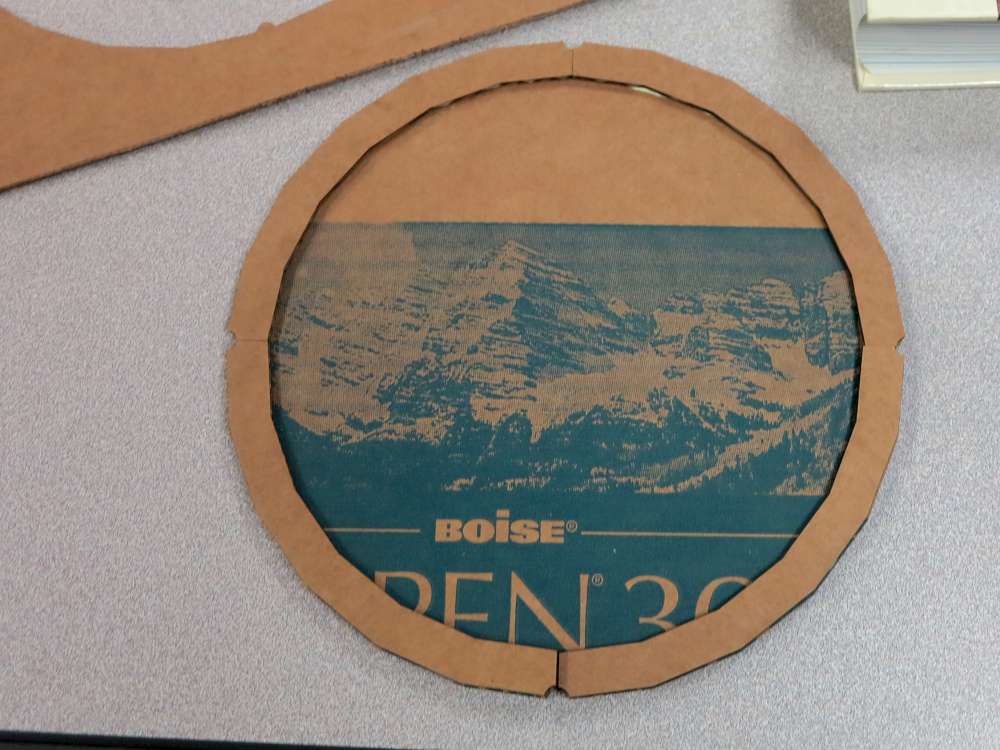
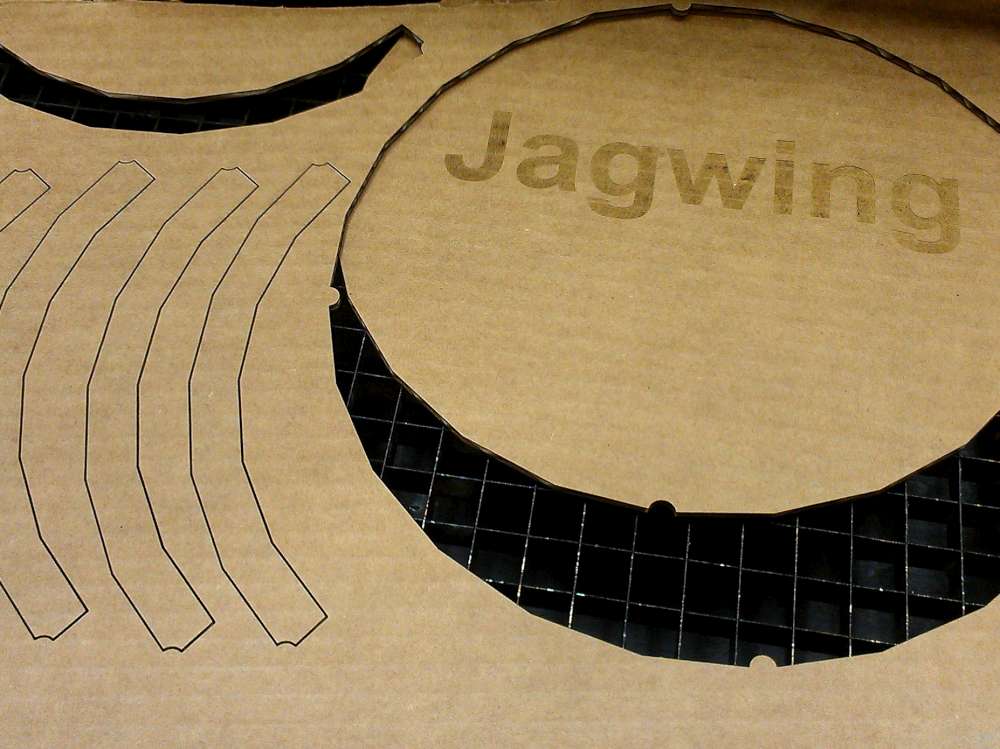
Jagwing Hangar
This box is for holding my Jagwing which is a walkalong glider. It’s a laser cut and as you can see it’s round.
Twenty Box
This is based on a two part cutout. I’m not that happy with this box as it’s a little tricky to assemble. But it’s very efficient with cardboard use. 🙂

No-Bendelope
This one is so easy to make you ought to just make them by hand.
I make two slices to form the spline and border it with cardboard. With this system I’m using four folds and only adding the frame to two of the sides. Works very well and it considerably faster than the Flat Box. I think it’s lighter as there are less glue joints and less cardboard. Very rigid too!
This one has been very exciting.
Solar Box
I ordered a solar panel to power my cell phone with solar and the box it came with was really awesome!
It was taped and not glued and depended on the panel itself and packaging for structure. So it was just a cover. But when I saw it I realized, “Oh my God! This would be highly structural with glue”! It turns out that box design with and without glue is really different.
So I got all excited and decided to make a box a bit like the solar panel box. The difference is that the top flaps will overlap 100 percent. My theory is that this will make the box very rigid and make it very easy to close since the glue surface will be maximized. Also, they will not need any pre-assembly so can be left flat.
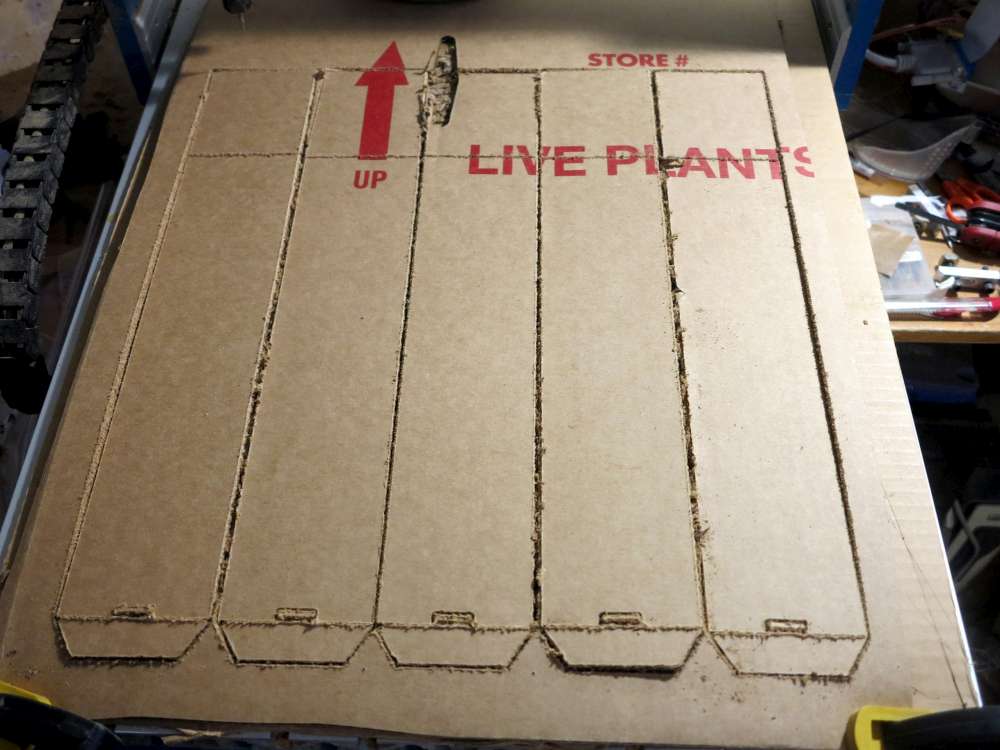
So I started out by making a rough one by hand. It assembled it to identify any problems. I then used it as a template to make a second one reducing the defects and issues. I expected to take like five iterations but I hit something on the second iteration. Notice the second one has the measurements on it. The measurements are parametric so I can eventually scale this design. Those measurements are recorded so if this box works out I can transfer it to CAD so I can make a bunch of them on my Box-O-Matic box maker.
Don’t be fooled. A rotary cutter is a great way to cut cardboard. Laser is awesome of course but a CNC router is fast, inexpensive and it leaves a lovely fuzzy cut that won’t cut you, your friends or the recipient of your shipment. Secret: If you have a high spindle speed you can burn through. Less dust. A better experience overall.
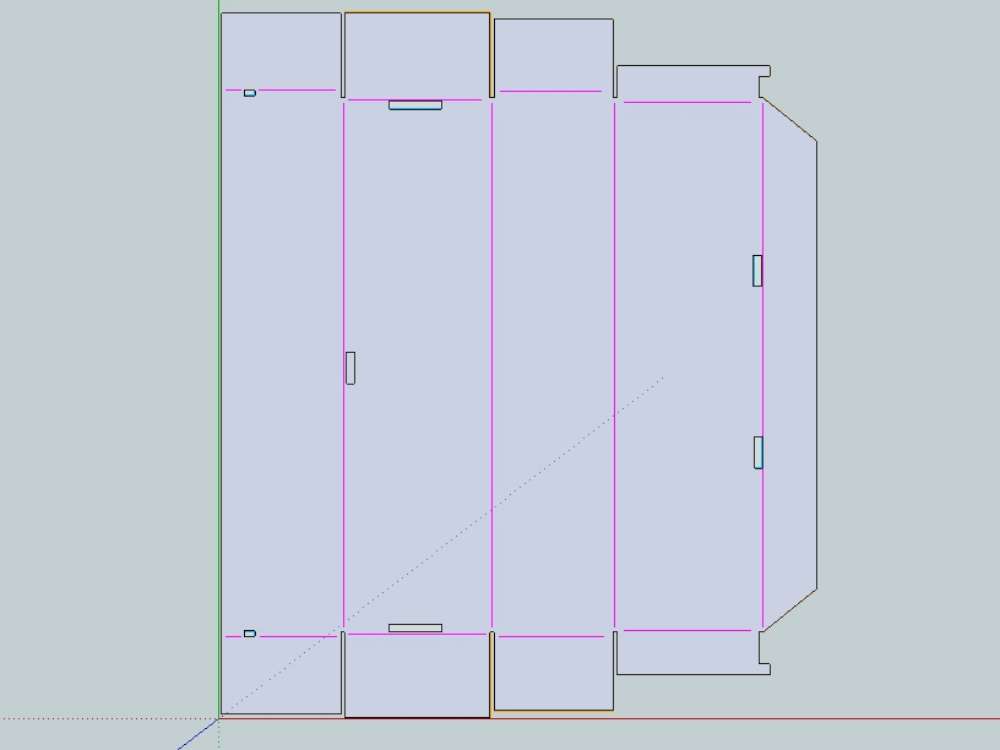
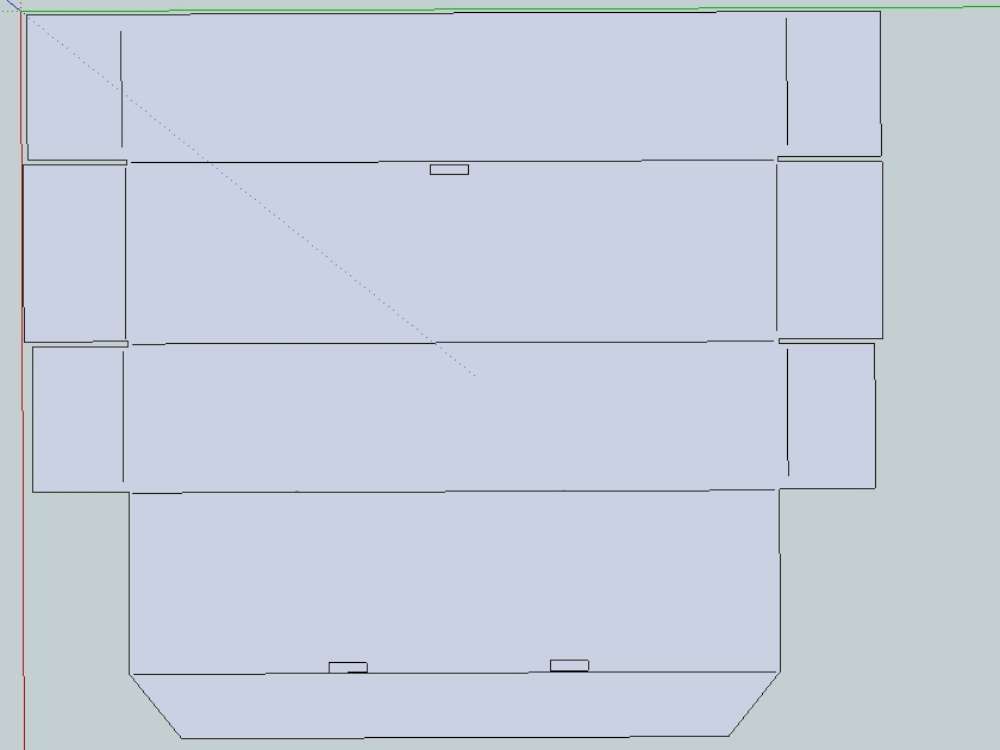
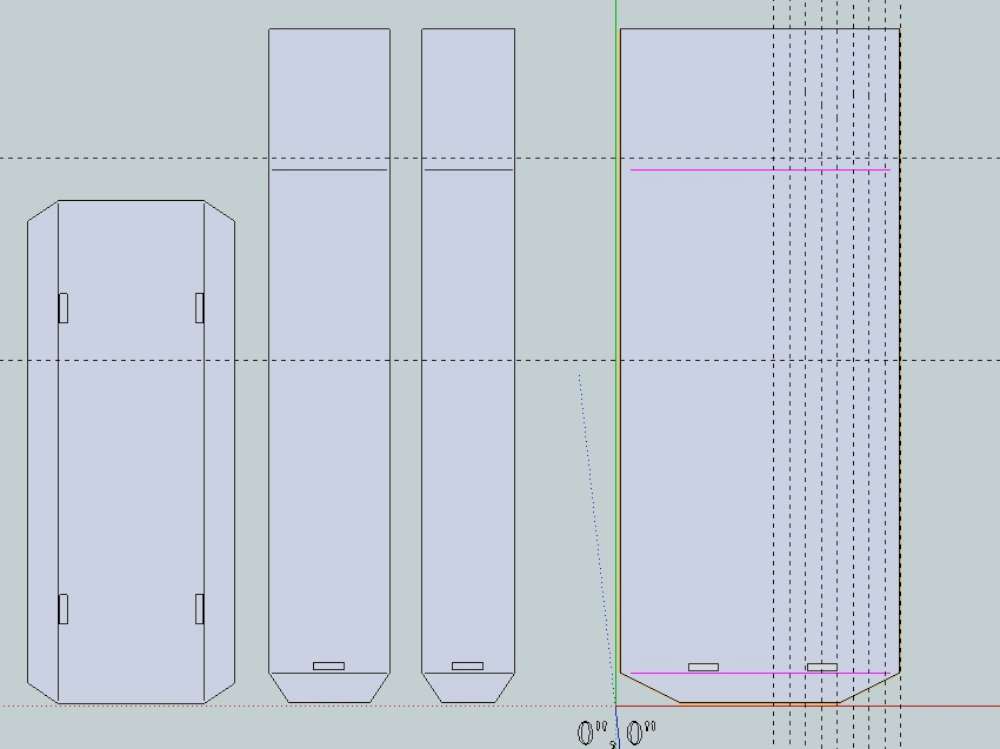
Scalable Box
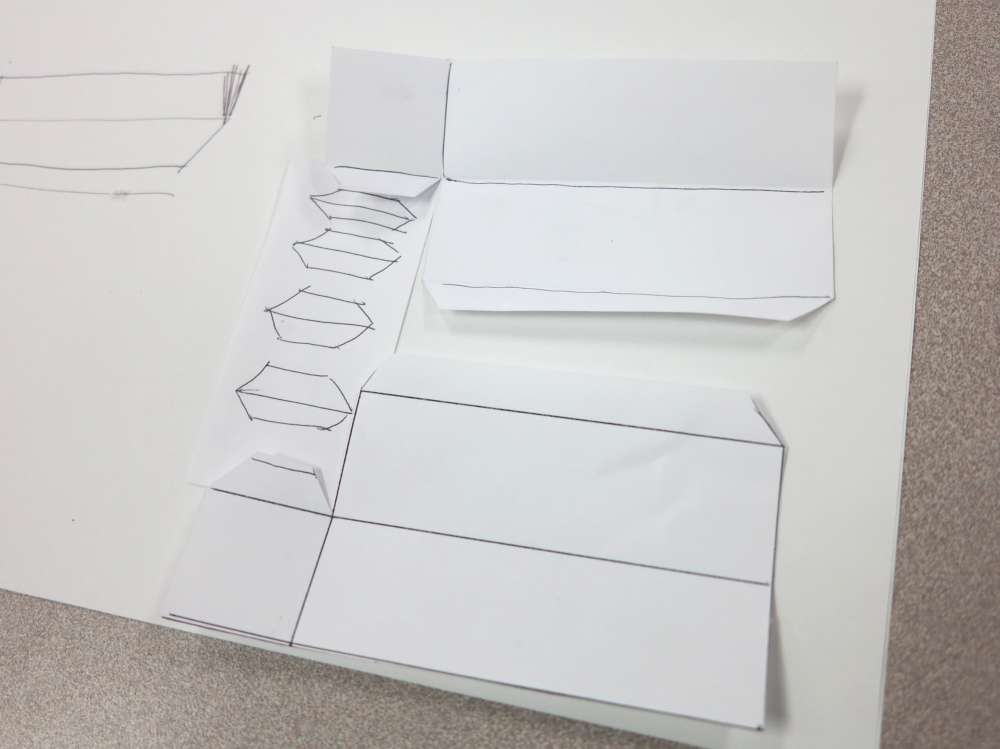
I’m really falling in love here. This is a great box since the sides can be made any length. A single design can be “stretched” by changing one parameter in the design. I love this box and will make up some video of it in action.
Andrew and I completed the design yesterday using a paper cutout to model the ideas and Sketchup to prototype for the laser. Today I cleaned the design up and ran a couple on my CNC cutter.
Mine is 12.5×3″ base and the height is scalable. If you want to make your own here’s how you can do it in Sketchup.
This video is a little rough but I’ll make another when I do the videos of this box in action.

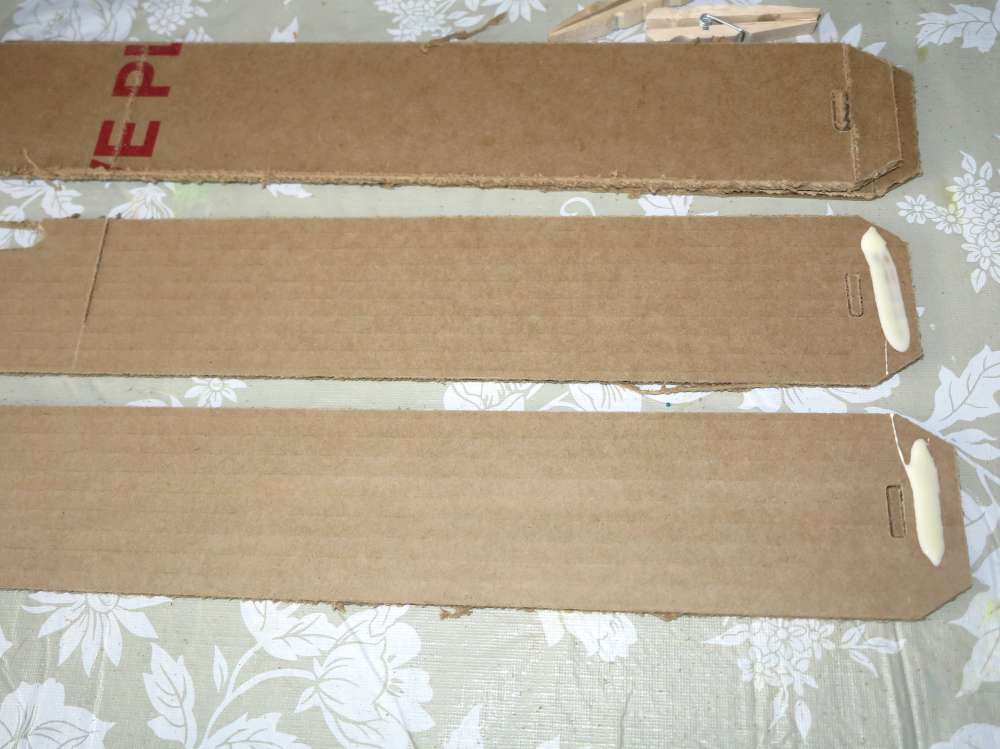
Because the scalable box is made from simple components it is a great candidate to make without a laser or cnc machine. In fact it’s pretty efficient. The sides can be made all at once. Make a piece of cardboard that is the right width, then make two “half-slices”. Those are the sliced for folding. Then you can make the sides by simply slicing this thing. For tall sides just make bigger slices. All you need is two slices to make sides for one box.
In the pictures below I’m using a fairly small piece of cardboard (that used to be a pusher for a walkalong glider) so I only got two large slices. But with a larger piece of cardboard you could get lots of small slices.
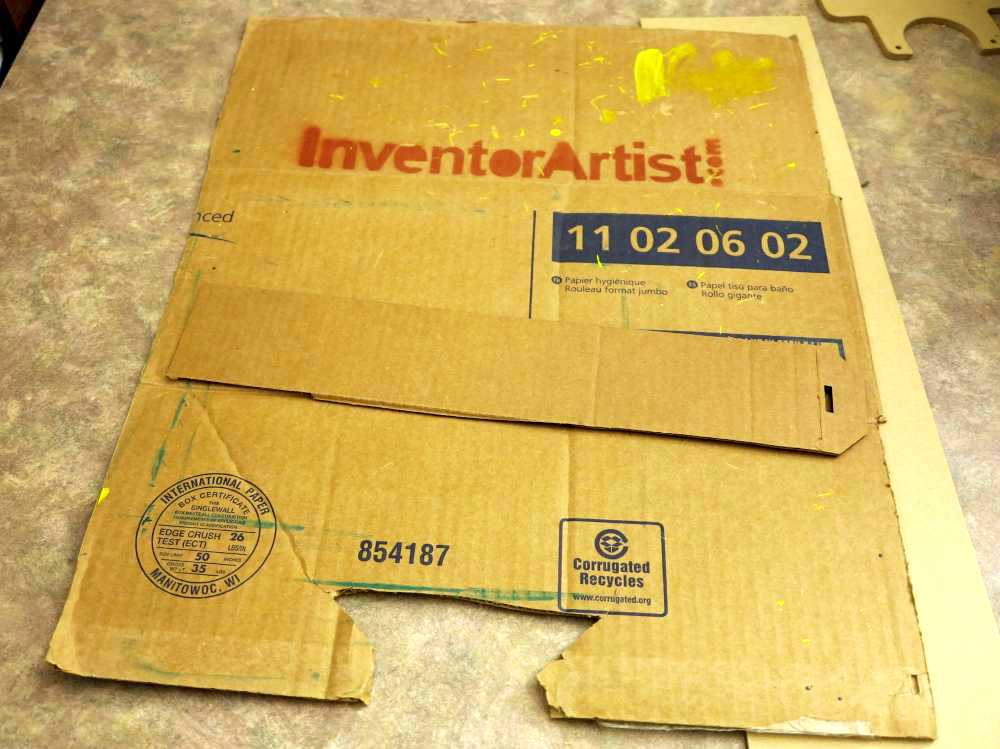
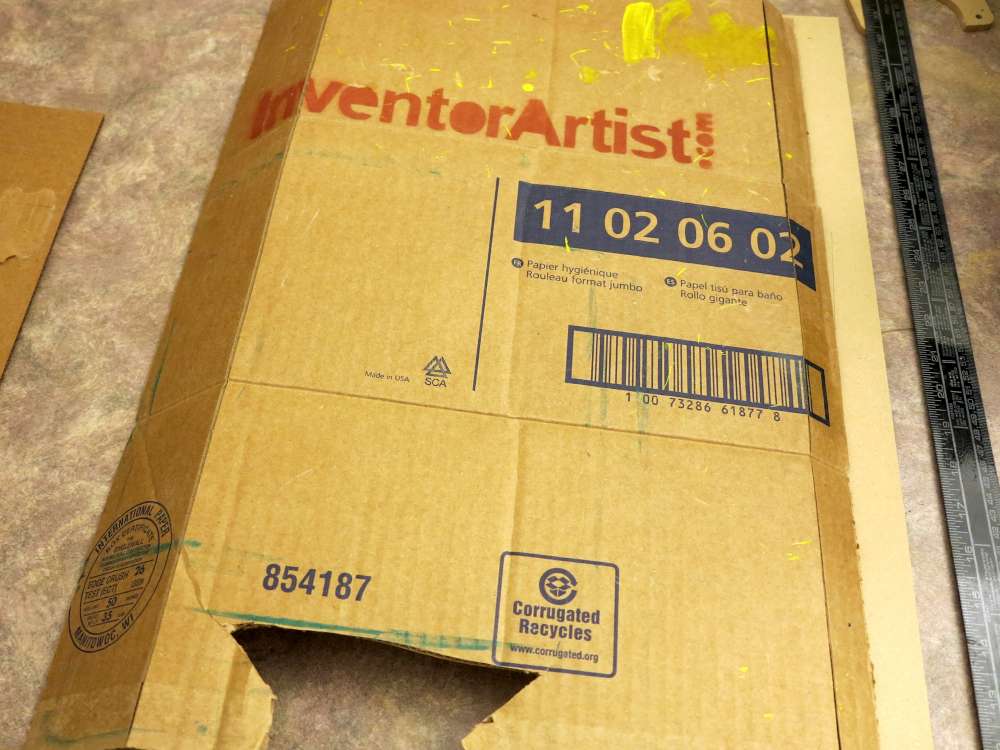

Once you’ve got the sides you can make tops and bottoms out of scrap cardboard. Notice the tiny slits I make from stabbing the box cutter through. Those are clamp inserts.
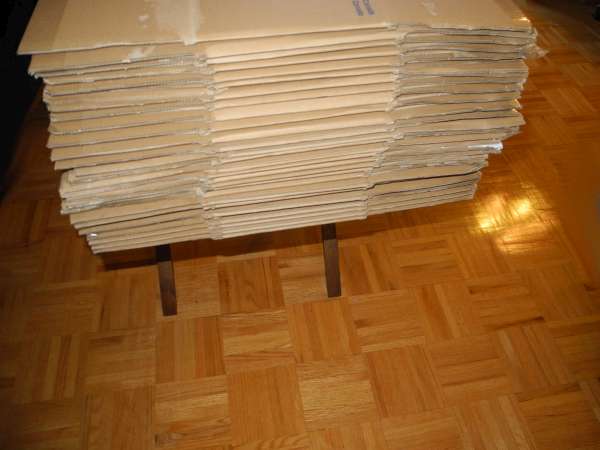
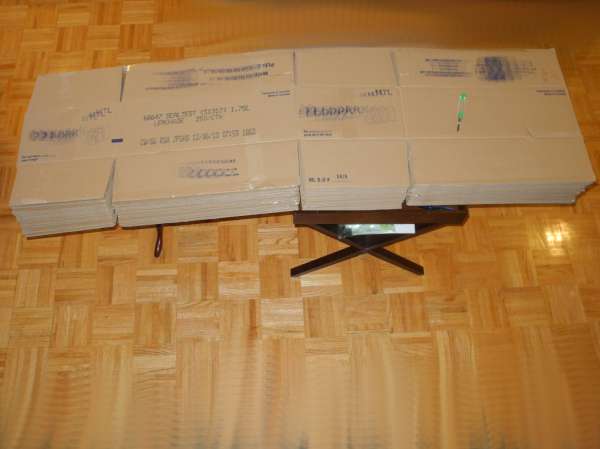
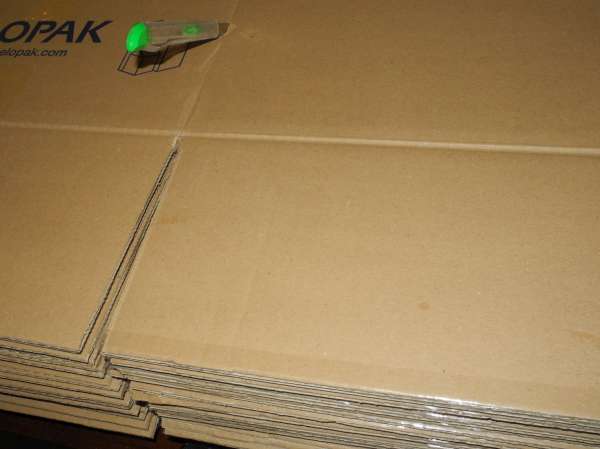
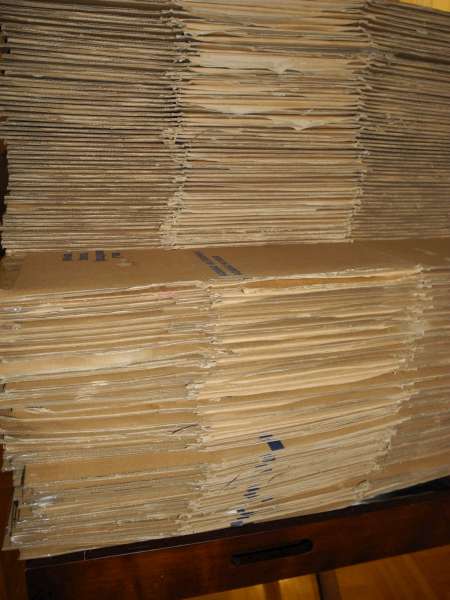
Tips For Making Boxes
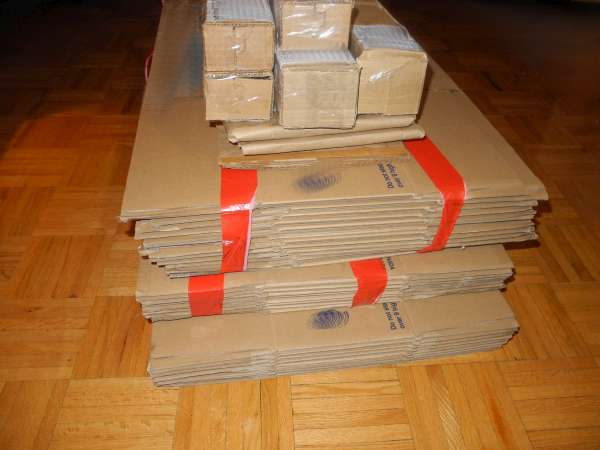
If you can find a source of cardboard that has a consistent size of cardboard, it will save you time. You can slice them down to consistent “blanks” very fast. You can see my stacking method in the pictures below.
Be very careful with box cutters! The trick is that every time you thrust the cutter you must imagine what would happen if cutting resistance disappeared. Where does the cutter wind up? In your thigh?
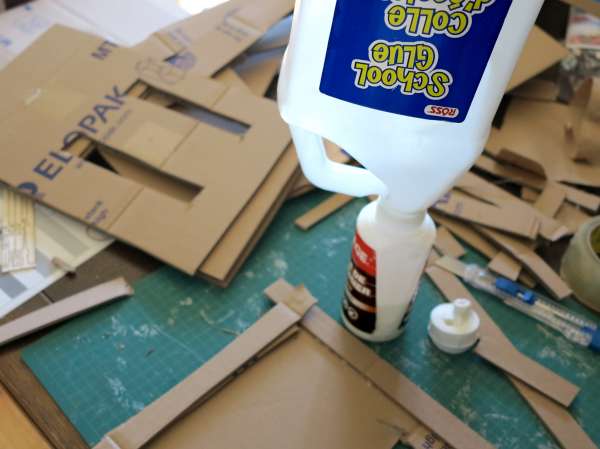
Glue is the key. Tape doesn’t fasten parts well enough to leverage the true rigidity of cardboard. Don’t forget it’s made from wood so it is possible to make highly rigid structures. Tape can be used as a backup in case your box encounters moisture.
When preparing the blanks for the machine you may find the box cutter gets dull fast. You can sharpen it using a dremel with a grinding stone. An ordinary sharpening stone with oil works great too.
Notice my “box-o-matic” has a roller. This makes a huge difference when cutting flat material. Very worth making one if you’re going to cut cardboard.

Related: Porn for DIY Box Makers
Structural Packaging Design Software
Point of Purchase Packaging Design Software
Another on Hand Cutting, Youtube version of Hand Cutting
Check this puppy out.
This post made Hack-A-Day! http://hackaday.com/2013/12/31/the-art-of-box-making/
Very nice, and interesting that you do model planes. You have a lot in common with my old friend and boss who created the Mac project at Apple and also designed everything from micro-lights to slope soarers. He also liked cardboard. Google “bloxes” and check the images.
But the thing that ties it together is the “Western Wind” http://static.rcgroups.net/forums/attachments/8/9/2/3/a4794622-213-G1.jpg A complete plane for RC shipped as a 4-fold sheet of cardboard with the directions printed on it. About 36 inch length and much greater span. IIRC all you added was glue, a pair of bent pieces of piano wire for spars, and your Rx + servos. If you had a hard landing, the wings rotated forward and down without damage.
I wish I still had some, or at least the dies and graphics to make more. We used them all up slope soaring for “Cardboard Combat”. They got some bad reviews but flew fine for me by hi-start or above Pacifica.
Wow, what a thrill! This post is in Hackaday! Thanks for all the comments and ideas! I’ve added the links I received to the bottom of my post!
Brilliant. Fascinating industrial design knowledge aside, what I love is the idea that ALL things are valued. Including the box it comes in. We waste nearly everything. It’s refreshing to see an art form that is the antithesis of that.
Thanks Frank!!!
Simple things answer complicated problems!
!