CNC Machine for Portraits
I’ve been working on carving portraits using a CNC machine for a while without much luck. Today I managed to get it to work a bit better.
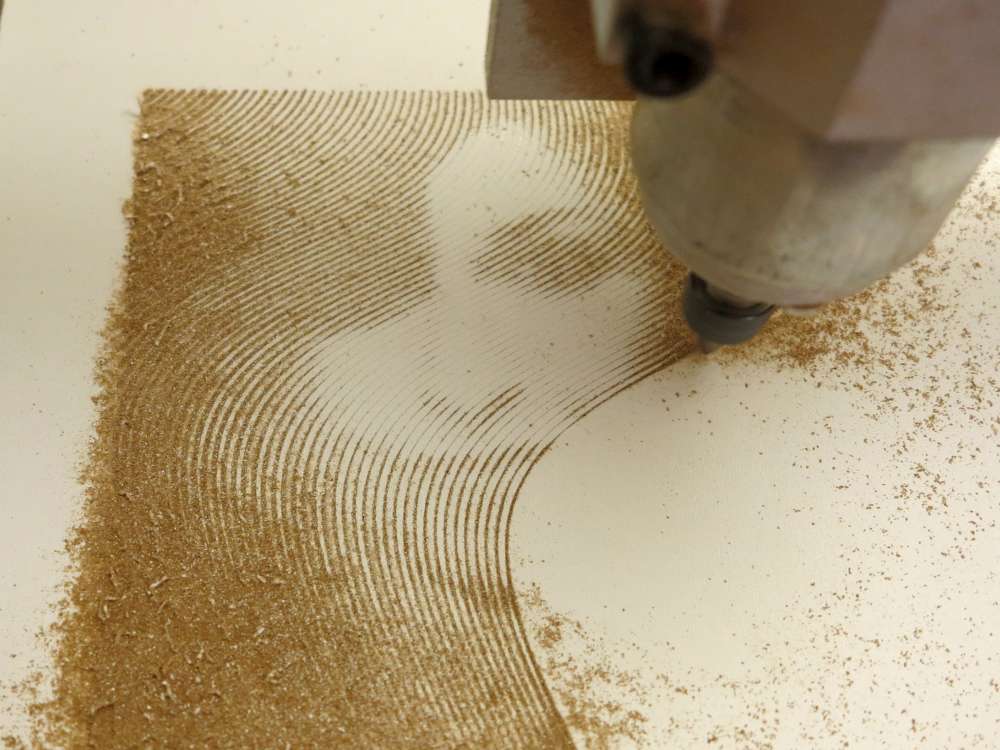
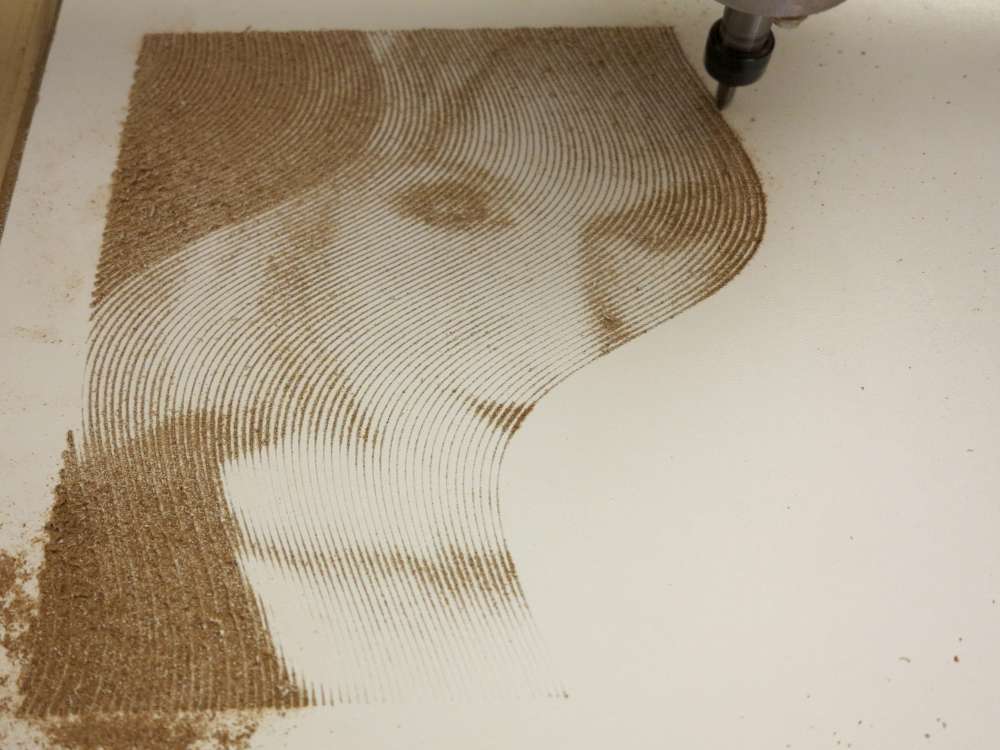
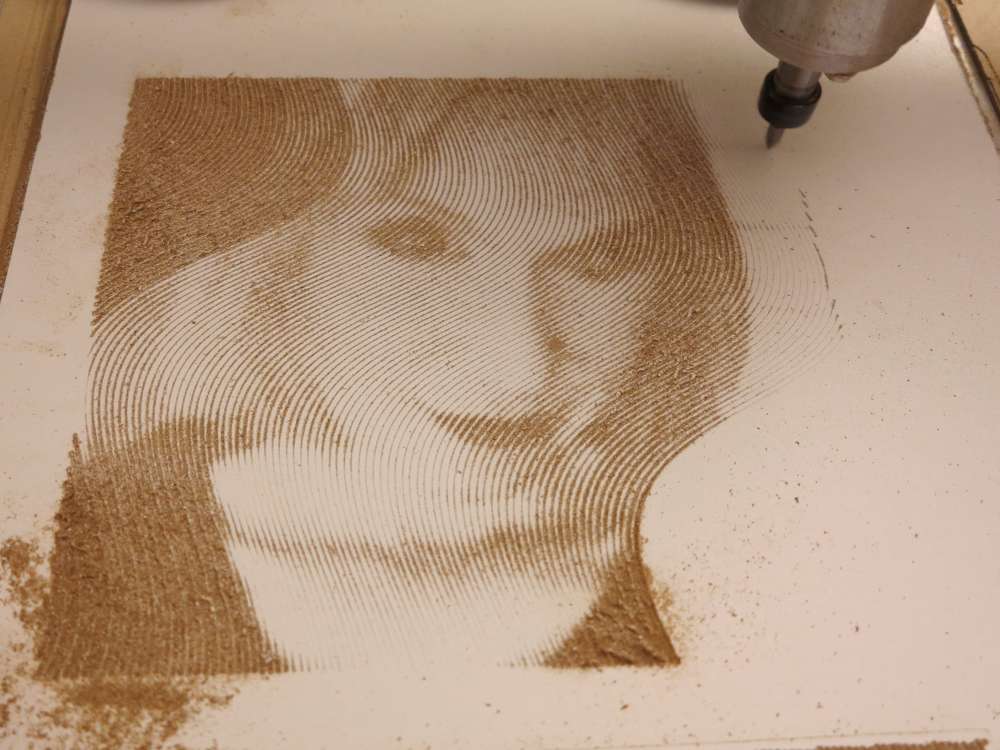
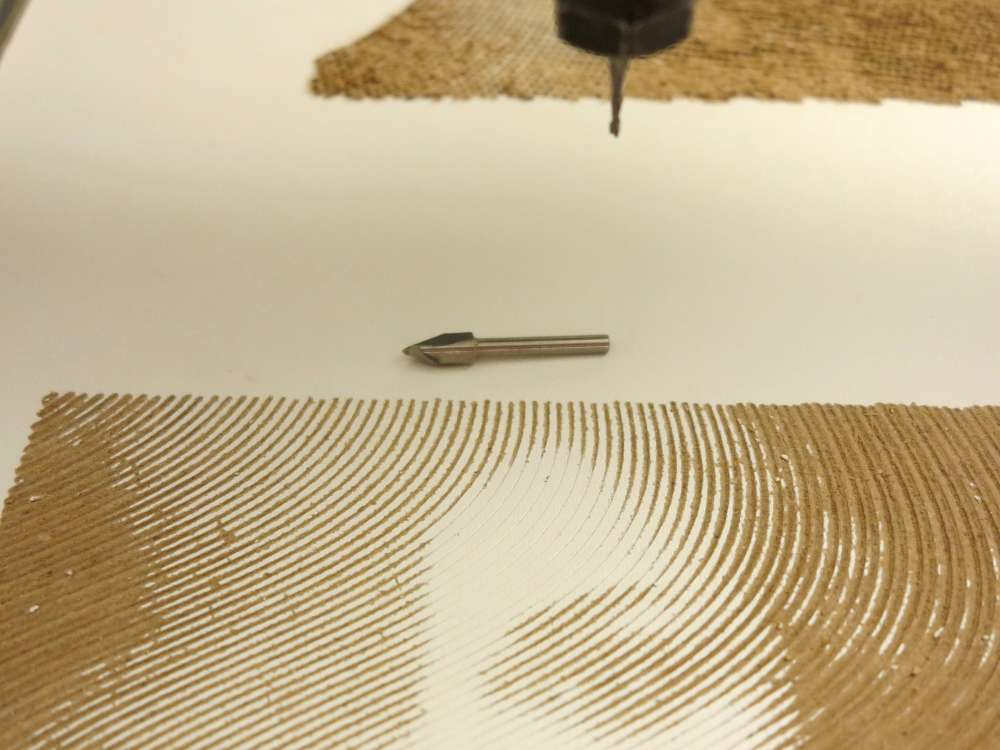
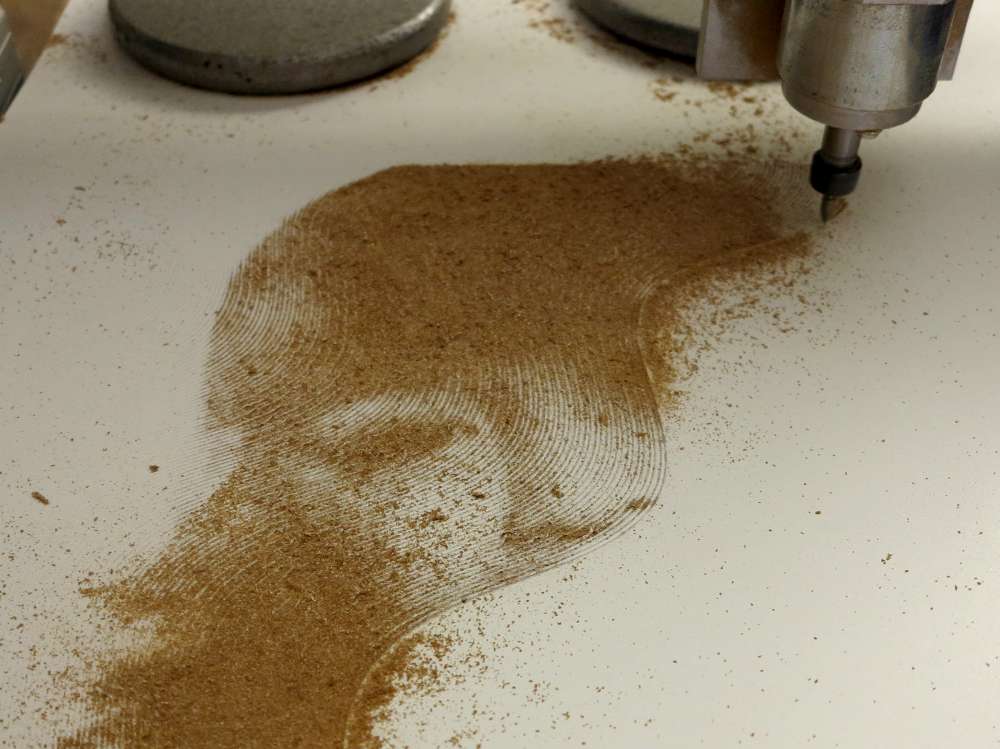
This is using a 90 degree carving bit.
I guess this could be cut into a lot of different materials.
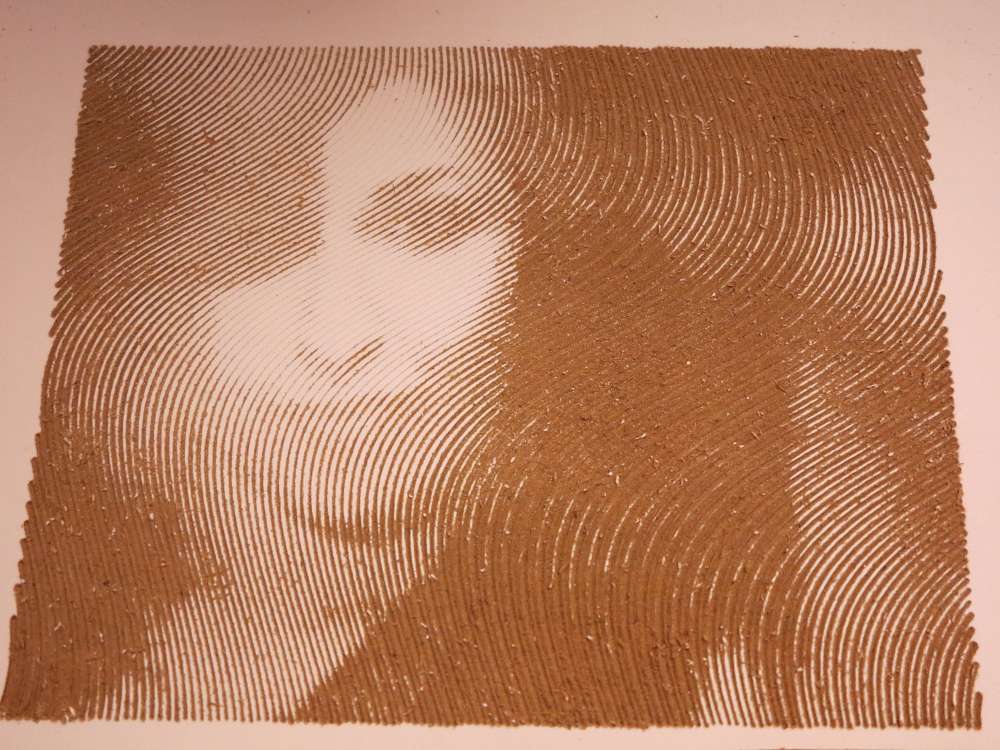
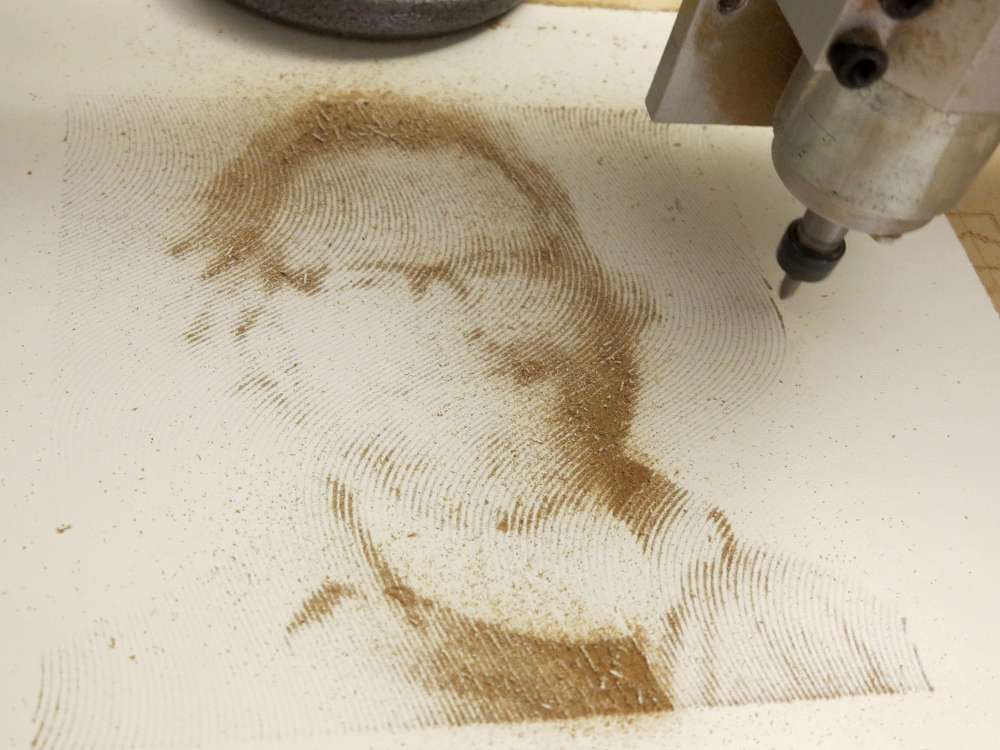
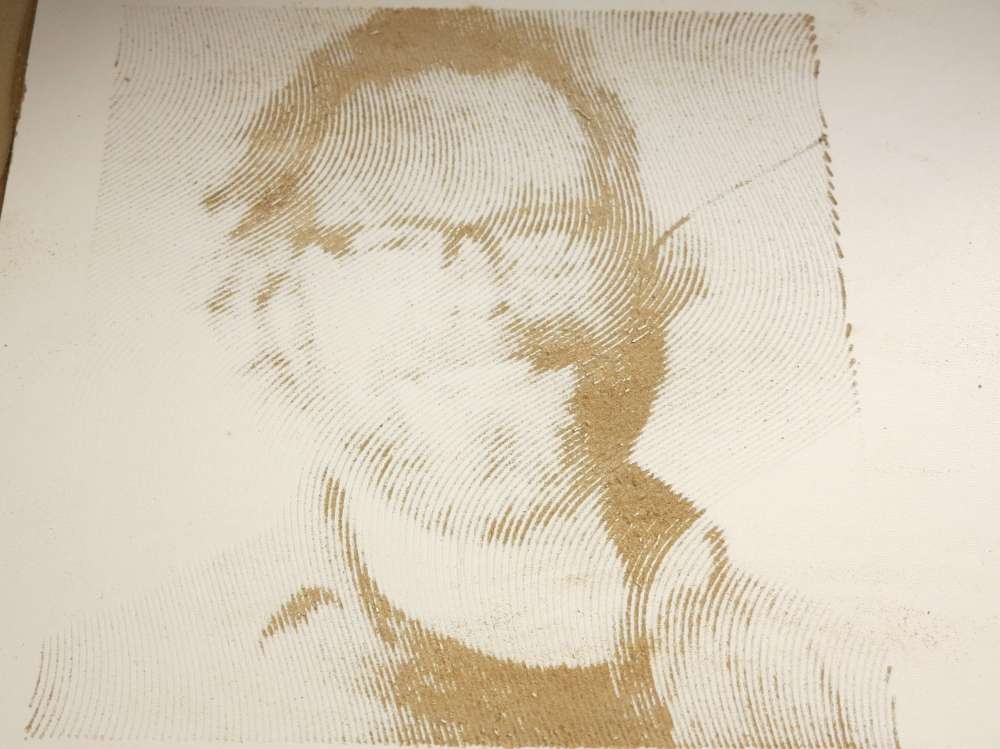
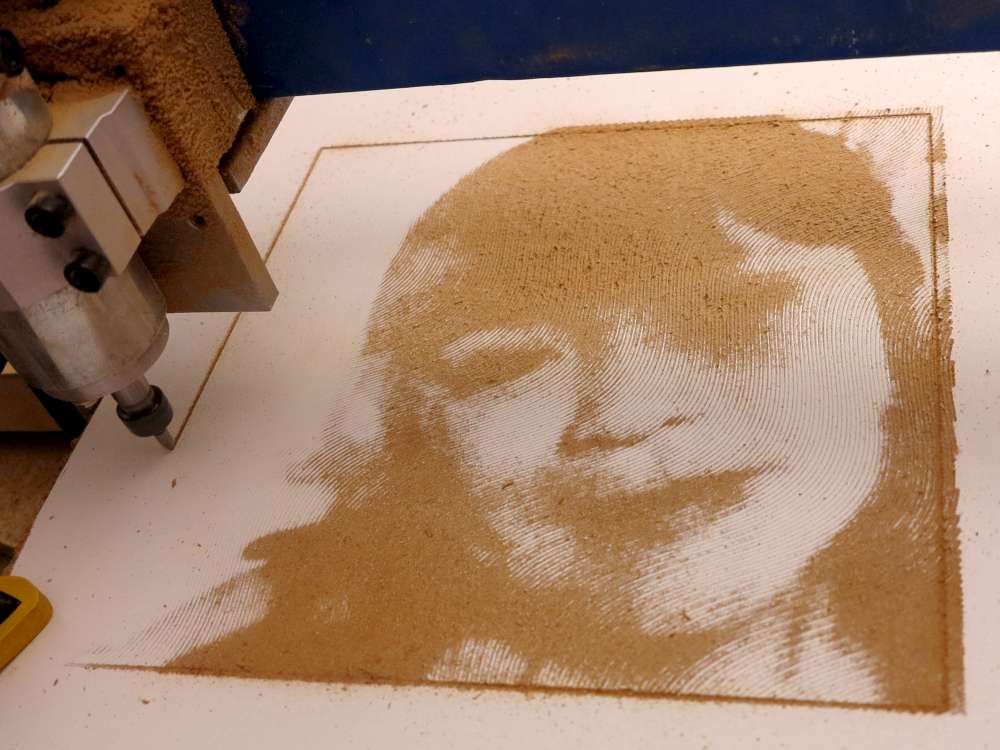
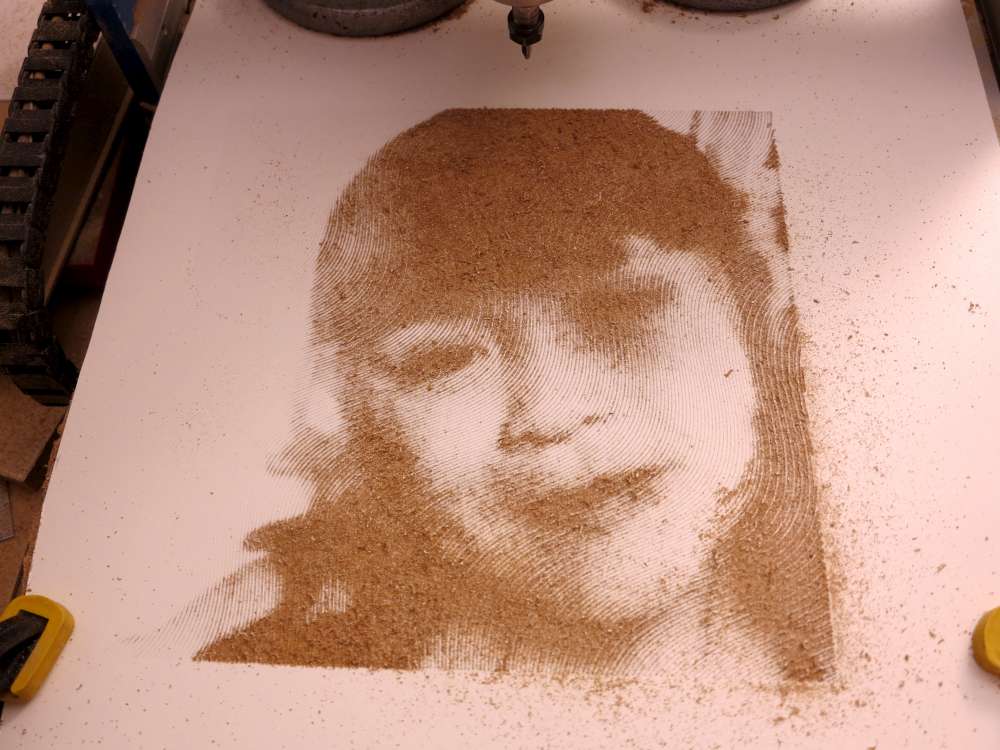

Seemed to come out okay.
I think for plain wood which doesn’t have paint, the thing to do is carve into it, then paint into the relief. Then sand to re-expose the wood. I will try this.
I posted an earlier response that I don’t see here…
My best results: 2 coats clear, carve, paint black, sand @ 220 grit. Clear to finish.
Using Vectric software.
I forgot to mention that my best results have come with a 60 deg v-bit and a max carving depth of .06 inches.
I have done a number of portraits using Vectric software. My best procedure, usually on maple (for the best contrast)
1. Flatten the surface
2. Minimum 2 coats of clear to seal the surface (reduces bleeding). Let cure well
3. Run the carving program
4. Clean out the hash marks with a small brass brush and vacuum the surface (to remove stray bits of wood from the hash marks)
5. Spray or brush black paint over the photo surface and let it dry completely
6. Sand with orbital sander at 220 grit.
7. I usually put a clear coat or two on it after its’ finished. (Be sure to vacuum it first)
http://www.autotracer.org/
Program for carving: http://www.scorchworks.com/Fengrave/fengrave.html
What software are you using to create the images for the CNC to carve? What’s the software chain? I’ve seen StippleGen, but haven’t seen one that generates those wavy patterns.
Follow the link on portraits at the top and it shows you other articles on portraits and the tool chains I’m using.
Edge lit acrylic: http://www.instructables.com/id/Edge-Lit-Acrylic-Sign/