DIY Hot-Wire Foam Cutter
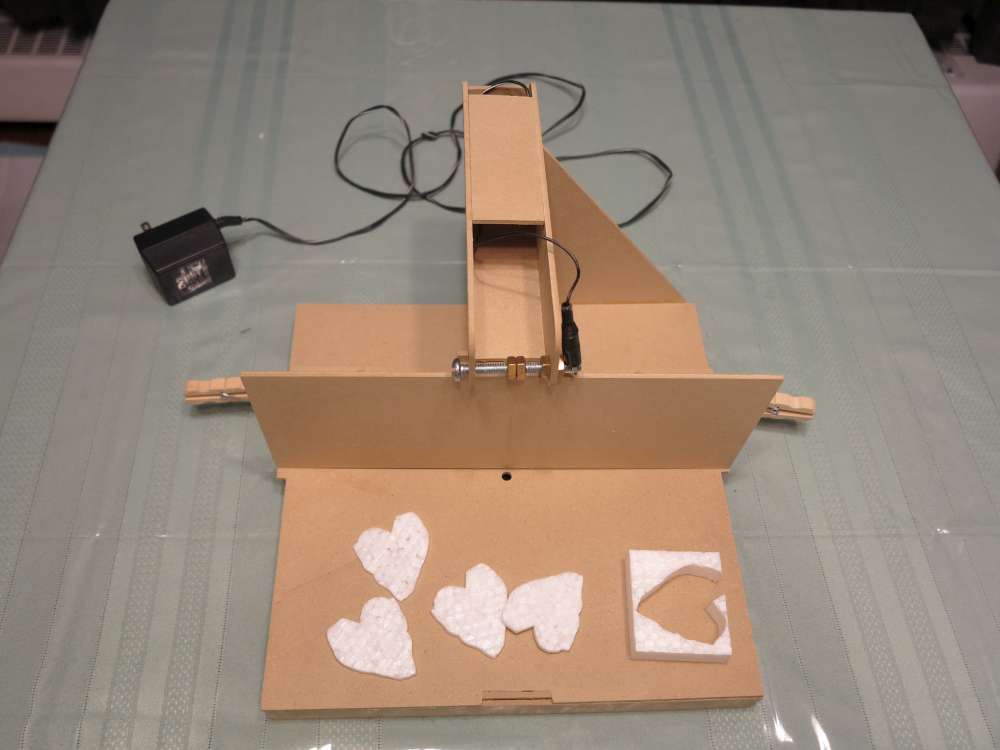
Here’s the “One-Nite” DIY Foam Cutter. It took one work session (one night) to design and assemble. I was surprised how easy and fun cutting foam is.
I designed it using Sketchup/SketchUCam and used a desktop CNC to make the parts. This design is also ideal for a laser cutter.
The entire frame is made from the same material to simplify the bill of materials and tooling.
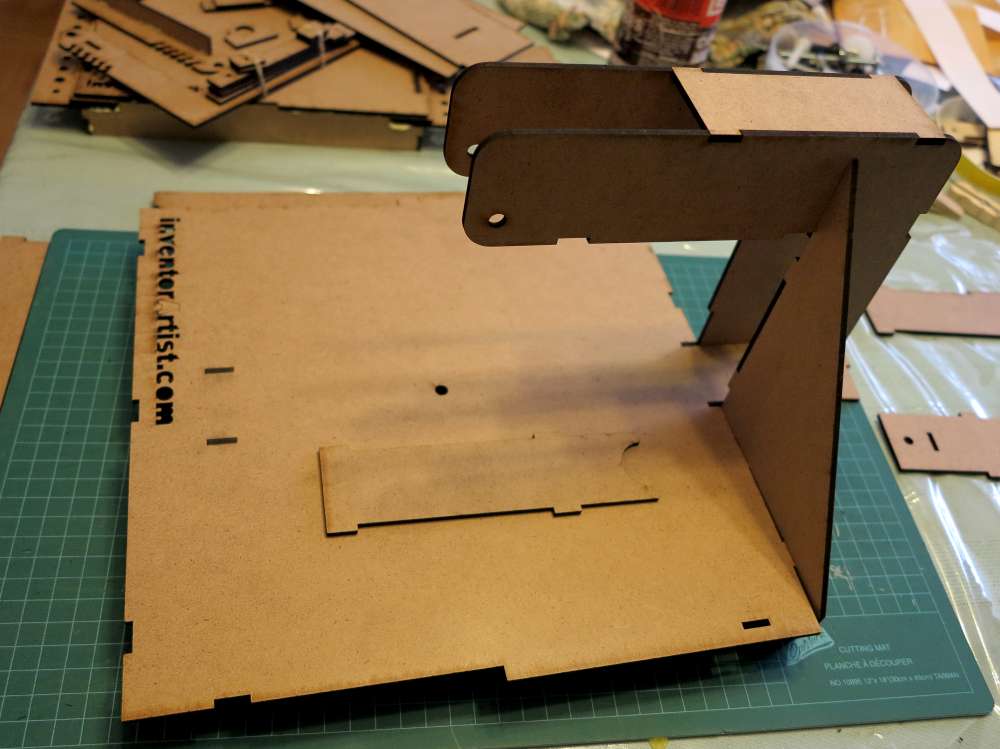
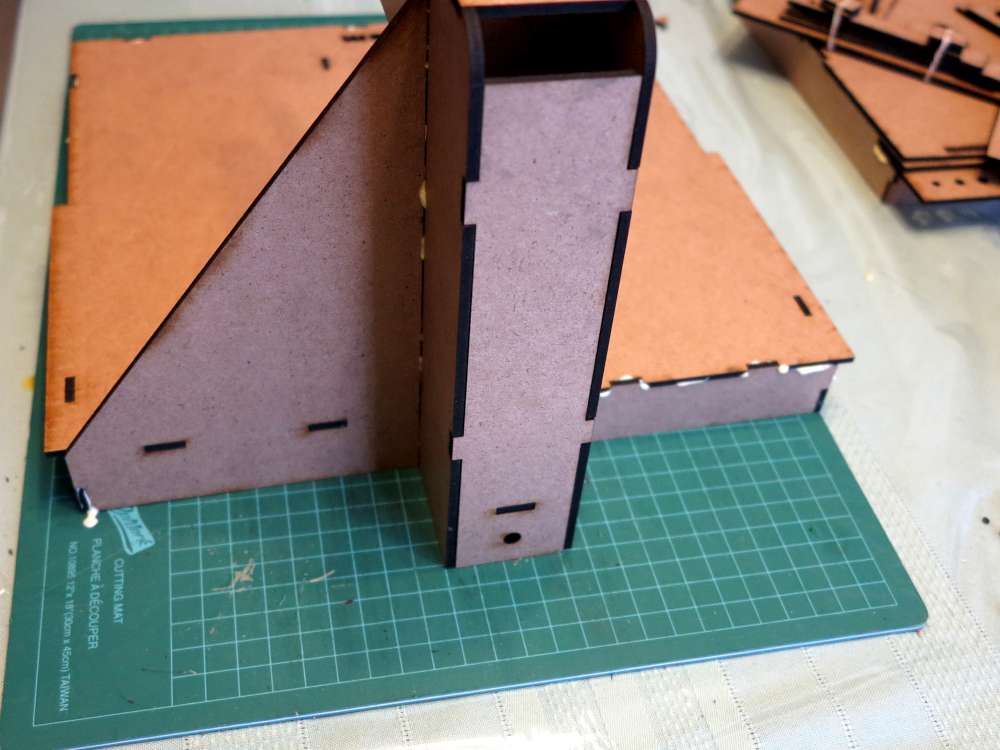
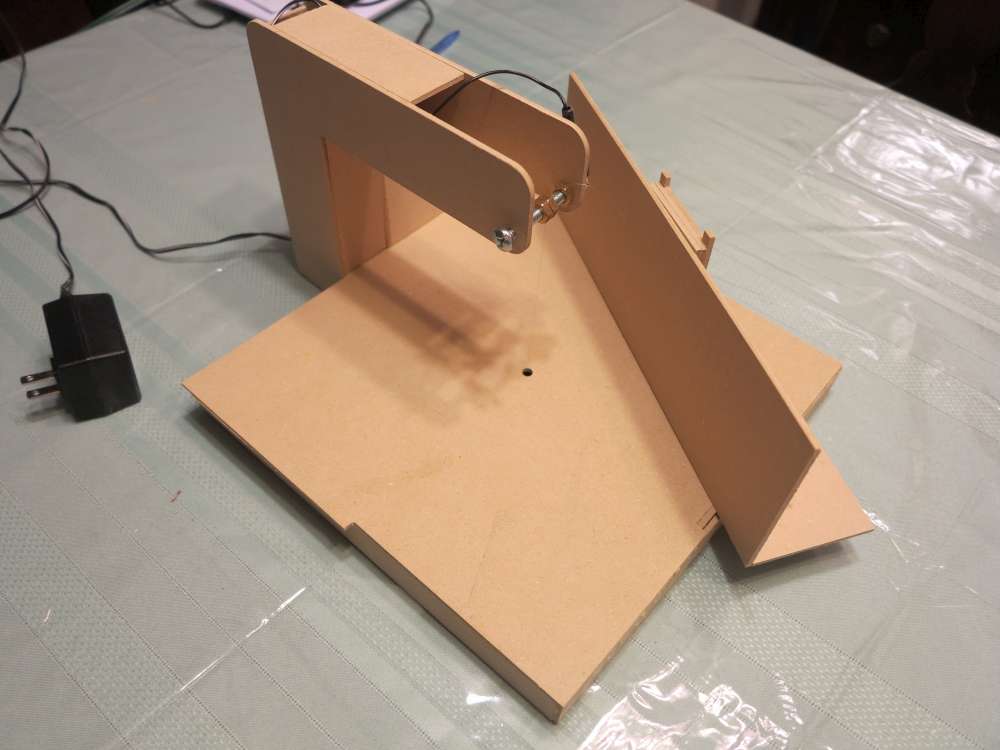
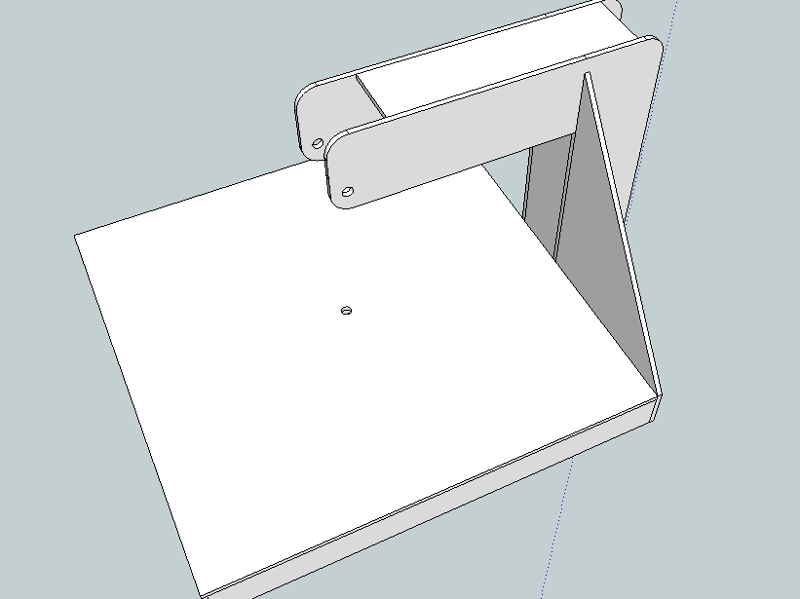
The cutter is vertical for easy right angle cutting and had a removable and adjustable fence for slicing.
I loved this so much I fell in love with foam.
Hot-Wire Cutter Specifications
Power Supply: 9VDC, 500mA
Cutter: 40 gauge nickel chromium
Current : ~220mA
Z-Axis: 4.5″ fence
Cutting Table: 8.5×11″
Format: Vertical cutter with removable fence
Making the Hot-Wire Cutter
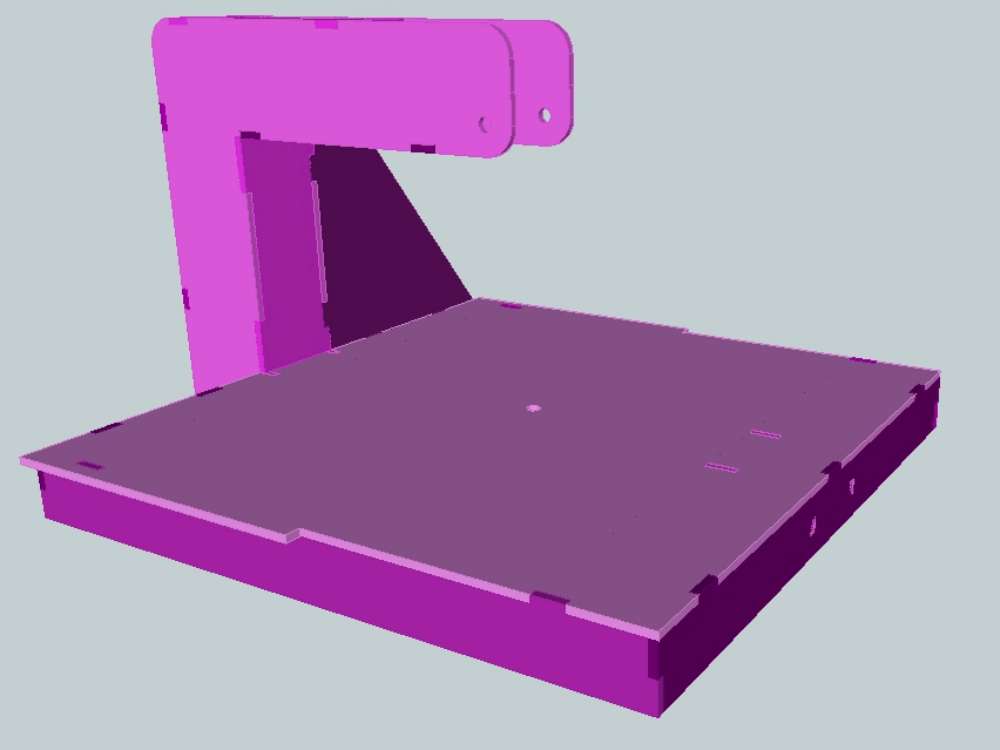
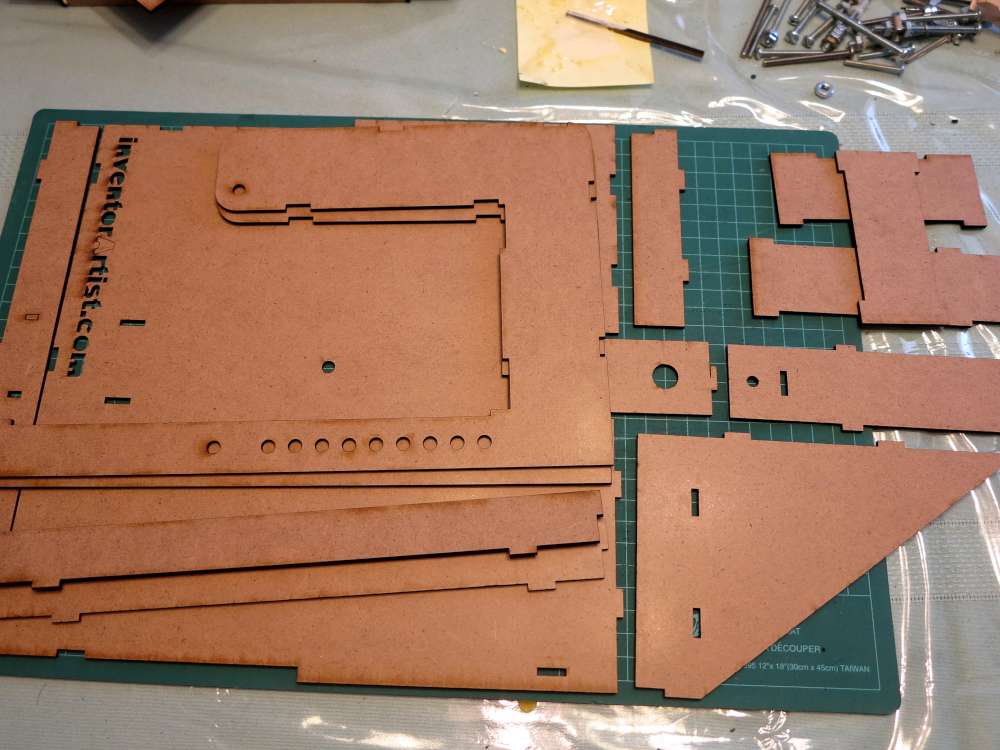
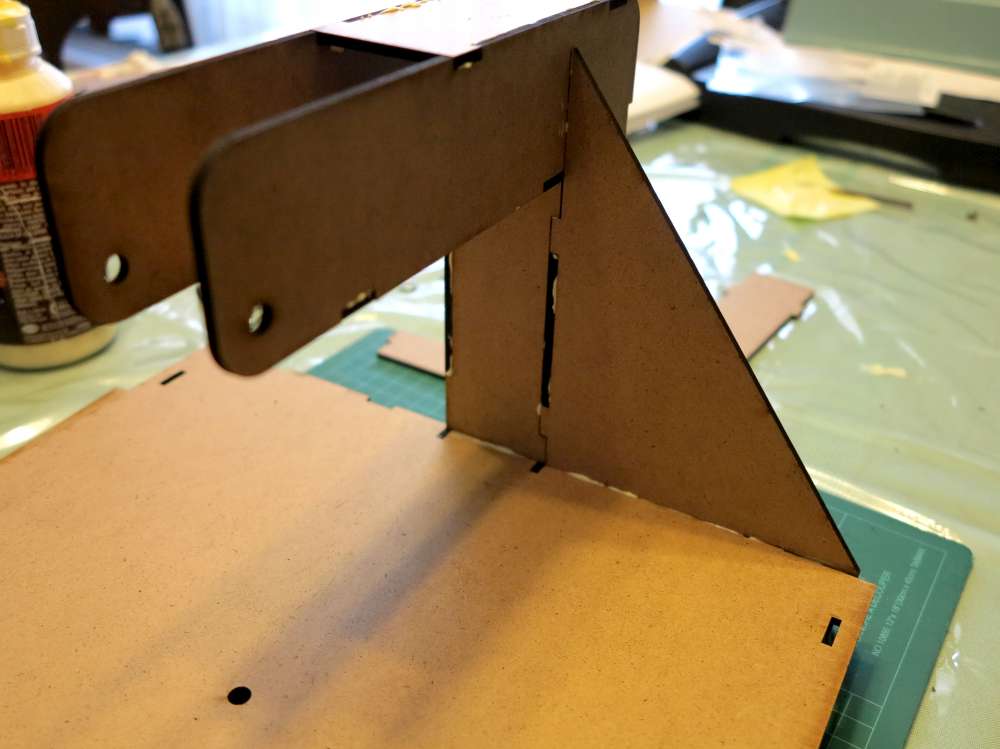
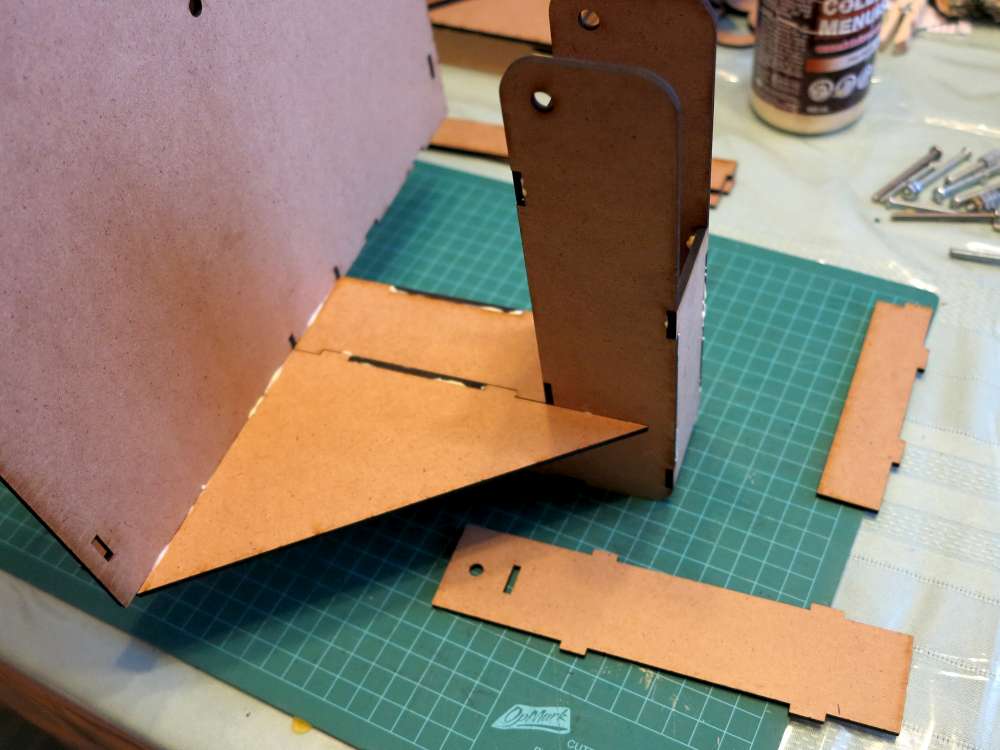
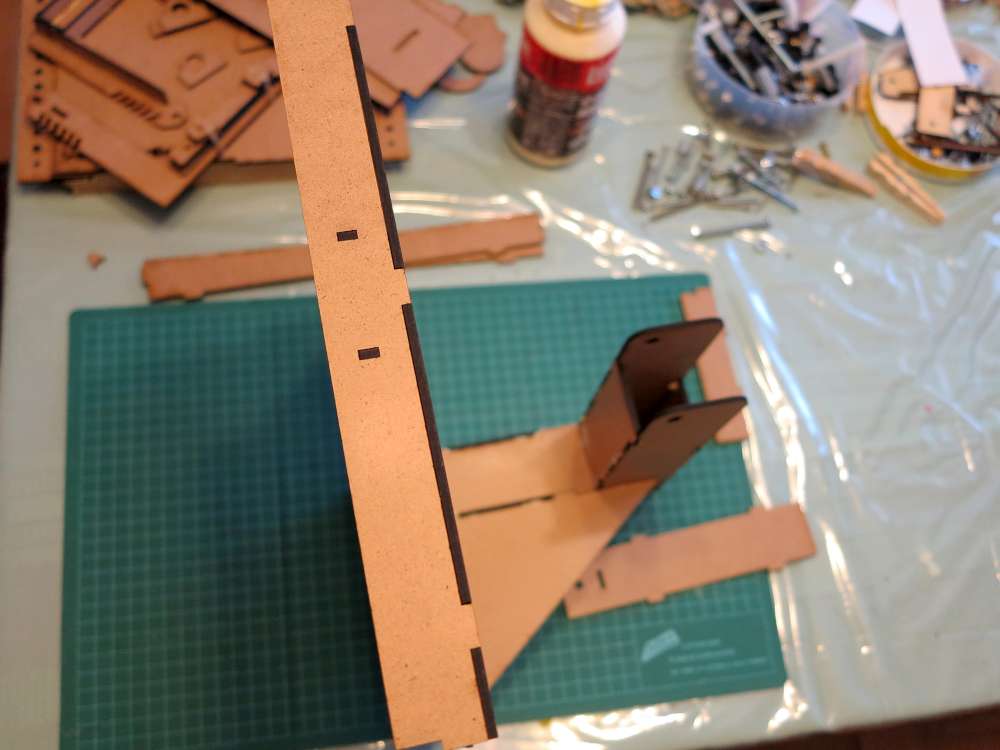
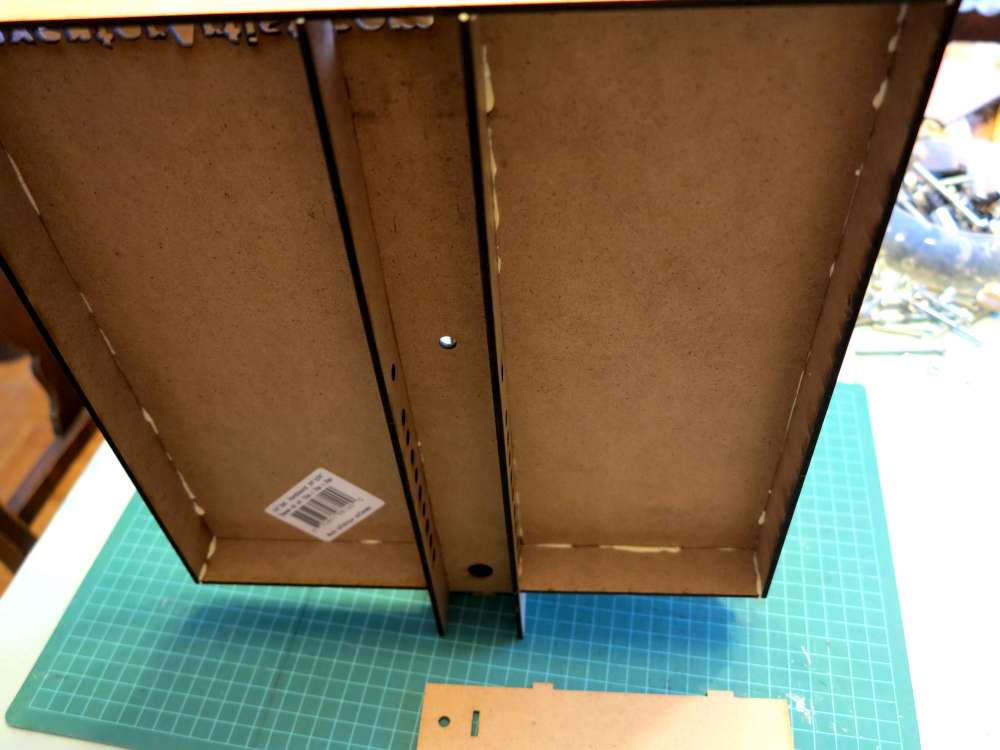
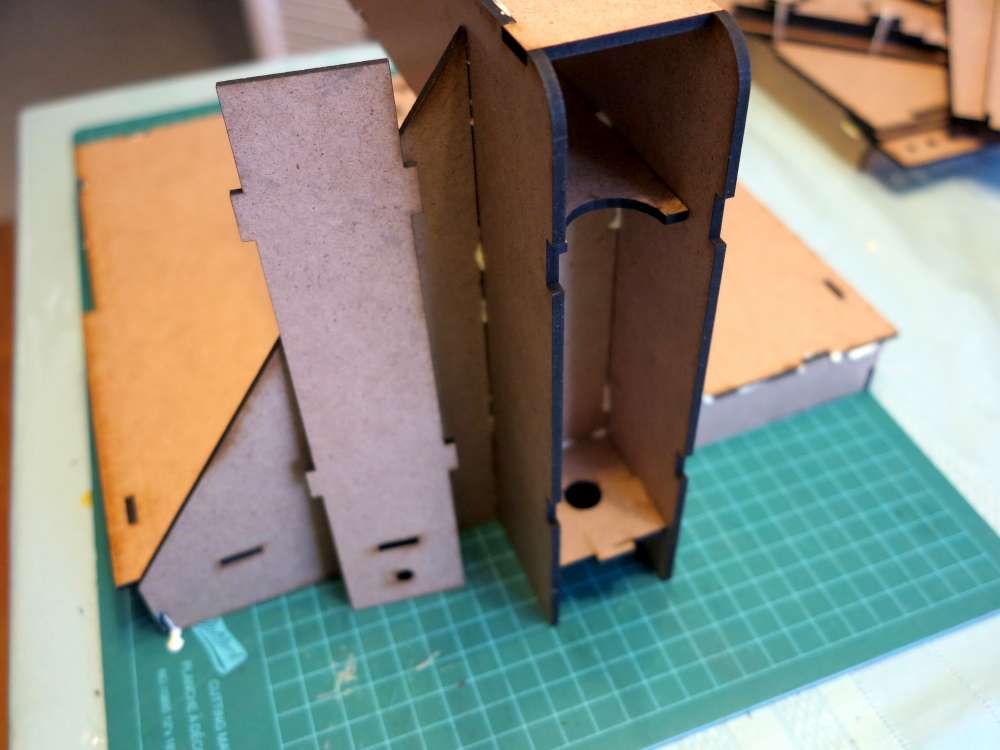
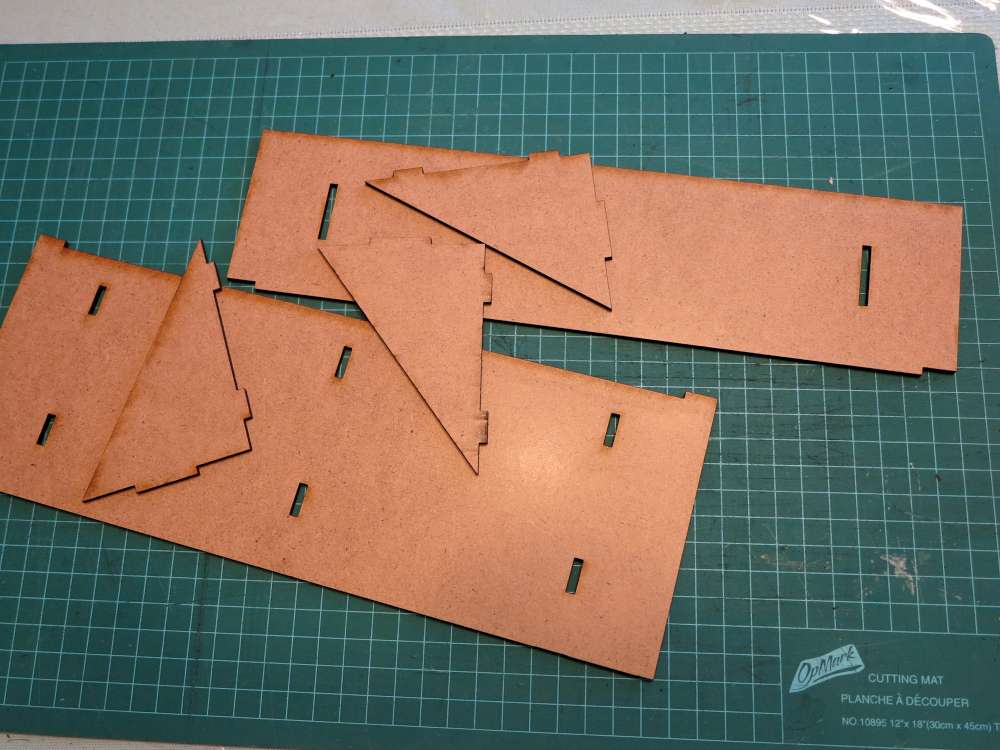
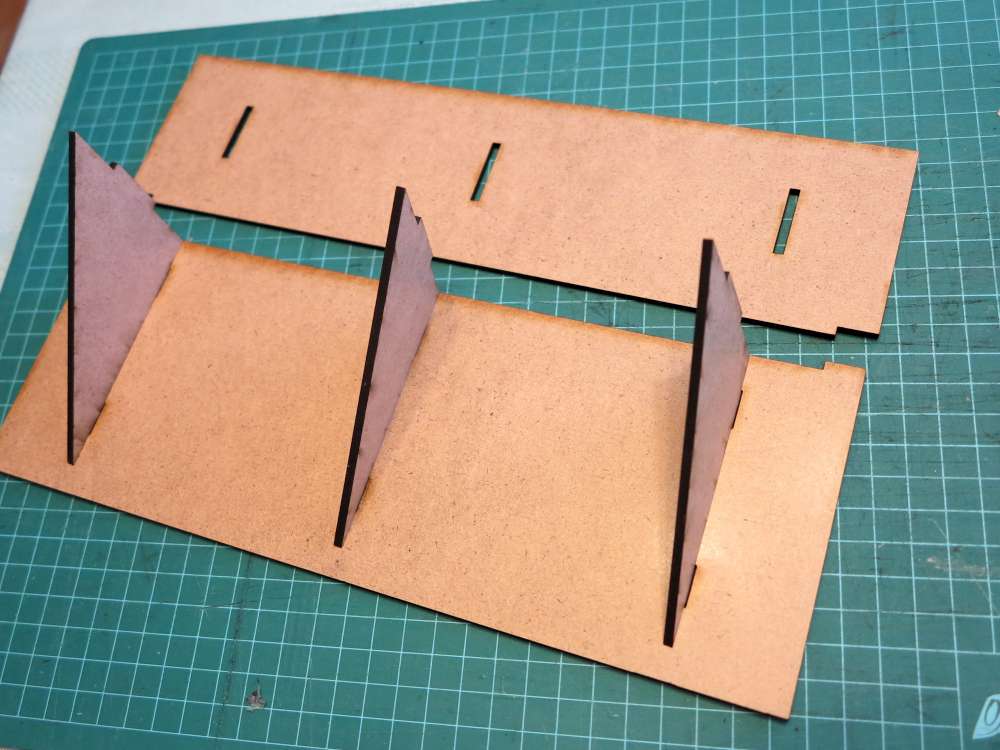
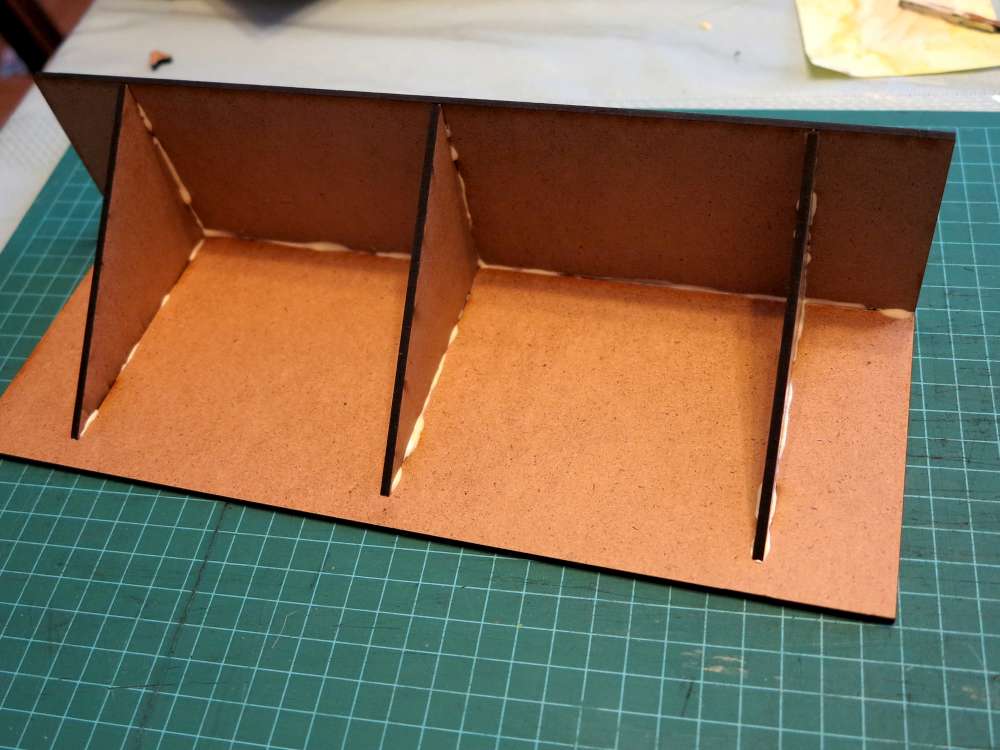
Cut the parts out and make this frame.
I chose 1/4-20 bolts since I had them on hand. You could use any nuts and bolts. Don’t forget to adjust hole sizes though.
Bill of Materials:
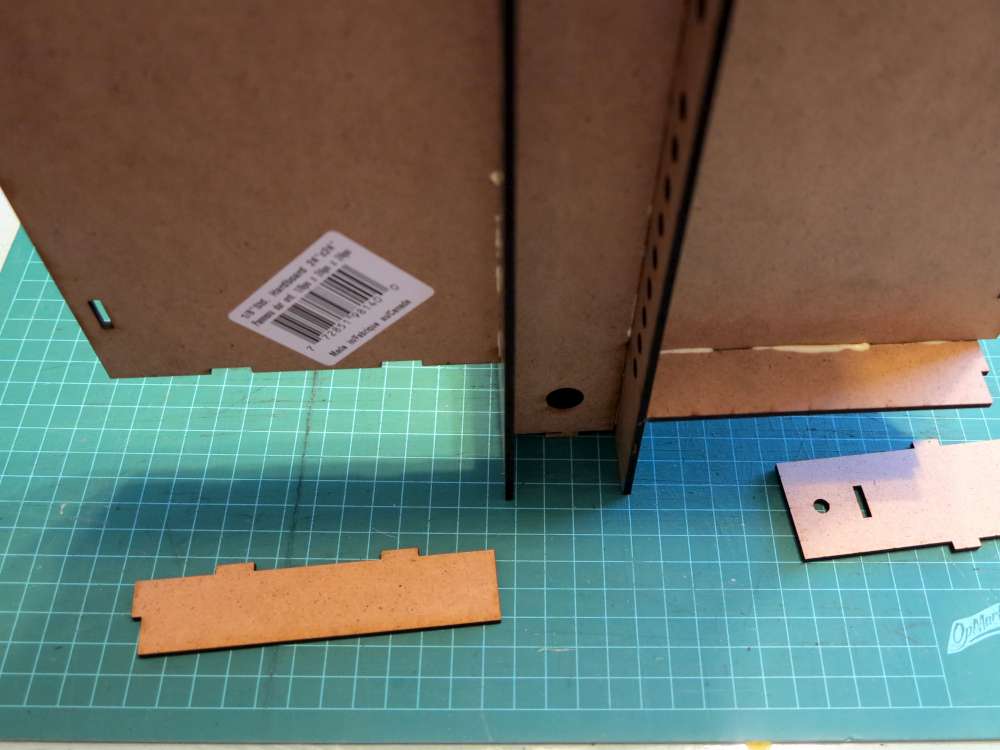
- Couple sheets of 24x24x1/8″ hardboard
- Three 1/4-20 bolts about 2″ long and about 6 nuts
- Two wing nuts (or regular)
- 40 gauge nickel chromium wire
- Rubber bands (#10 or #12)
- Two alligator clamps
- Glue (wood glue, white glue, etc.)
- 9V 500mA power suppl
- Couple of clothespins.
- Styrofoam. Work in a ventilated area since some foam gives off poisonous gasses when heated.
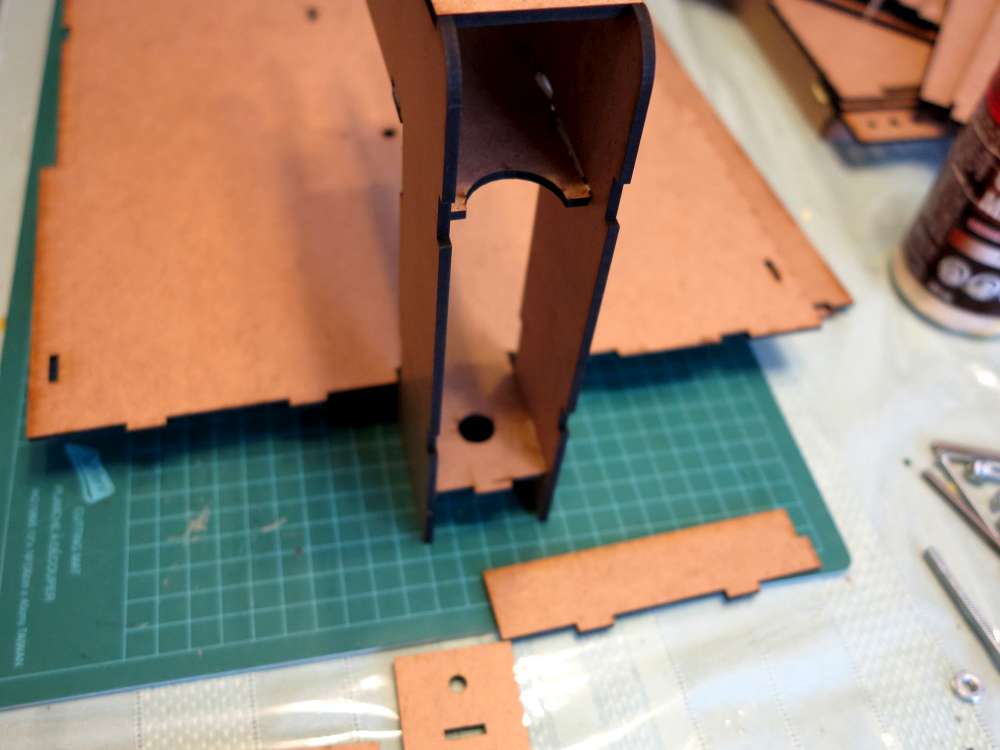
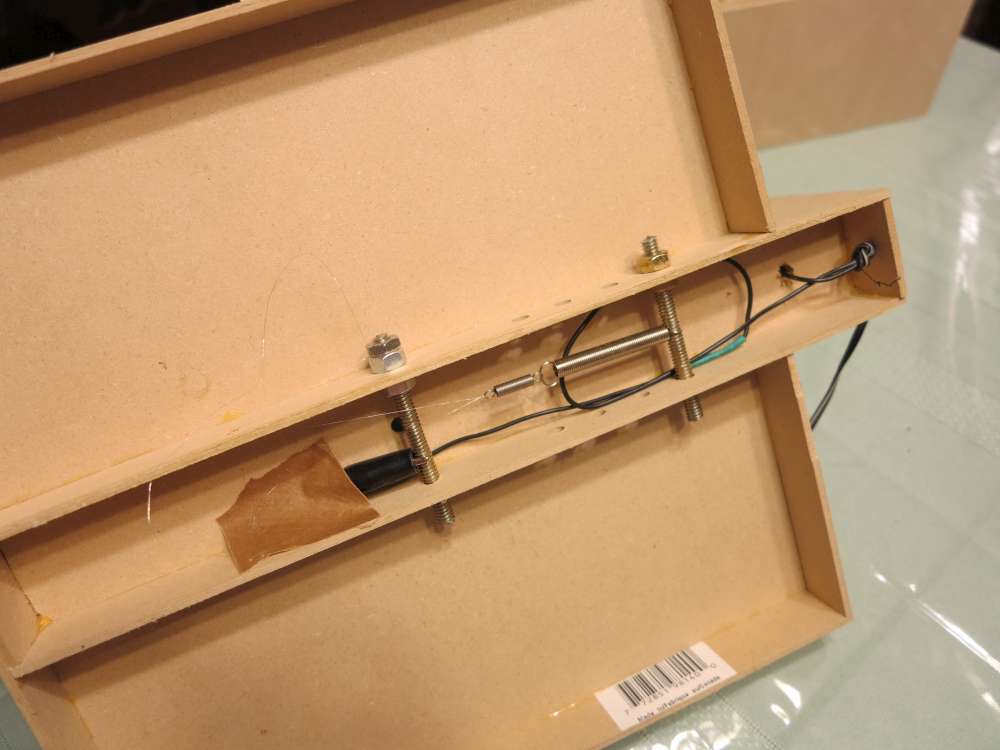
Nickle chromium wire installation.
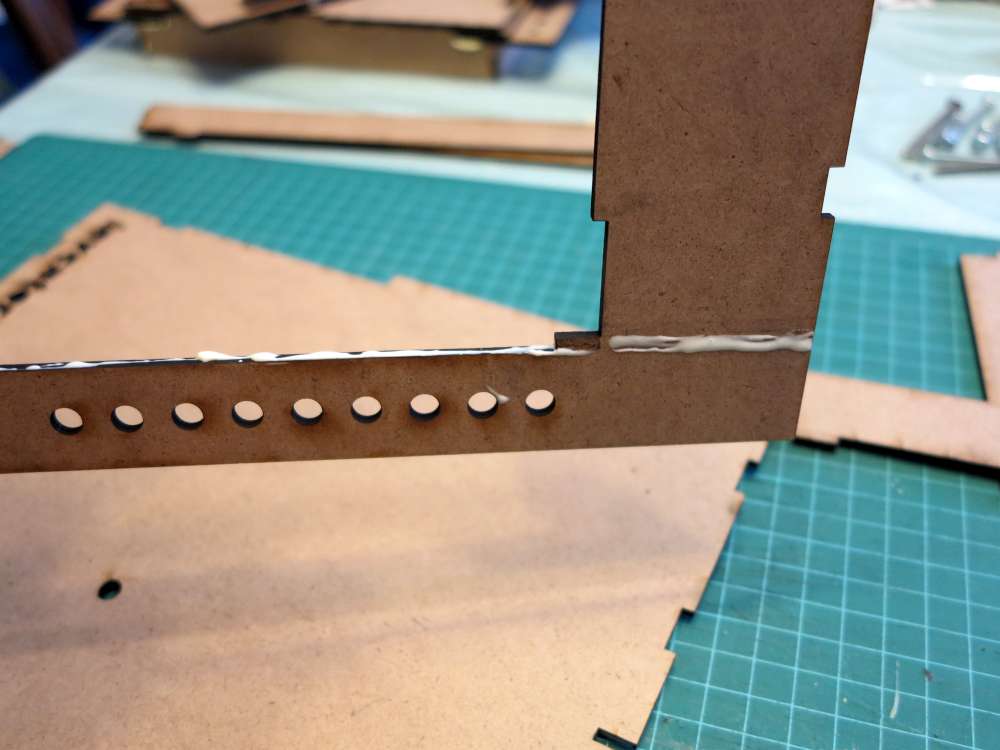
It’s way too easy. Cut out the parts from 1/8″ hardboard. Wood glue them together, add the three 1/4-20 bolts with nuts.
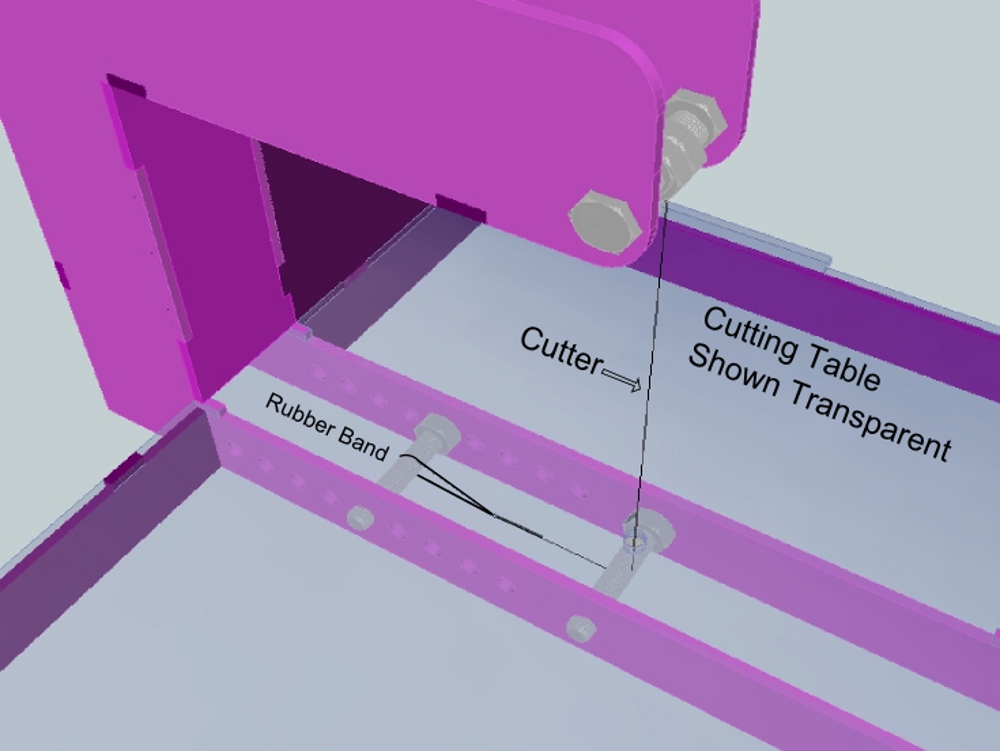
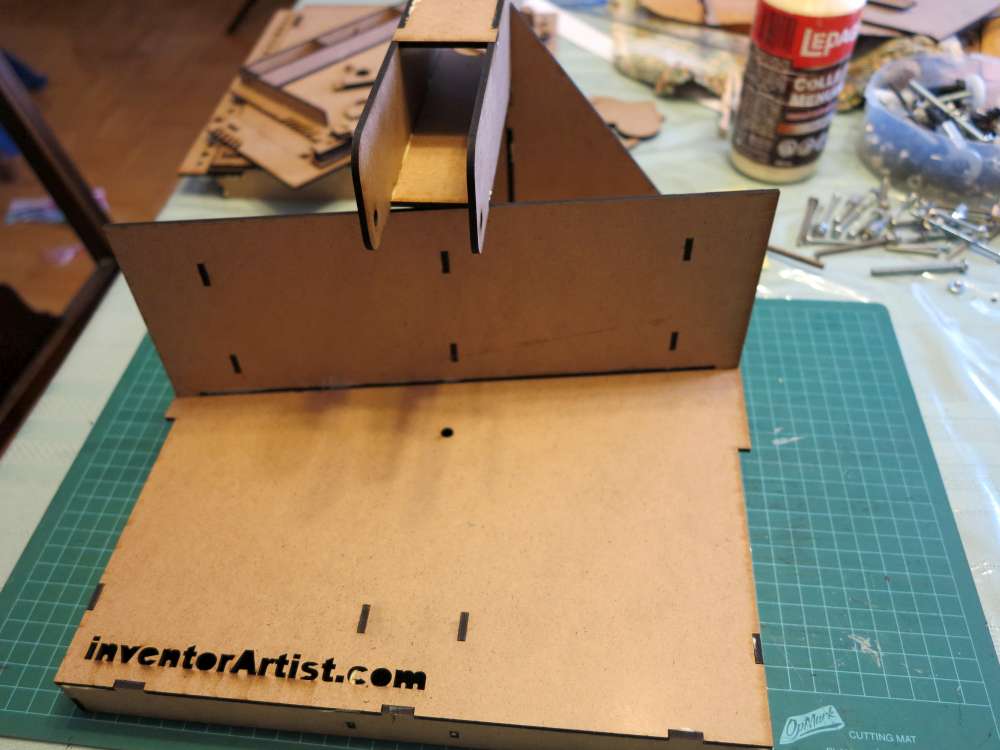
The top bolt (right) is locked in place with nuts and the nickle chromium wire is locked to it with nuts. The wire is fed through the hole in the cutting table, wrapped around the lower bolt and attached to the last bolt using a rubber band. Attach the wire to the elastic by looping the wire onto the elastic and then spinning the elastic to twist the wire. The last bolt can be made shorter so its easier to loop the elastic on.
Electrical is clamped to the bolts with alligators. Here’s how I chose a 9V supply. Using a lab supply I set the current limit to 150mA and increase the voltage until the wire cuts nicely. Note voltage and amperage and choose a supply that matches the voltage but has about twice the amperage.
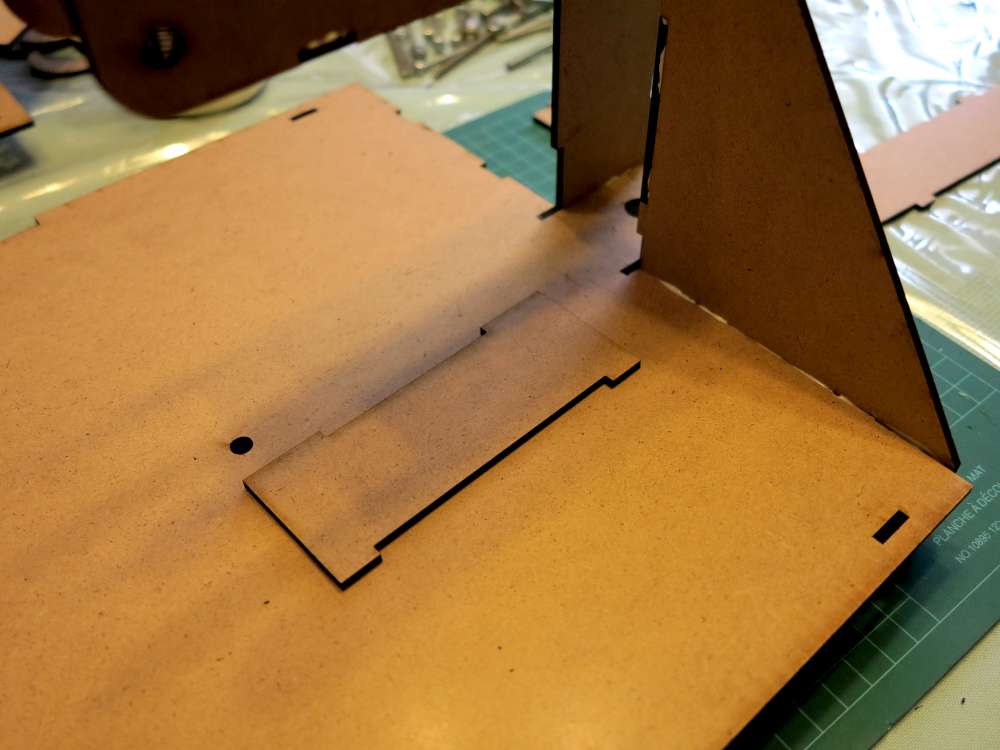
The fence is held in place by clothes pins (there is a 1/4″ overhang of the cutting table). Very adjustable.

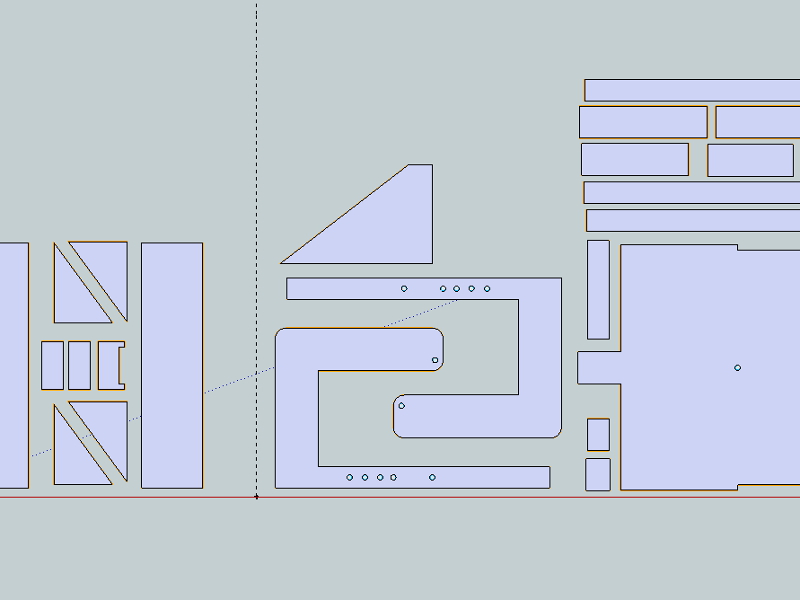
Frame: simplecutter014
Fence: simplecutter015Fence
Related
A robotic version of the cutter.
Use this cutter to make a cool Valentines card with a flyer inside.
Make up some flyers and have a party!
Phil Rossoni makes a Tyler McCready design using this foam cutter!
This is really cool! I’m just wondering, if I were to use the same power source but made the cutting wire about 3 feet long would it still get hot enough or would i need more power? Any thoughts would be appreciated as I have a very limited understanding of electricity. Thanks in advance.
It’s a bit hard to say since there is quite a range of voltage that will work for a given wire. You’ll even want to experiment within that range sometimes to make your cuts smooth (or to make it cut faster).
Why not just try it? What I’ve been doing is connecting the wire sample to my lab supply and varying the voltage until it’s cutting the way I want. I take note of the voltage and amperage then select a power supply.
The foam cuts cleanly. That looks like polystyrene foam you’ve used for the heart cut-outs. Can it also cut polyurethane foam?
Not sure, if you send me some I’ll try.
Check out this plane made from this cutter! https://www.youtube.com/watch?v=UPJZEwFu2aA
This cutter is great for cutting out the glider profile in thick foam and then using the guide to thin slice the foam. See a photo at the FB page:
https://www.facebook.com/photo.php?fbid=646011118804164&set=a.359659204106025.79799.265013860237227&type=1&theater
Wohoo! Looks great!
Trick is to make templates to help make the shapes. Feel free to send me any sketch and I’ll make a template out of hardboard…
Wow, so you got a stack of wires all working in parallel! Just like Slater.
Yeah, it’s quite a boon for speed. 🙂
http://www.heatersplus.com/nichrome.html
Thank you for the Slicer and Cutting Bow! I had not thought of those implementations and am excited to try them out as well!!
Glad you like them. I actually had an lot of fun making them.
This post made hackaday and here’s a great alternative power supply that came forward “What I found to work great was to use a light dimmer and a 12 volt transformer (the ones used for halogen lamps).
This setup gives you more power, needed in the case of thicker or longer wire, and the ability of controlling the temperature of the wire.” — Iván Núñez
Just about to cut out a slicer. I used the following chart for hole sizes for bolts: http://www.metalwebnews.com/howto/drill-tables/screw2.html
Please do post those design files! Your cutter looks great!! I can’t wait to try this!!!
Sure Dan I’m happy to post it. What kind of cutter are you going to use?
Dan, I posted my Sketchup file.
Thanks! I was just going to cut them out by hand, most likely. Is your opinion that hardwood is best for this, or could stiff cardboard be substituted for some of it? Also, how thick should the heart glider be cut to? I love your posts, so please keep ’em coming! 🙂
I’m using hardboard (not hardwood). It’s very inexpensive.
The machine I made is sort designed around using a CNC to cut the parts out.
There might be a better way to make this if you are cutting by hand.
Perhaps the fence could be cardbordboad. But I’d use hardboard or stiffer…
Okay, thanks!