DIY Shoe Sole Protector
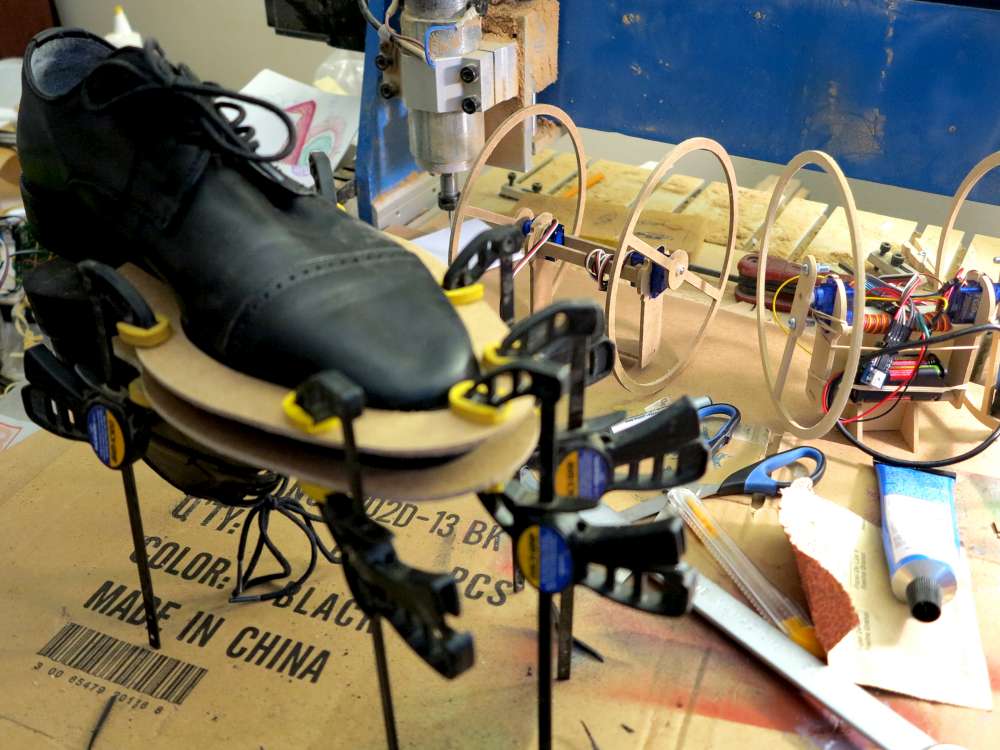
 I figured out how to repair my own shoes. I even got to use a CNC machine to make a sole clamp. Of course you can do this by hand or use reversed clothes pins (below).
I usually go to the shoe guy and have a rubber protector added which lasts about 10 times longer than the leather. It used to be 20 bucks but lately it’s 40 and 50 everywhere I ask. I wasn’t convinced it’s such a big job so I put my money were my mouth is.
Turns out I’m right. In fact it was easy, fun and frugal. I can’t wait to do it again. This doesn’t just save money it saves time since you don’t have to make two trips to the shoe place. No lineups.


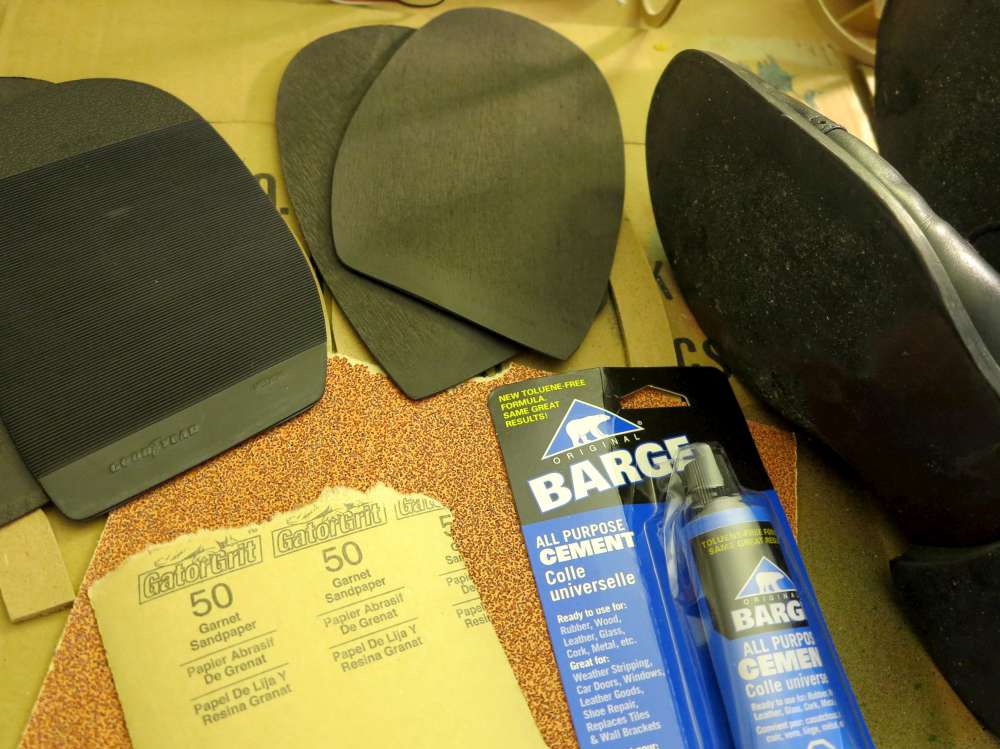
What to Buy
I needed sole material and glue. This readdit thread help me discover the vocabulary to search for. The key words are Barge Cement, Rubber Sole Protector and Soling Sheet. When making my first order I didn’t have the keyword “Soling Sheet” yet so I only found some designer Goodyear sole protectors and I paid a lot for shipping. So my first two jobs will be $20. But it’s going to drop to $10 right after that because I’ll reuse the glue and of course I’ll eventually buy the sheet so it’s going to come down even more. Wohoo!
How to Do It
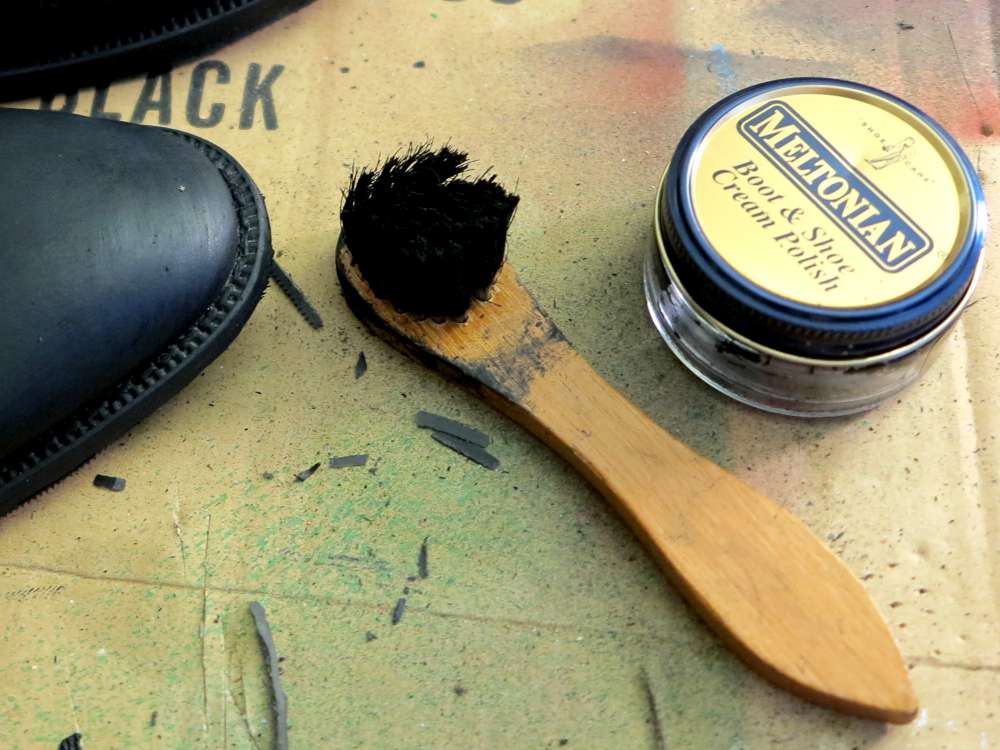
This didn’t take much time at all and no special tools were required. Just 50 grit sandpaper, a throw away brush, clamping system, scissors, black marker, hobby knife, dremel with sanding wheel, barge cement and the rubber.
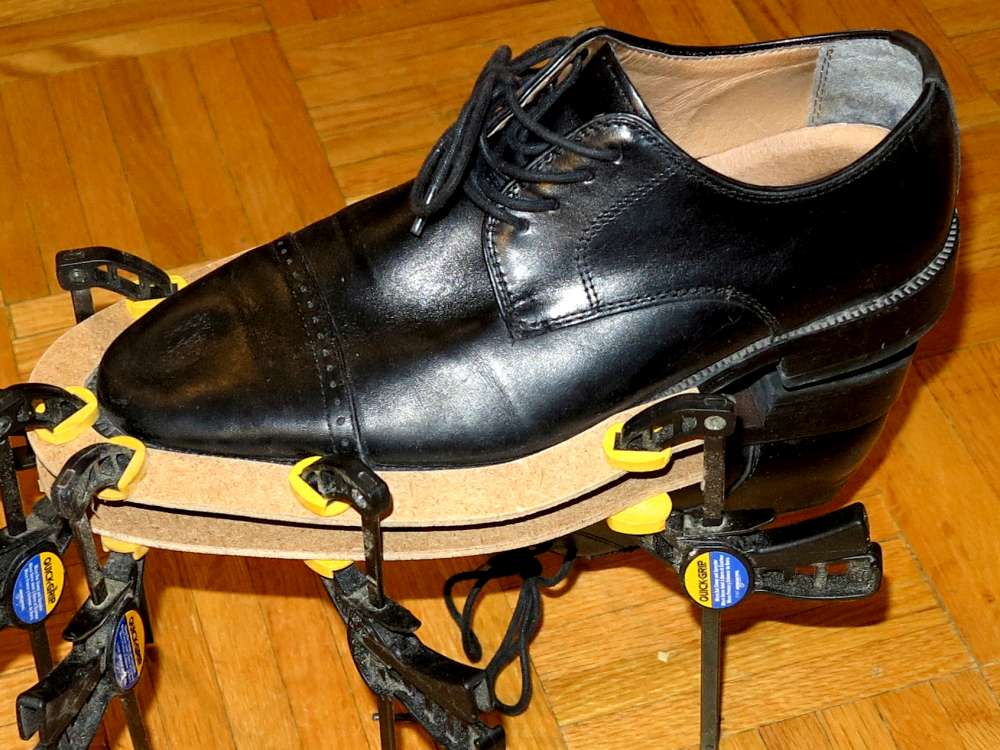
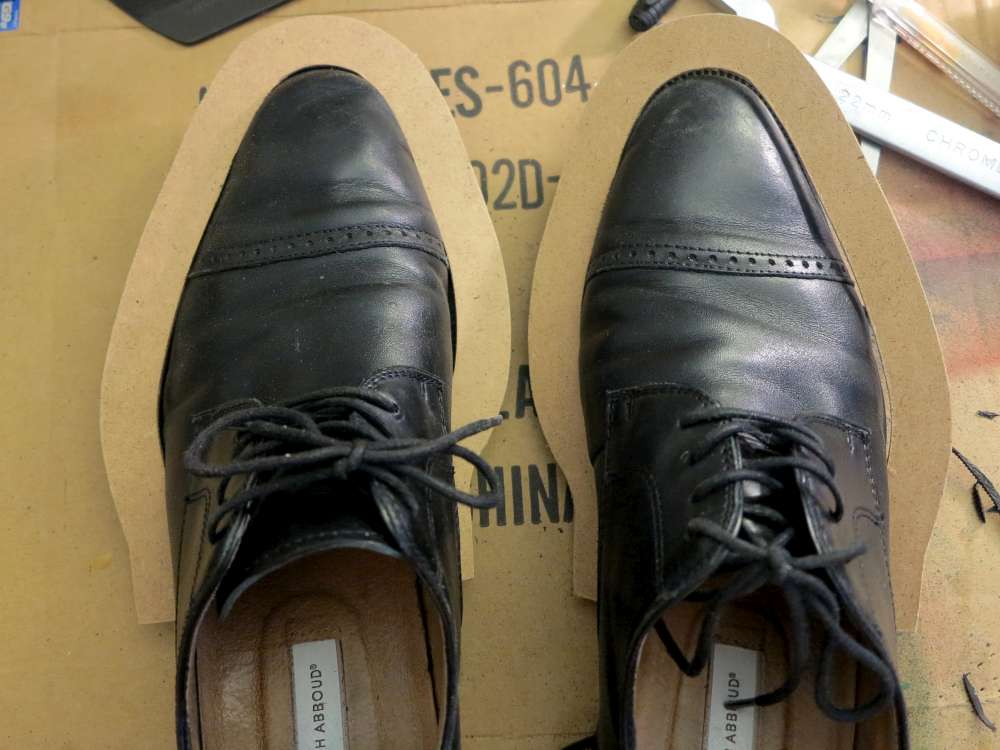
- Make up two shoe clamp profiles out of thin wood (I used hardboard). I used google sketchup and a cnc cutter like the one I used for this cool drawing project. I took a photo of the shoes, opened it in sketchup, traced with the curve tool. Measured the shoe, set the size of the object, then sent the job to my cnc cutter. Presto! Custom clamps. I’ll use these clamps as long as I own the shoes. I should mention you don’t have to make a clamp like this you could cut the wood by hand or figure out another way to clamp.
- Clean the shoes.
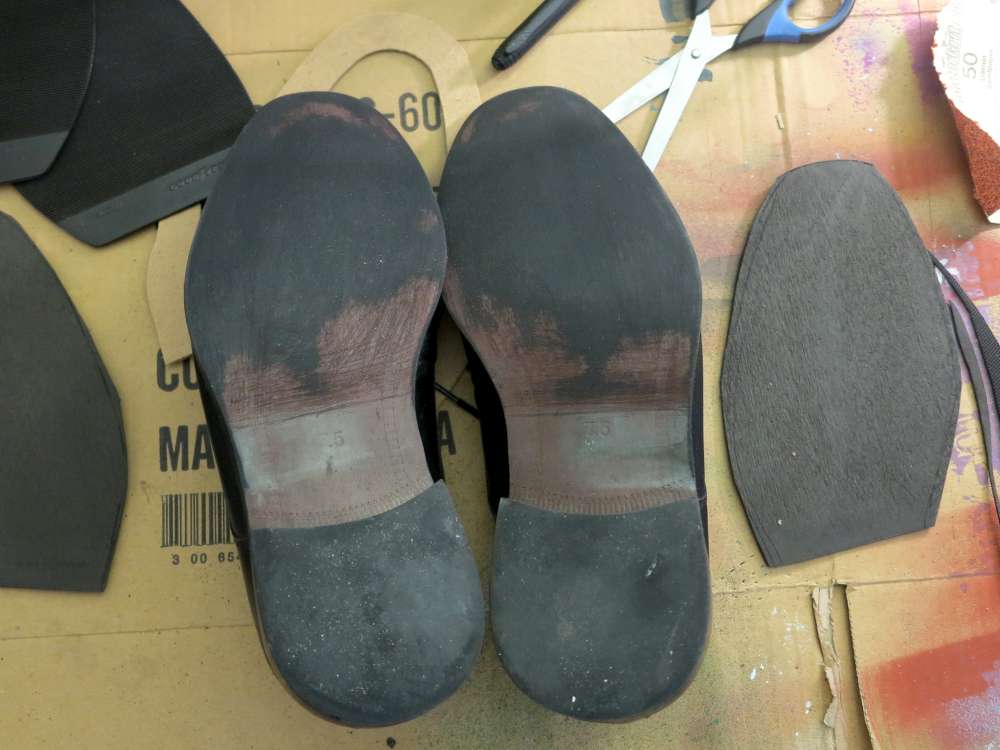
- Position the sole and mark. Mark rear glue line on shoe bottom and mark rubber for rough cutting.
- Rough cut sole with scissors.
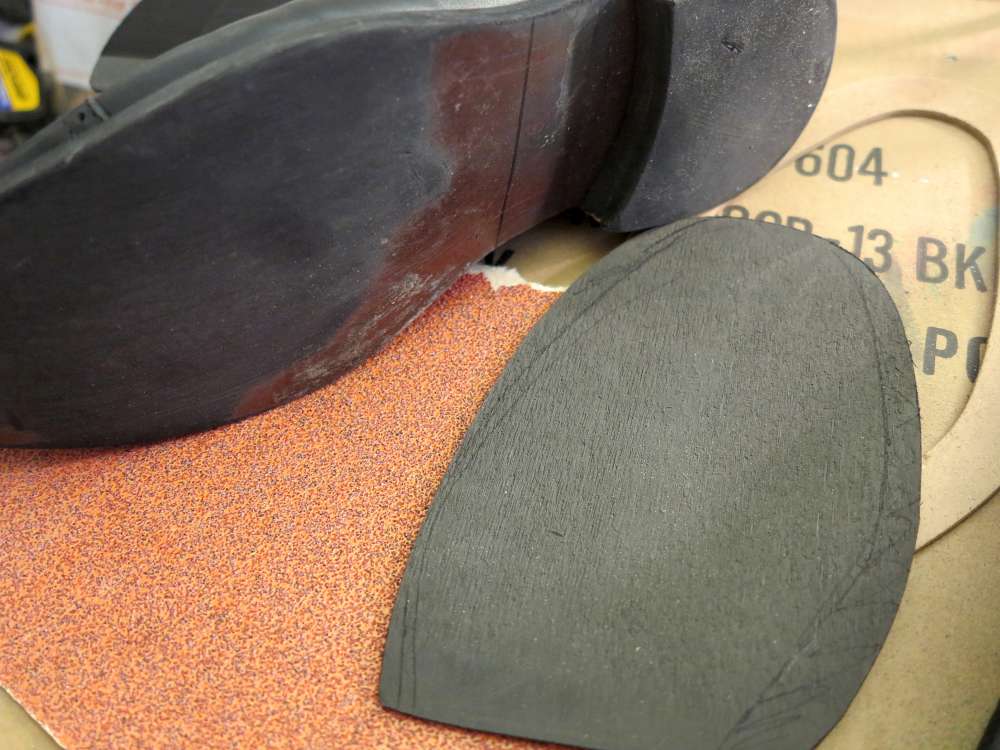
- Rough shoe bottom and protector with 50 grit sand paper.
- Brush cement on both surfaces till it’s sticky.
- Set 25m.
- Place protector on table (glue side up). Position shoe carefully from above while monitoring fit. Alert this is contact cement! This glue has no forgiveness. If you contact in the wrong spot it will not let you pull away and try again.
- Press everywhere to make sure it is glued.
- Clamp for 24h.
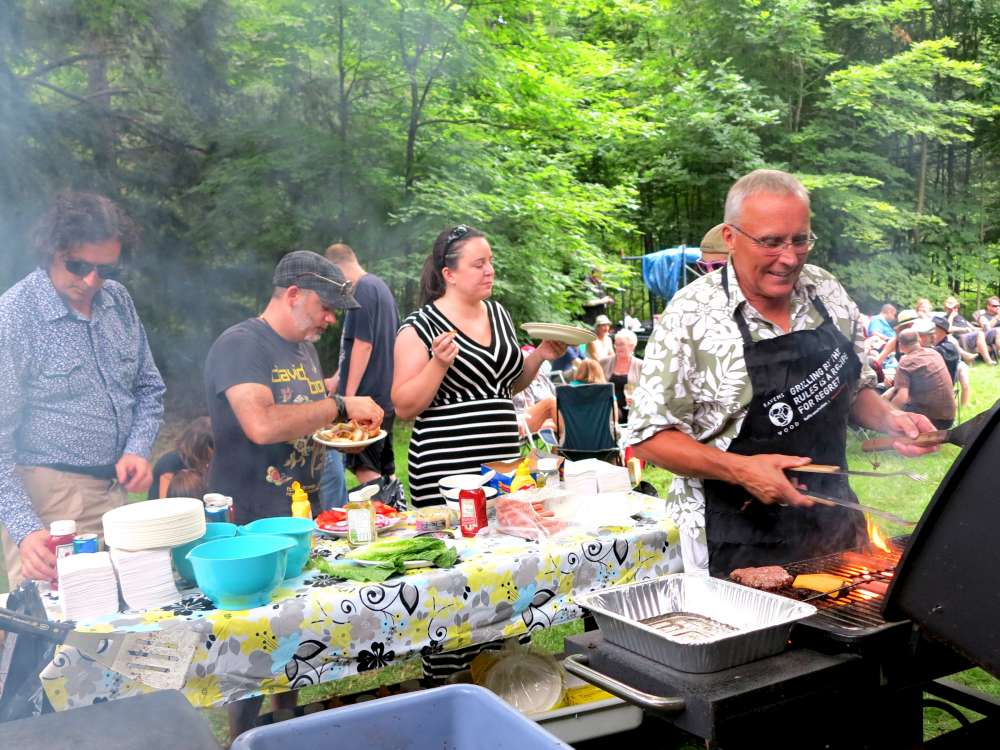
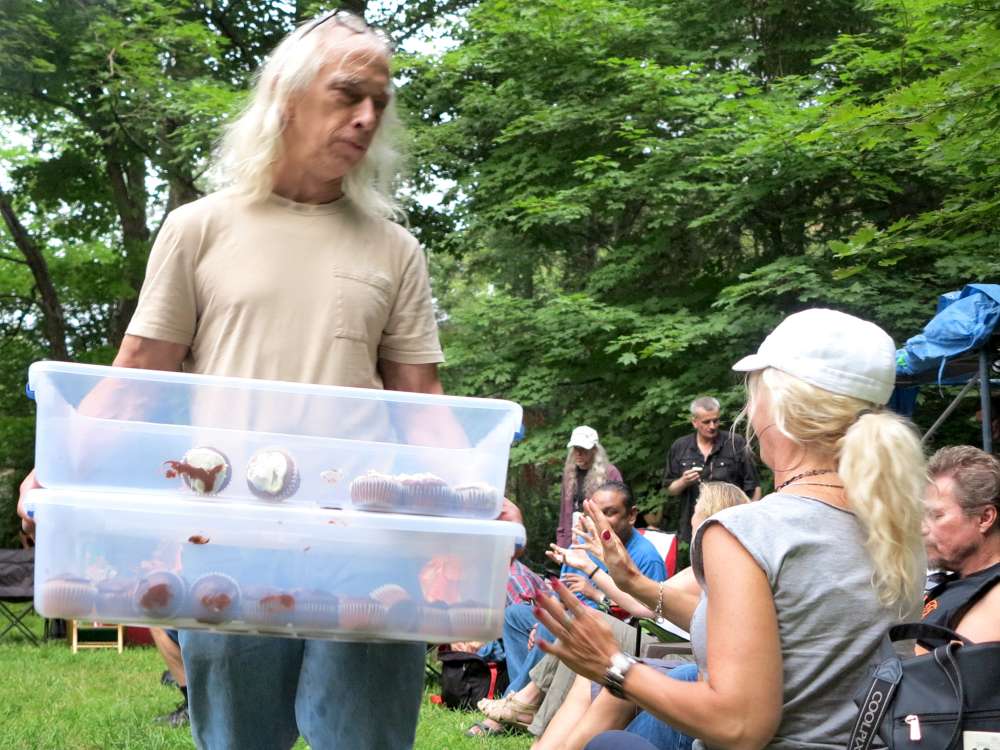
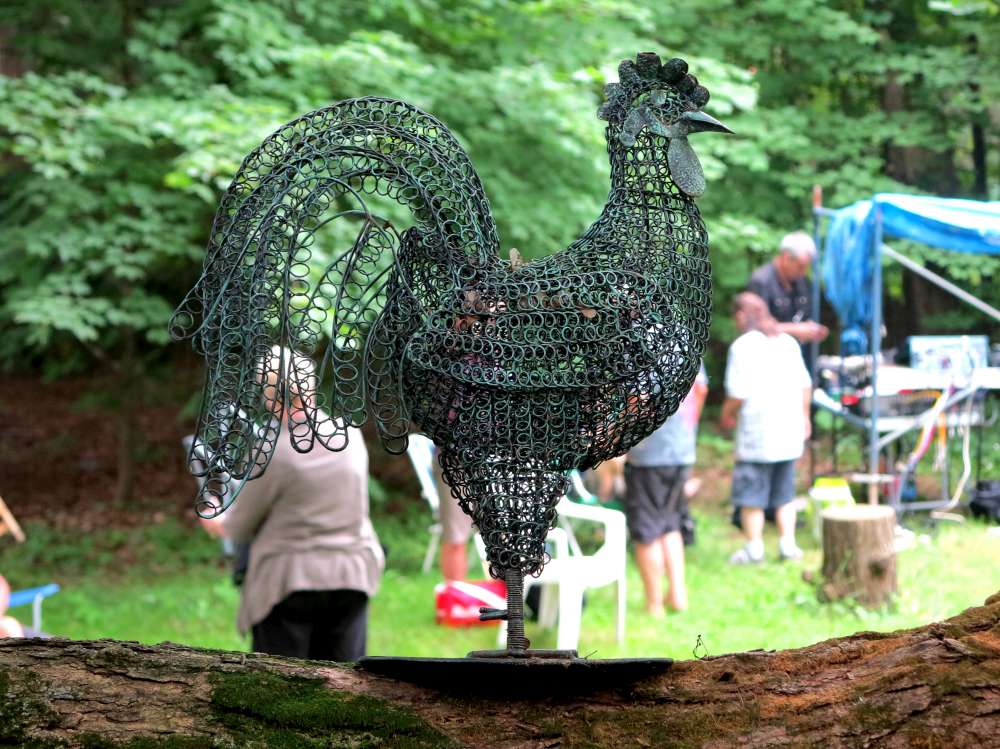
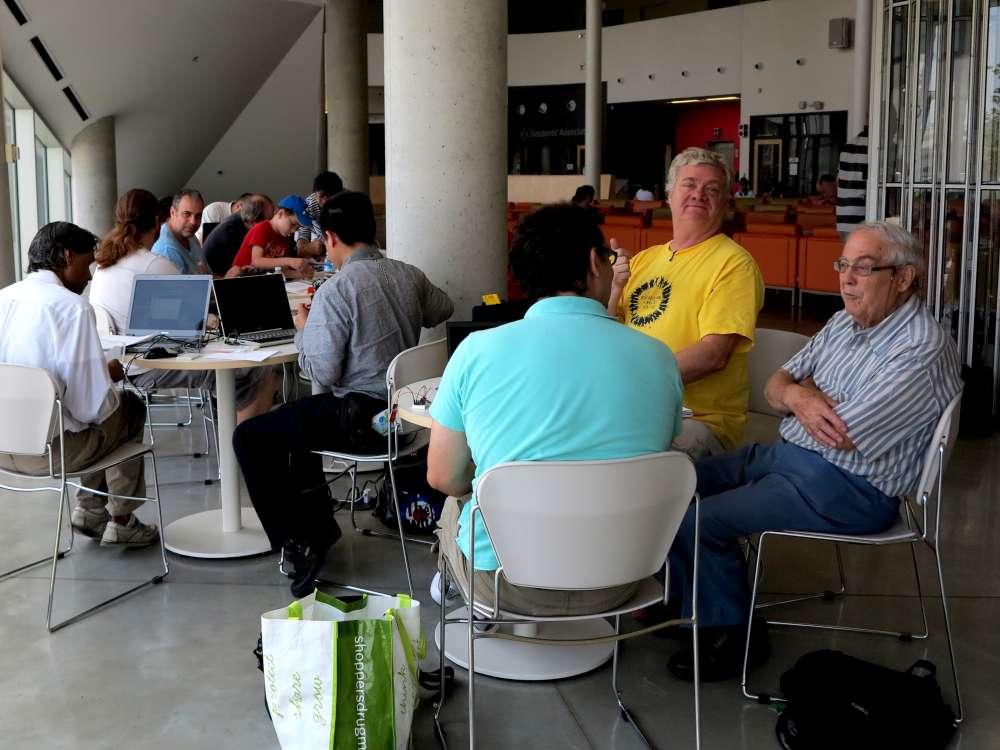
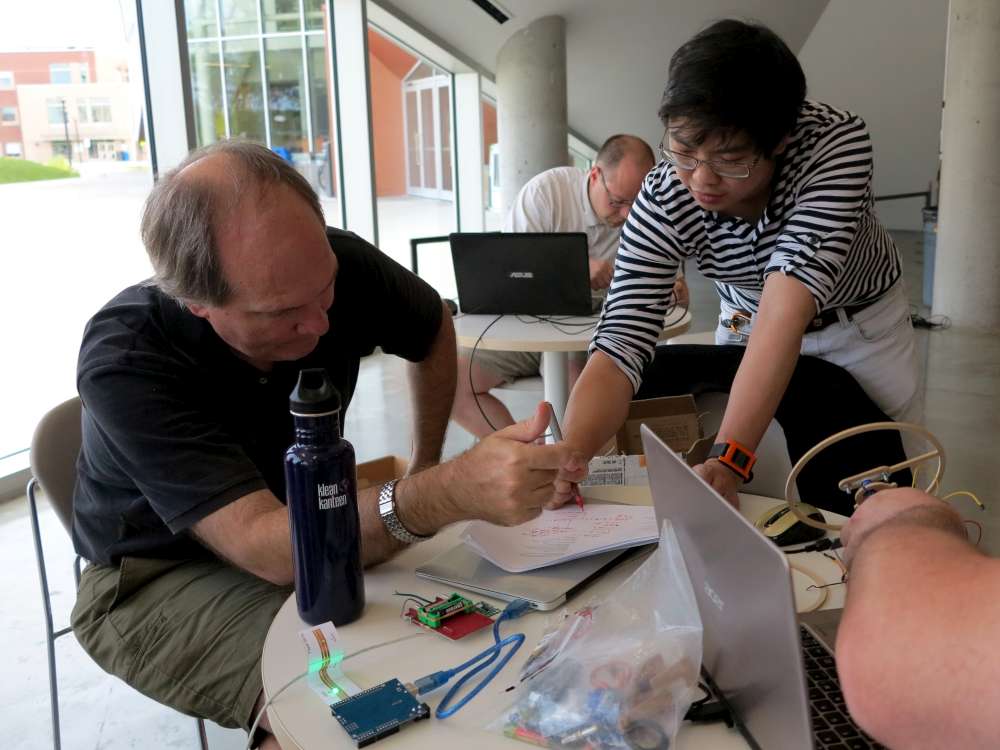
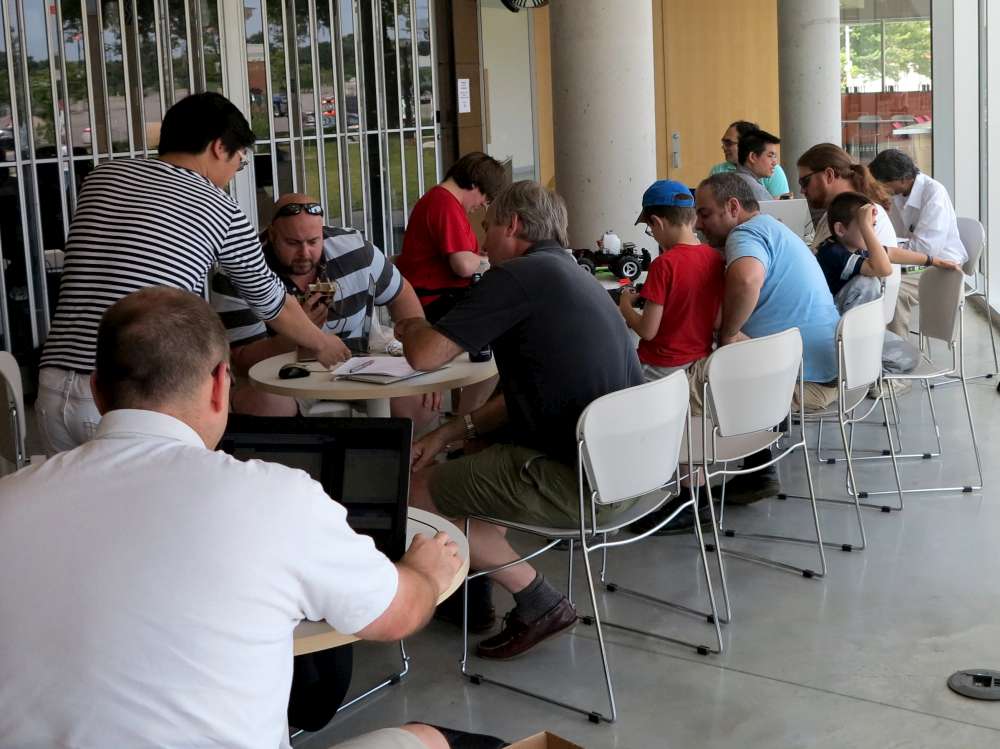
- Find an activity that does not require your shoes. For example attend an Arduino Meetup and perhaps a BBQ (below). It also helps if there’s a long haired guy delivering cupcakes and if there is a fun communal bus ride to the BBQ. A wire rooster sculpture is handy. I wore my hiking boots.
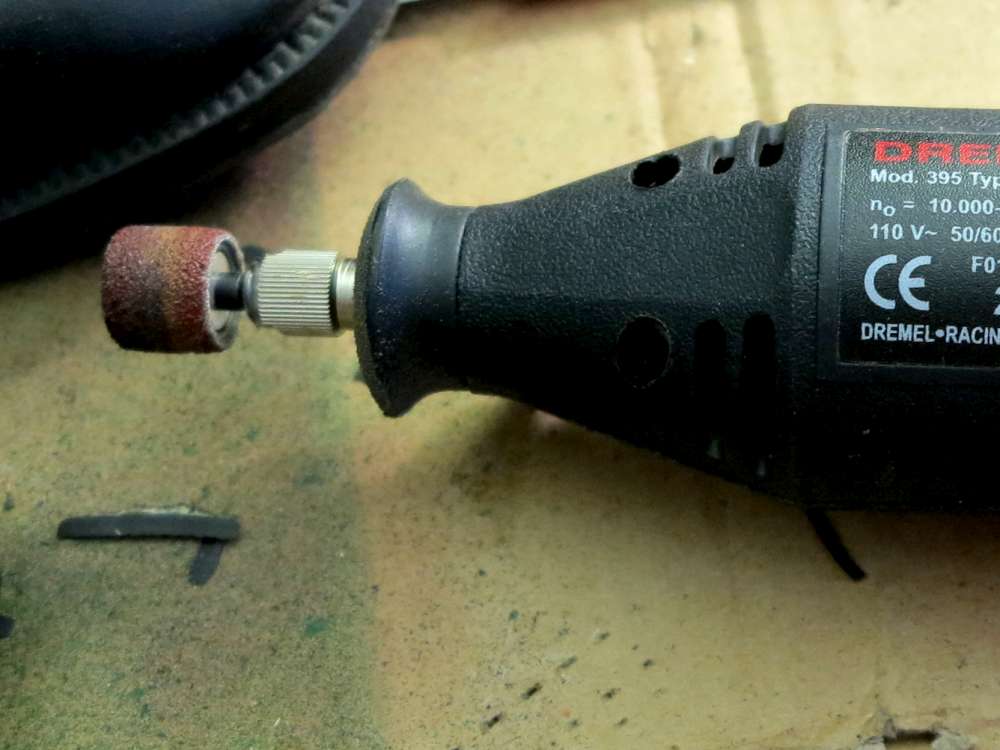
- Trim rubber with sharp hobby knife. No sense doing this earlier since the clamping method caused the rubber to creep out about 1mm.
- Carefully smooth the rubber flush to leather shoe bottom with dremel sanding wheel.
I also learned that the soles can be removed using thinner (from any hardware store). So when they get worn, I guess I brush it onto the glue while pulling the old sole off. I was told not to get the thinner on the rest of the shoe.
- Impress your friends.


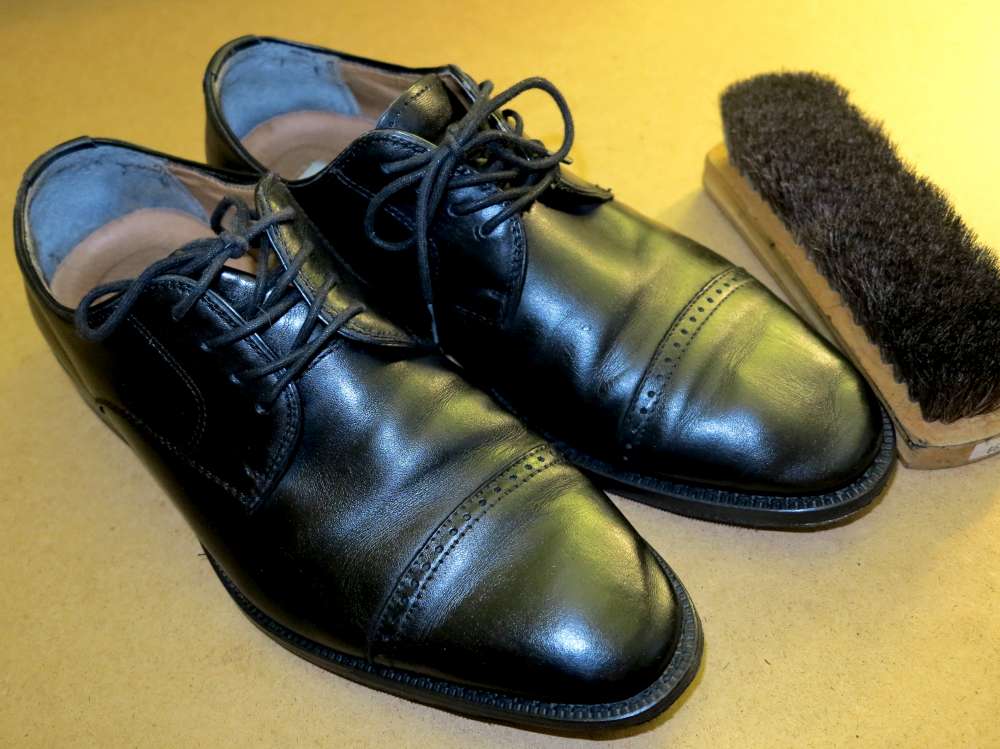
Good and Bad Shoes
It’s really worth having a good pair of shoes that are worth repairing.
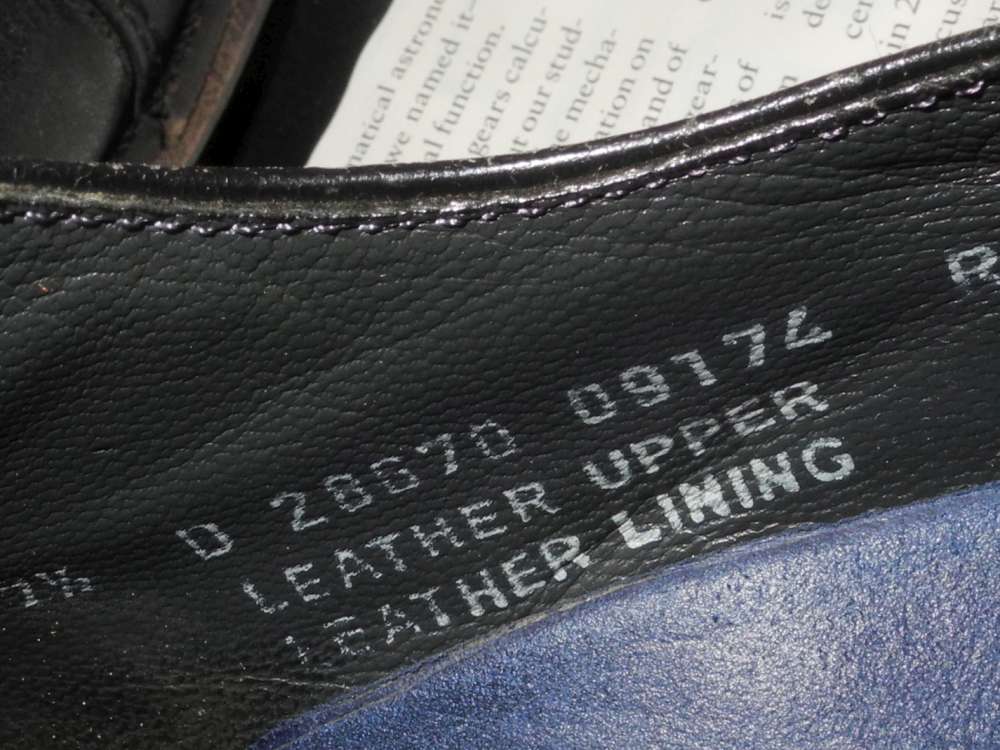
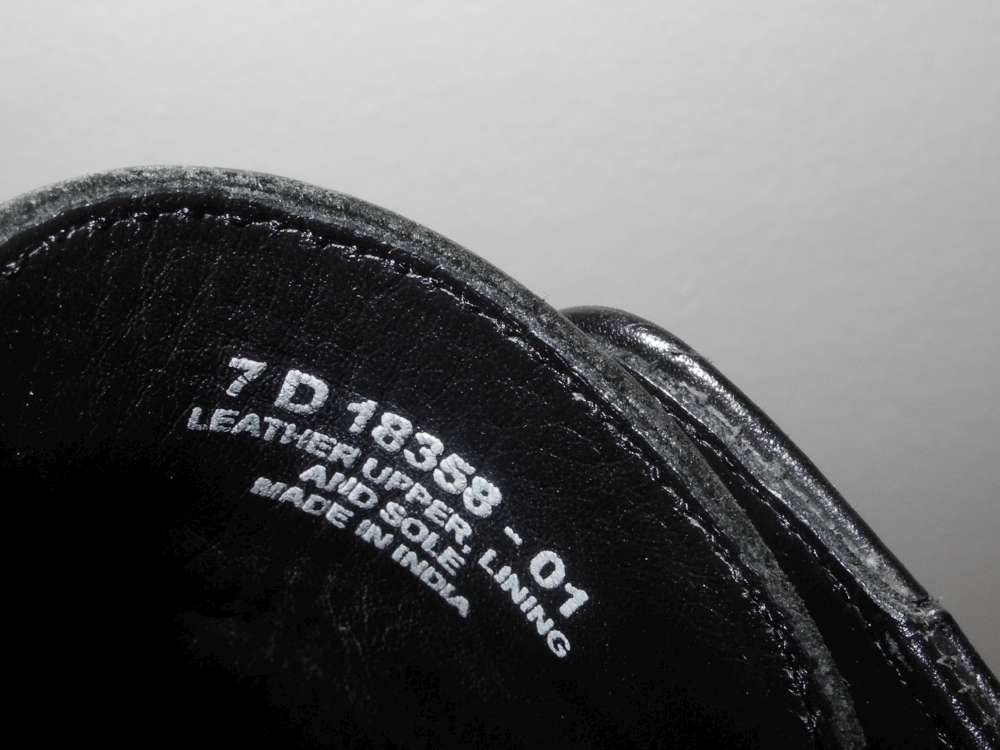
The shoes above are my first pair of Joseph Abboud. I am very pleased with them. For comparison, have a look at these Florsheim shoes below. I did not walk on their leather soles, I had rubber protectors installed right away since the shoes were expensive. Within weeks they were cracking on the sole and the sides where they bend. It got bad rather quickly and they were retired to being junk shoes right away. That really bothered me since they were a really expensive pair of junk shoes. In fact a couple of my friends jokingly referred to them as my “bum shoes”. After about a year when I was disposing of the shoes I couldn’t stand the sight of such an expensive pair of shoes going in the garbage so soon. I wrote a note to customer service of Florsheim. Mona Kaltman of Customer Service (WEYCO Group CANADA) got back to me saying “The damages are due to regular wear and tear over time and not a manufacturing defect. We cannot replace them”. Needless to say, I never bought a pair of Florsheim shoes again. My prior pairs were okay. In fact after this, I went through a phase of buying throw away shoes. The kind you can’t replace the soles so you just throw them out and switch to another pair when the soles go.
Thankfully I think I found a shoe brand that is worth maintaining!
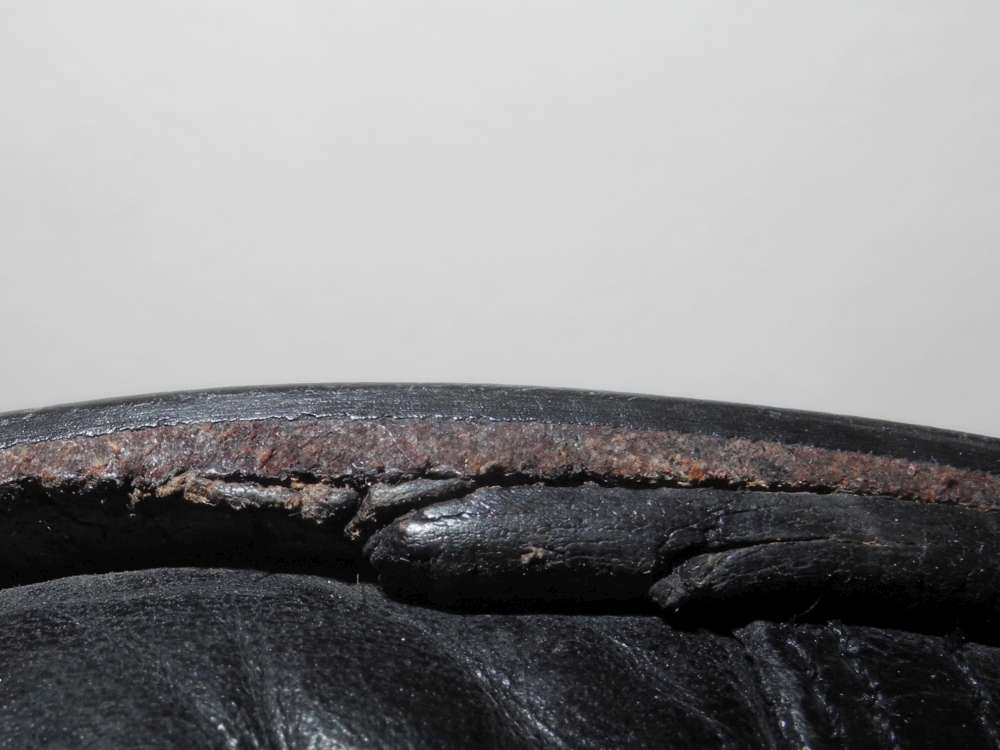
These pictures were actually taken not long before disposal. As you can see the sole protector is not worn at all.
Related
 Reversed clothespins are easy to make and can be used to clamp the soles. If you don’t feel they are strong enough, after they are in place, shove something in-between the protruding tongs to force them apart and increase the clamping force. You will need quite a few as I think you’d want to have them edge to edge so things don’t get bumpy.
Below is one of the videos that inspired me to actually attempt this.
I just watched it again and in retrospect I should have used a piece of foam instead of a brush for applying the glue. I think it’s quicker and smoother. You don’t want any lumps as you’ll be walking on them.
Here’s another video that’s more extreme. You can see all the crazy tooling a shoemaker has.
[…] I fixed my shoes […]