DIY Two Pole DC Motor
I worked on the Easy Motor kit for kids project today. I am hoping I can get something very simple that kids can snap or glue together to learn about how a basic electric motor works. I’m not sure what the age group will be for this project.
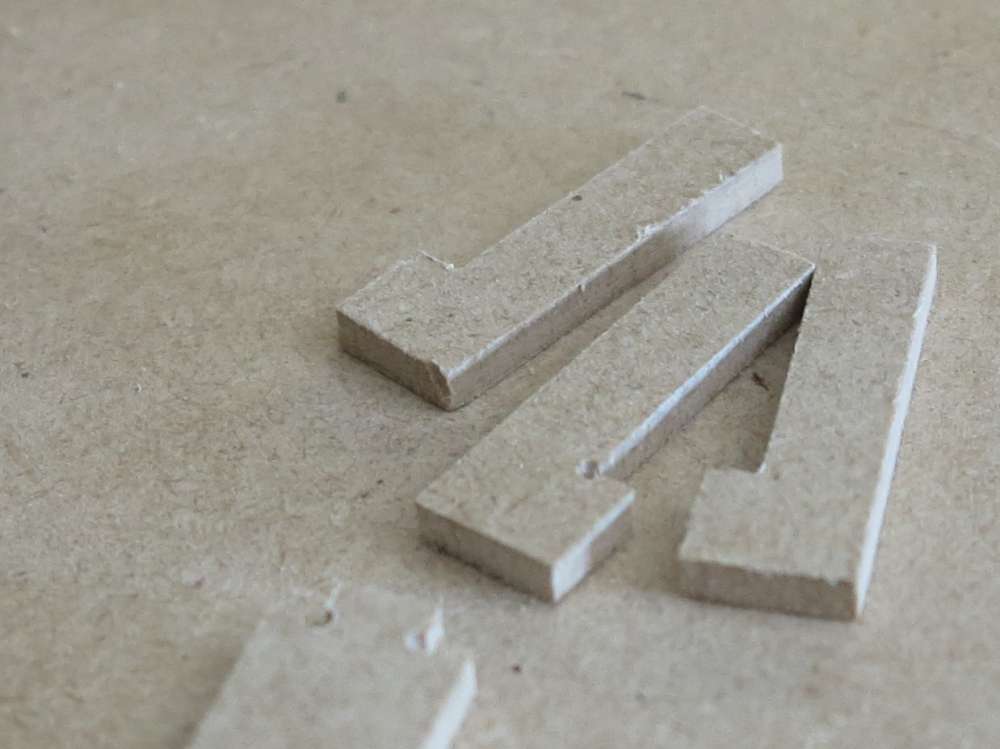
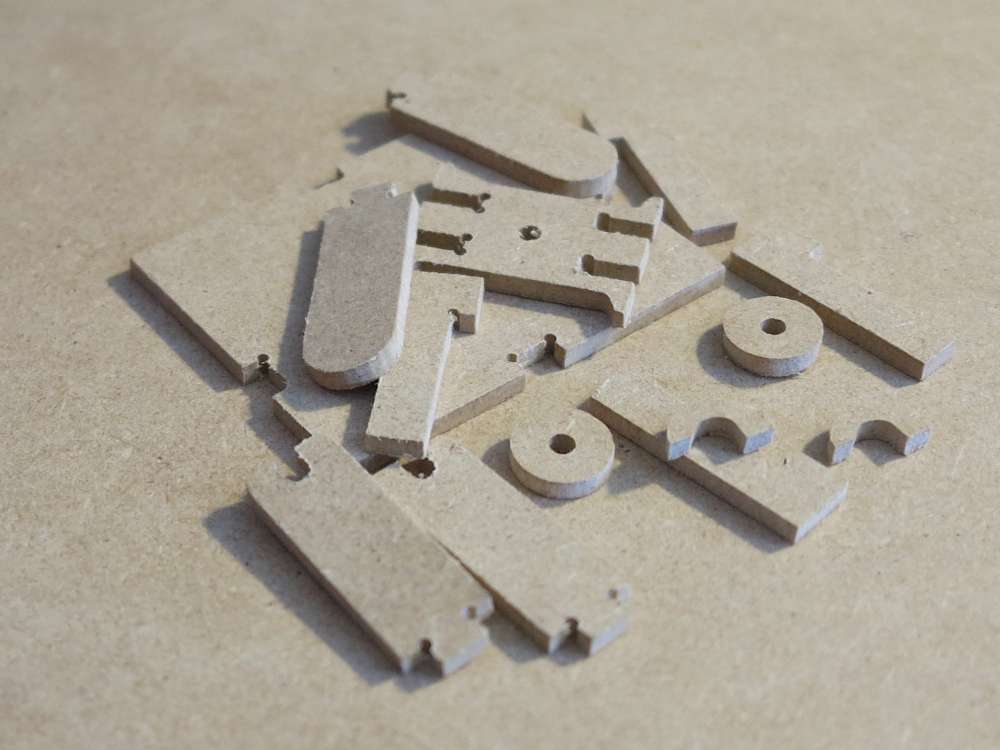
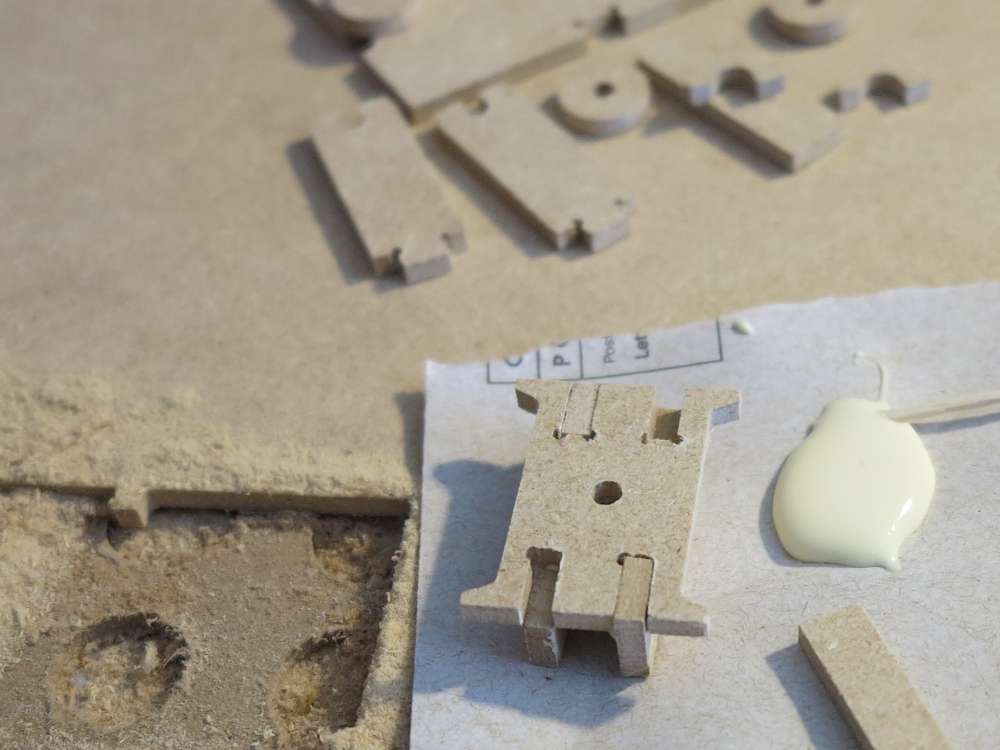
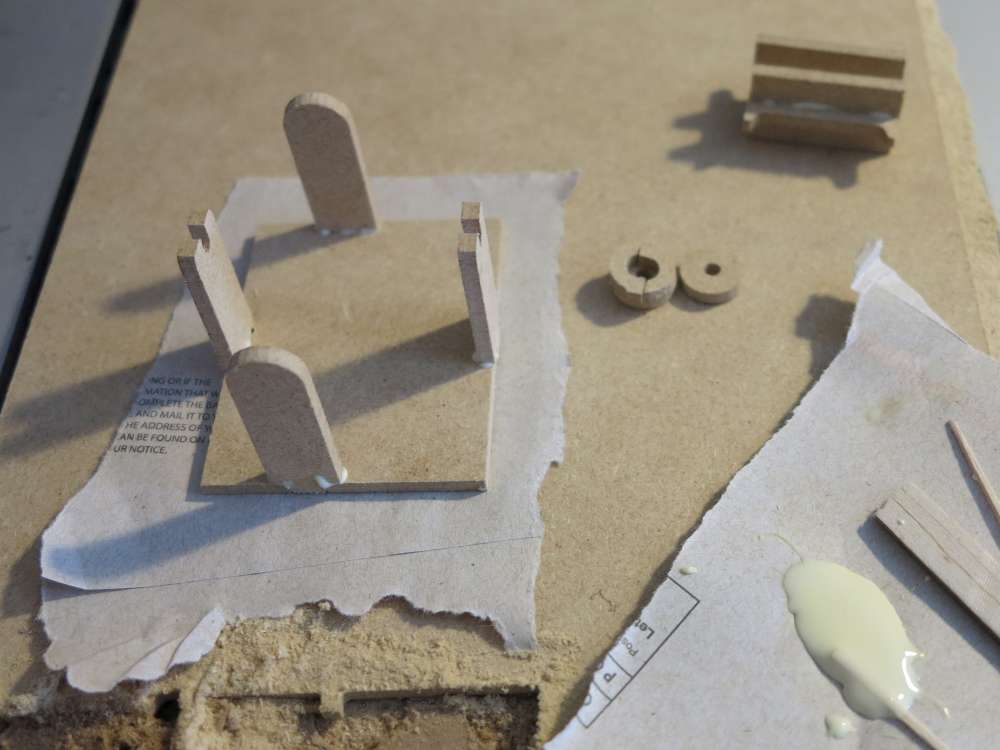
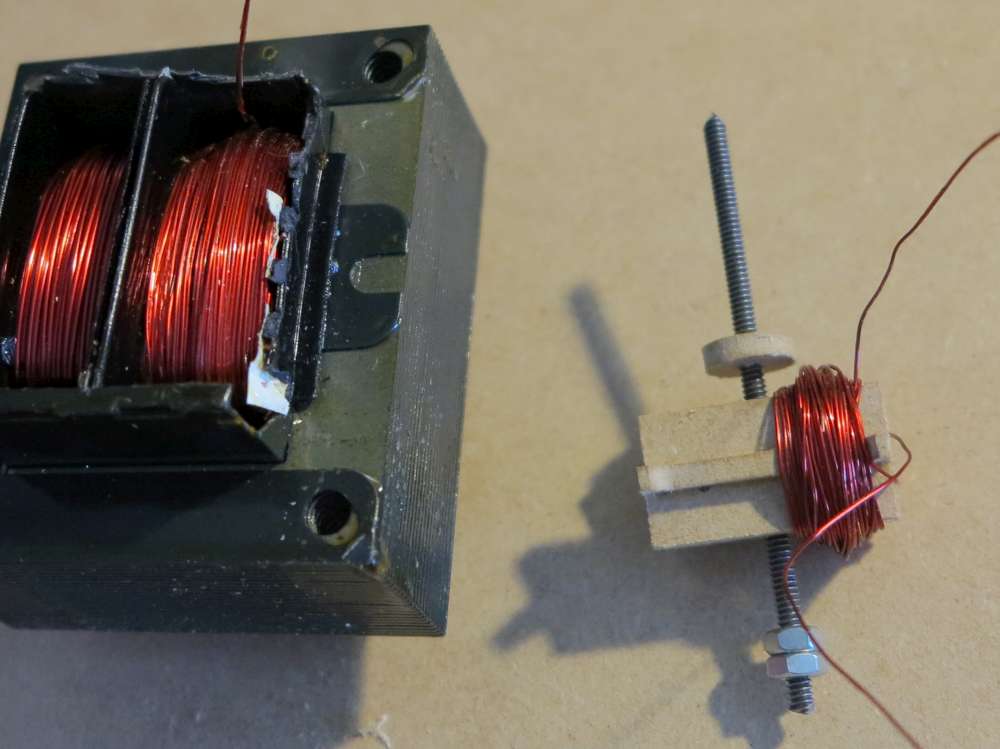
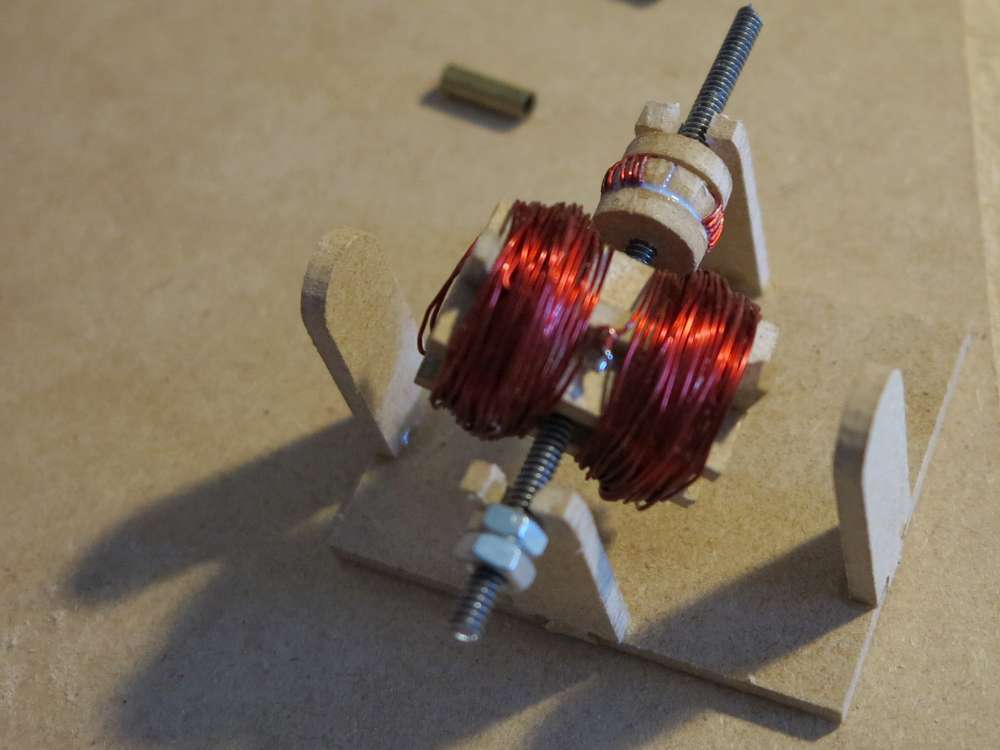
I made the parts as per my prototype design and glued them together.
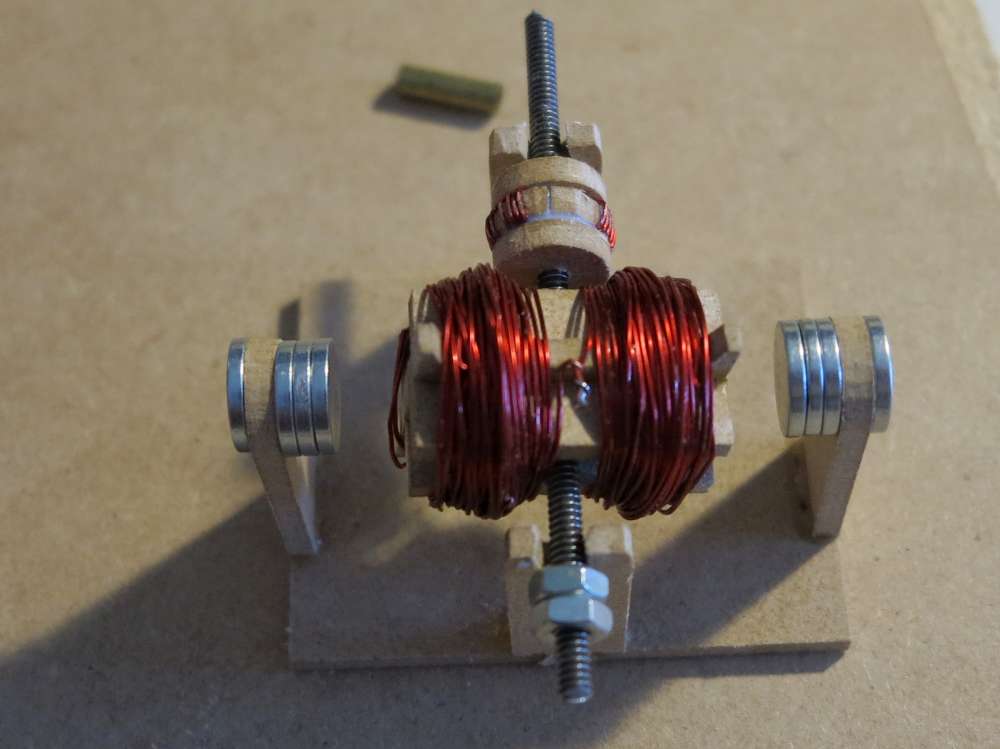
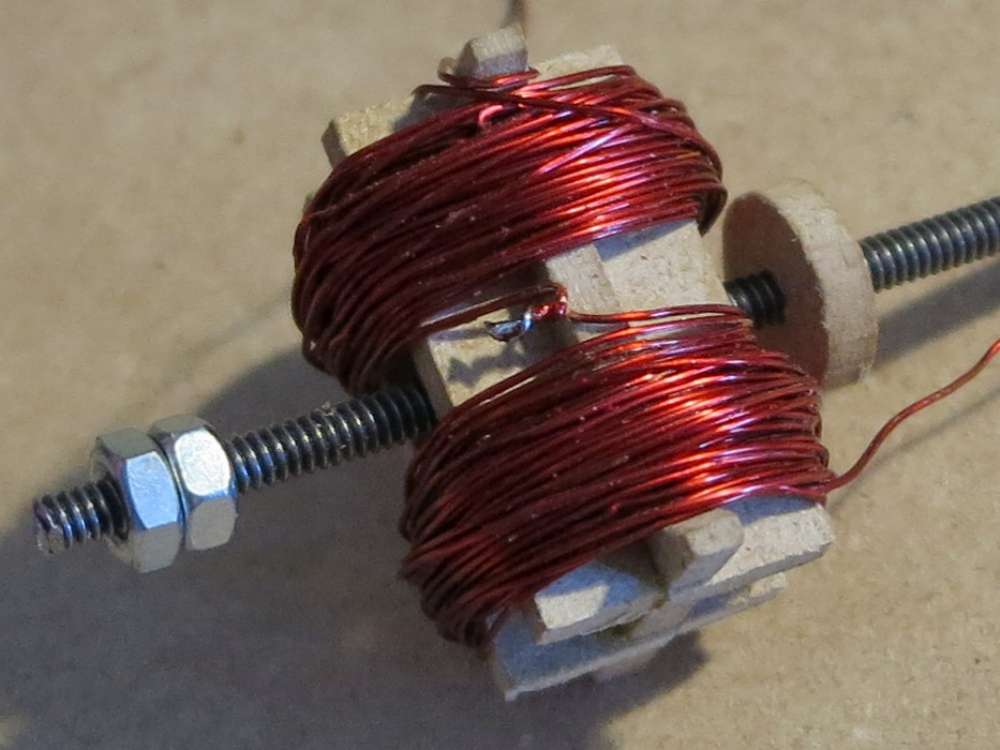
The armature design worked perfect. I spliced the wire since I only had short segments. So I used a different piece for each side of the armature which was 50 turns. The wire I pulled from a transformer is a little heavy and I think this would be better with lighter wire and more turns. Notice I made a special wire tool for unwinding the E/I transformer. Can you spot it in the pictures?
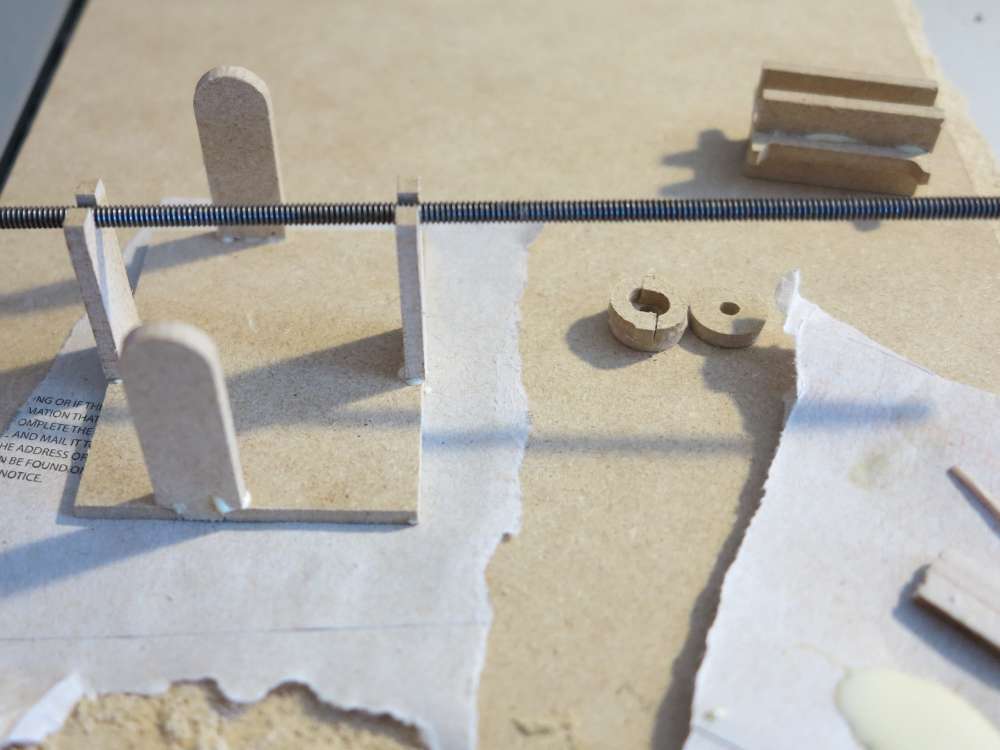
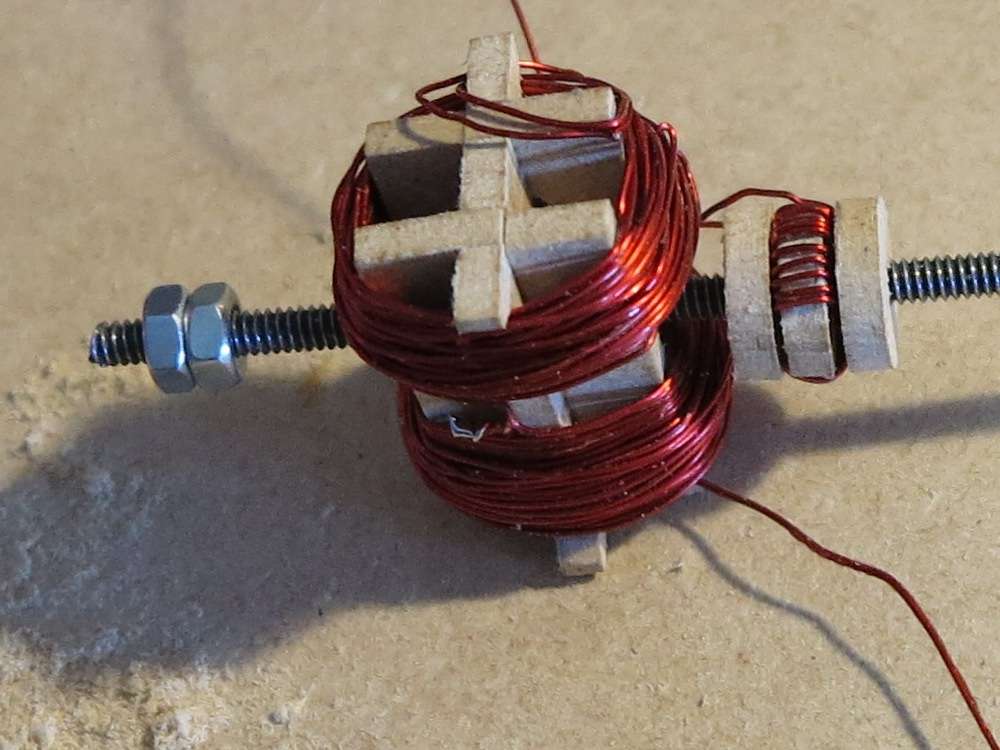
My commutator design was way too small for my fat fingers. As you can see it’s a wound commutator so a simple copper wire can be used as brushes. I put the two commutator halves together then sanded the outside to expose the copper. I will look at scaling that up or trying some other ideas as I didn’t find that part of the assembly very satisfying. More fiddly than fun.
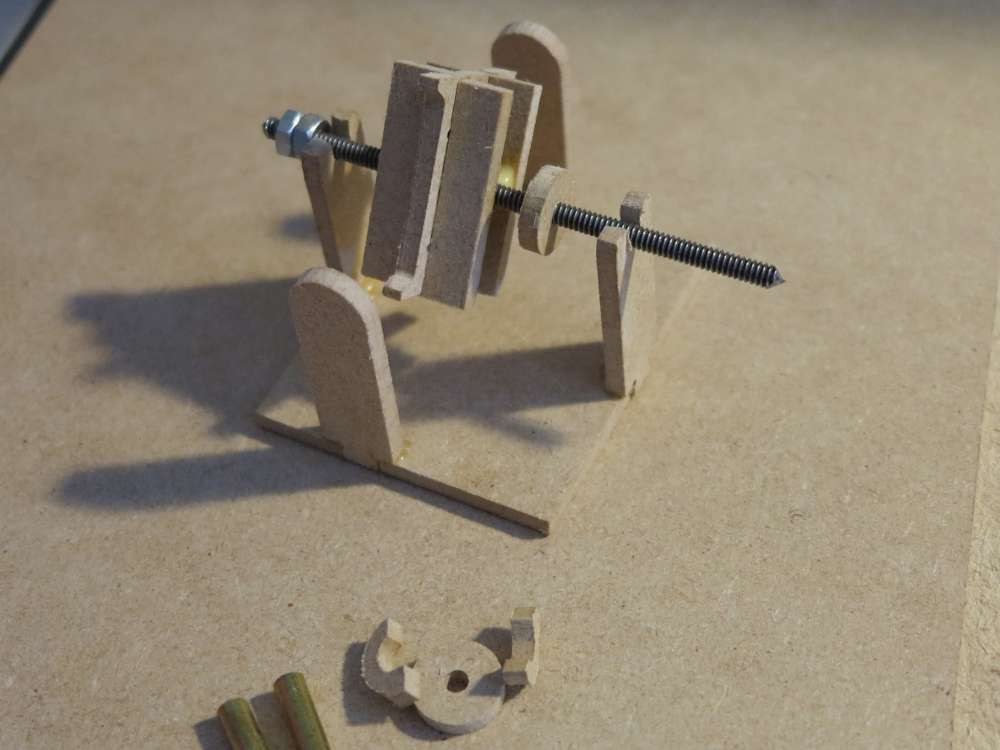
I didn’t work on the shaft, I just used a piece of 6-32 threaded rod that was lying around. Just sitting it in the “U” channels seemed to be a good enough bearing since it turned quite freely.
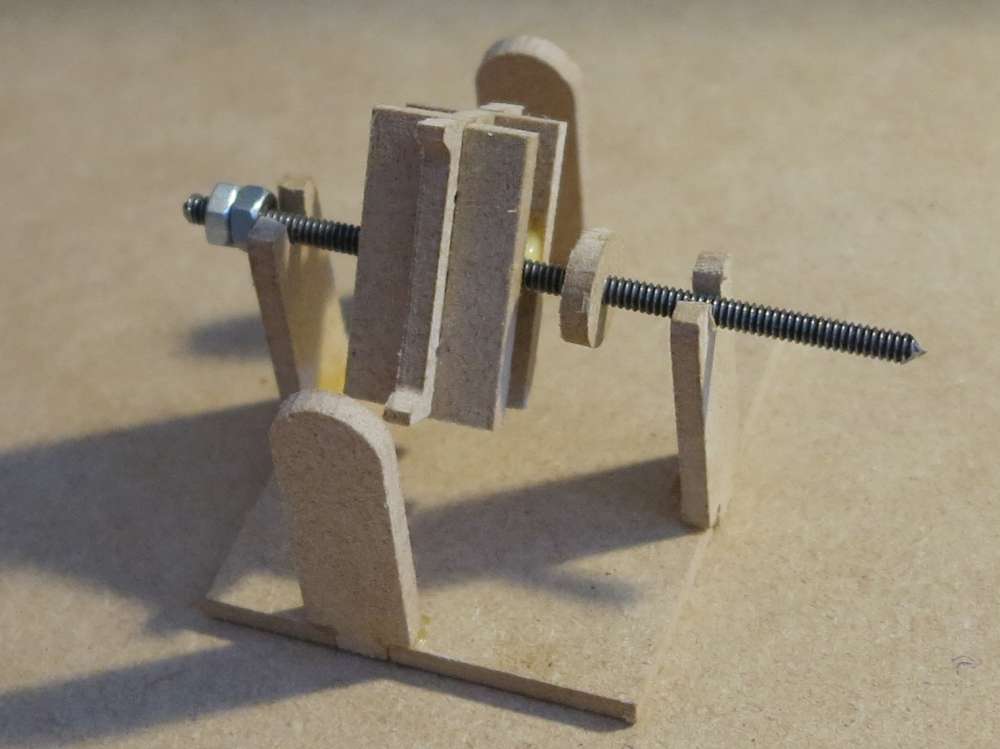
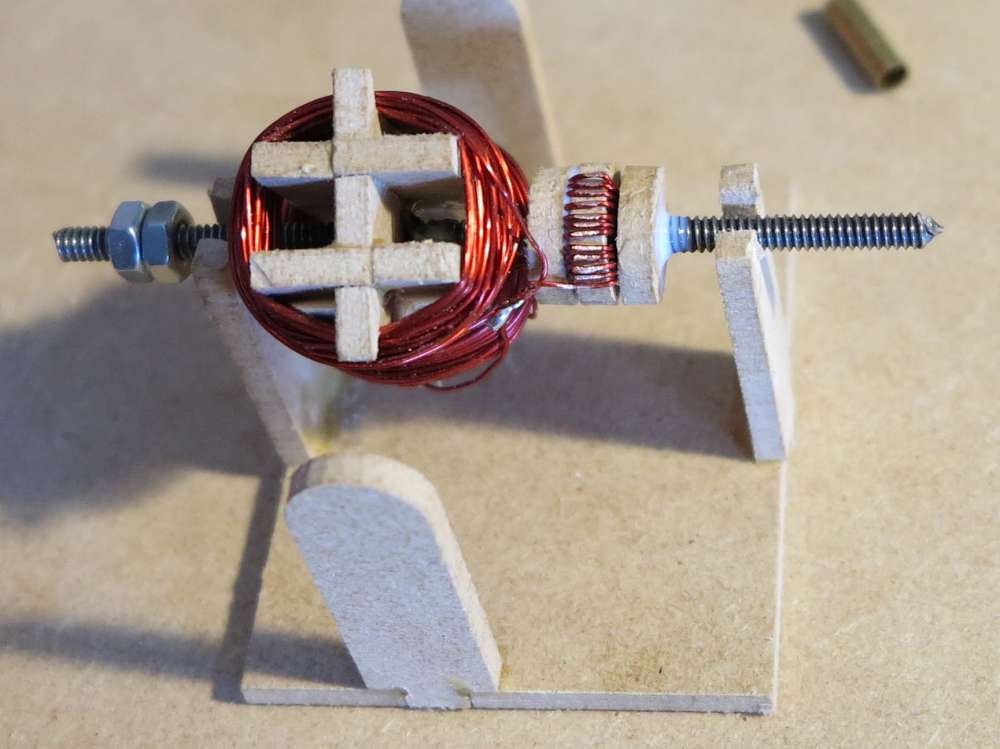
I added some rare earth magnets by self clamping to form a stator.
I’m thinking the overall size of this is a bit small. I’m not sure yet. For sure the commutator. I will look at that problem next. Also it draws a fair amount of current. I think that’ s partly because the commutator is poor so it’s drawing large current spikes. Perhaps with a better commutator and more winds it will be more efficient. I will look at what wire gauge to use.
But it’s still very cute as far as motors go.


How did you get the motor to speed up?
I changed the voltage.
I just looked up the wire and it’s about 25 gauge. It’s about .02 inches.