Masquerade Masks
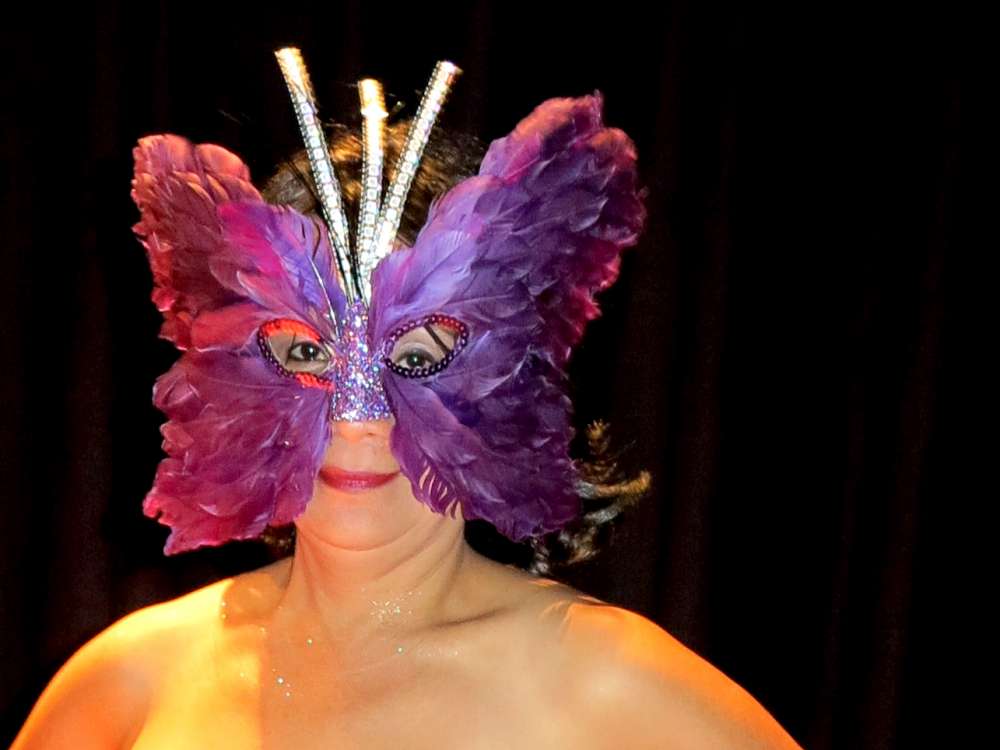
 I was challenged to make a masquerade mask (or masks). I wanted make it a bit like Firefly.
First one came out great despite limited time. I learned a few things and can’t wait for the next related project.
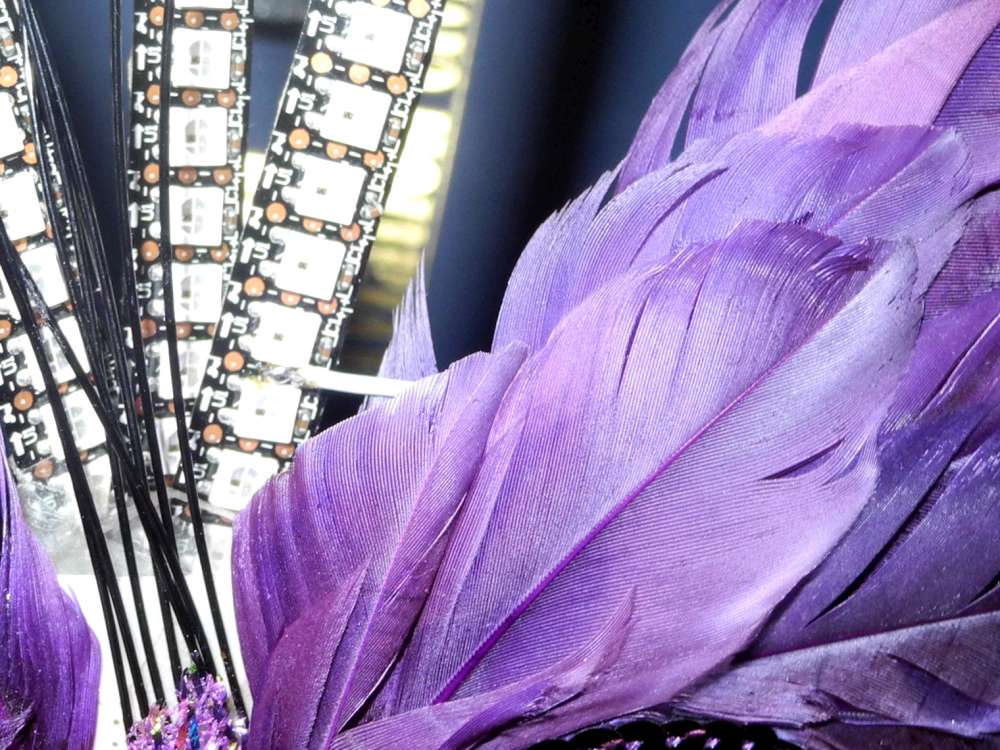
The three strips of light are wired in parallel. Each has 24 RGB LEDs (Red-Green-Blue). It has an Arduino processor to control the patterns (and future sensors). Power is just AAA cells so the program lights the LEDs sparsely. It still gives off a huge amount of light since light emitting diodes are very efficient. I even have a brief vignette where all the LEDs are deployed for a brief burst. It drops the voltage of the battery (which is good because it self limits the current). I see a possibility of adding a capacitor or something for these extreme events. But the mask ran for hours without any problem or brown-out of the processor. I want to run it some more to see how far it will actually go.
In the future there are a number of things I’d like to explore which are shown further down.


The mask was featured briefly on Rogers TV on a fashion segment. I didn’t have the lights running on the set as there wasn’t time to find a plug in and stuff. Or just plug it to my laptop.
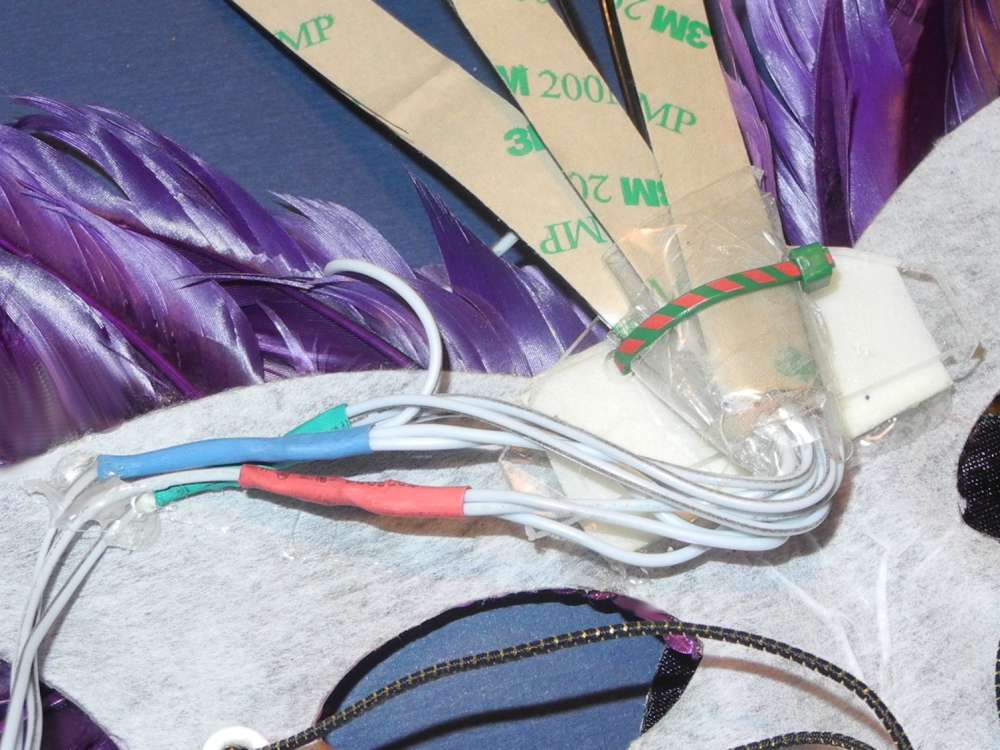
So the wire harness was interesting. After wiring the three LED strips, I used clear electrical tape to attach them into a fan. I then made a clear acrylic base with two holes so they fan could be tie wrapped. That seemed pretty secure and didn’t stress the LEDs too much. I then used hot glue to secure the acrylic base to the mask (and another blob to secure the wire. I used white electrical tape bungle the wire. There was a failure at one point. One of the wires came off the strip and the way I did this, it was very difficult to access. I just attached the wire directly on the strip further up (see picture). That got me back on the road quickly an saved a lot of time. I had the strip programmed to not use the lower lights since they were out of sight. I adjusted the program and everything worked out. Next time I’ll add some strain relief to the soldering job.
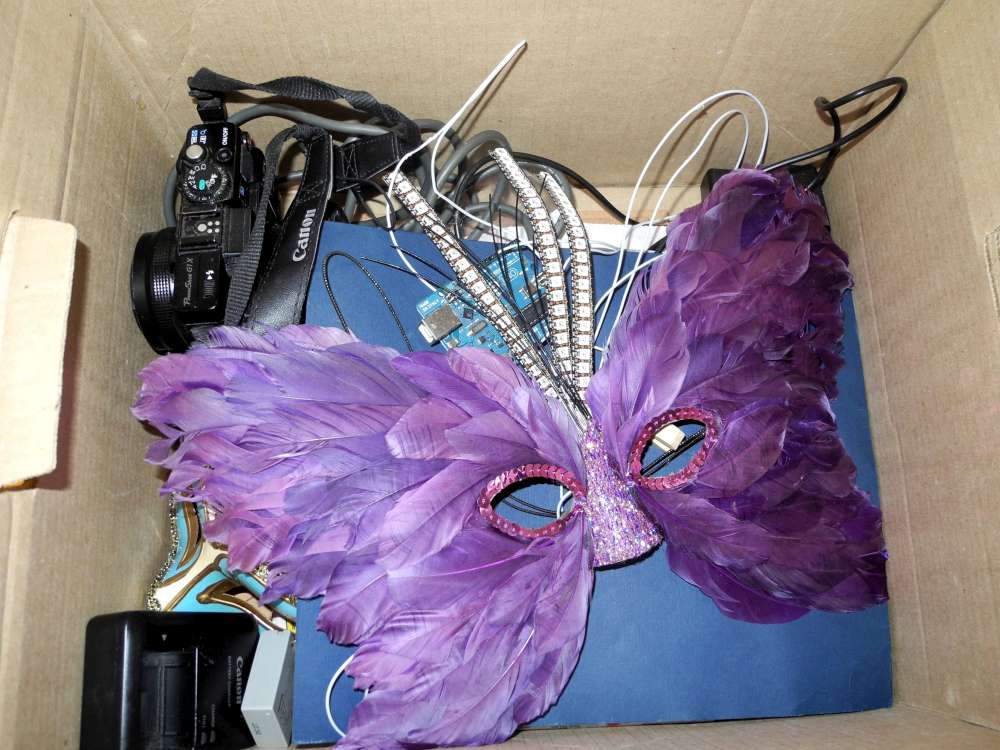
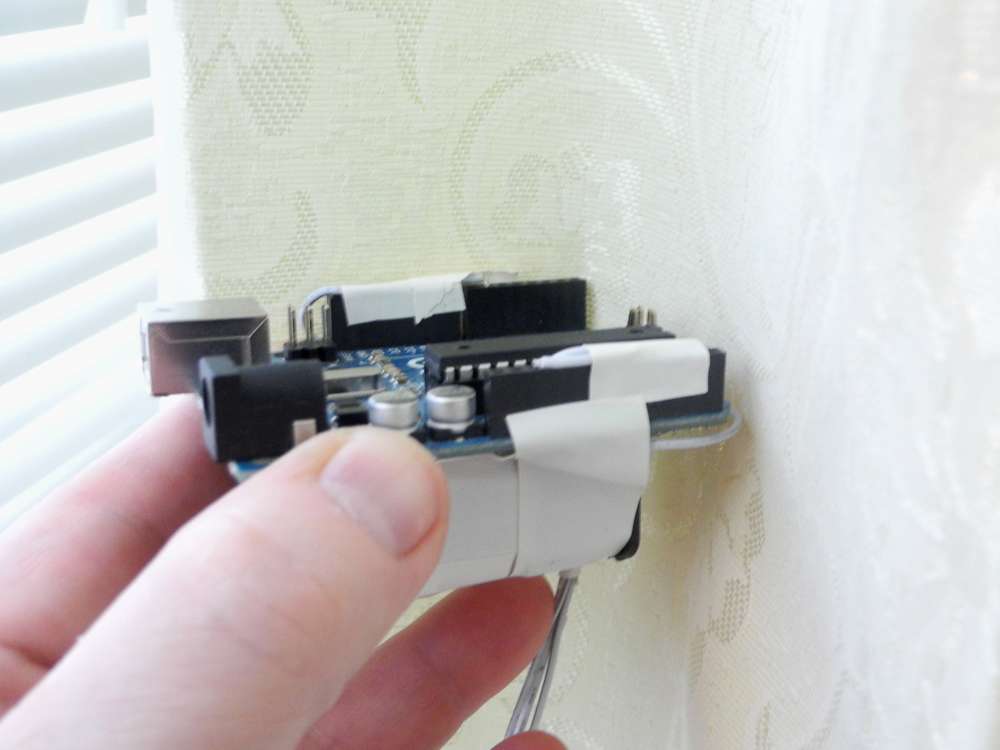
I found a cool way to attach the wire to the Arduino. I just stuffed the wire in the holes and taped it to the header. Worked really well and was very fast. Also I put white electrical tape on the back of the arduino and then just taped the battery to that. This assembly was installed just like a wireless microphone.
Worked like a charm.


Ideas for Masquerade Masks
Here are some things I’m interested in that could come forward for this or a future version of this project. Also listed below are some of my notes and progress on the different elements.
- Blink sensing
- Heartbeat sensor
- IR control (remote control)
- Acrylic light diffusion and piping
- Fabrications methods for the mask it self and some of the traditional or more common materials for mask making.
LEDs for Masquerade Mask
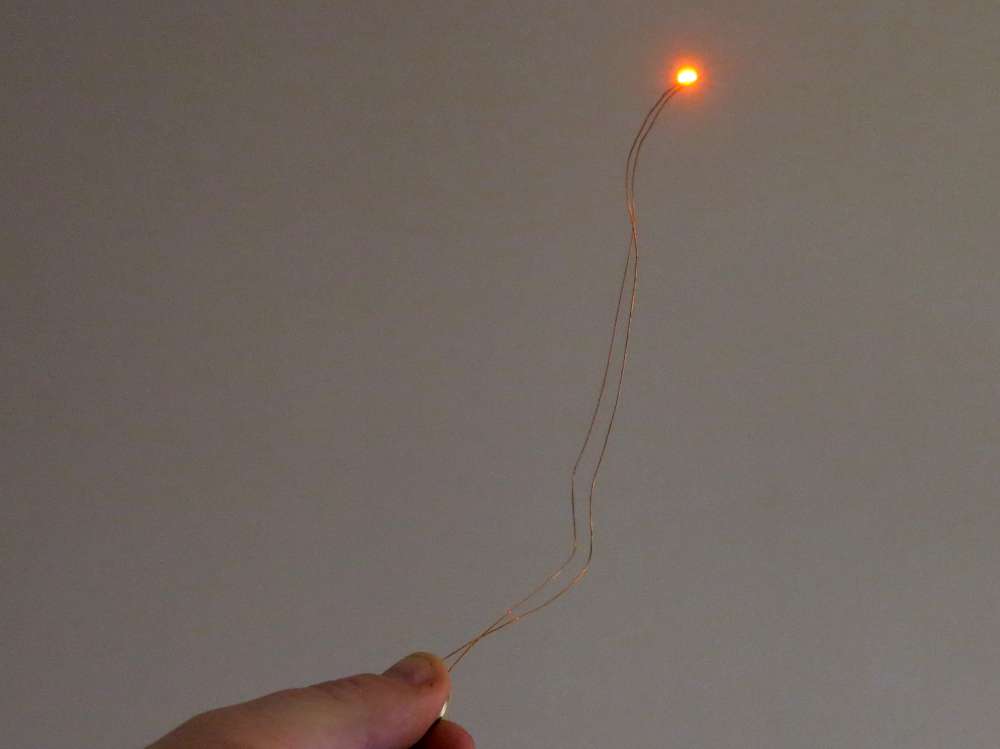
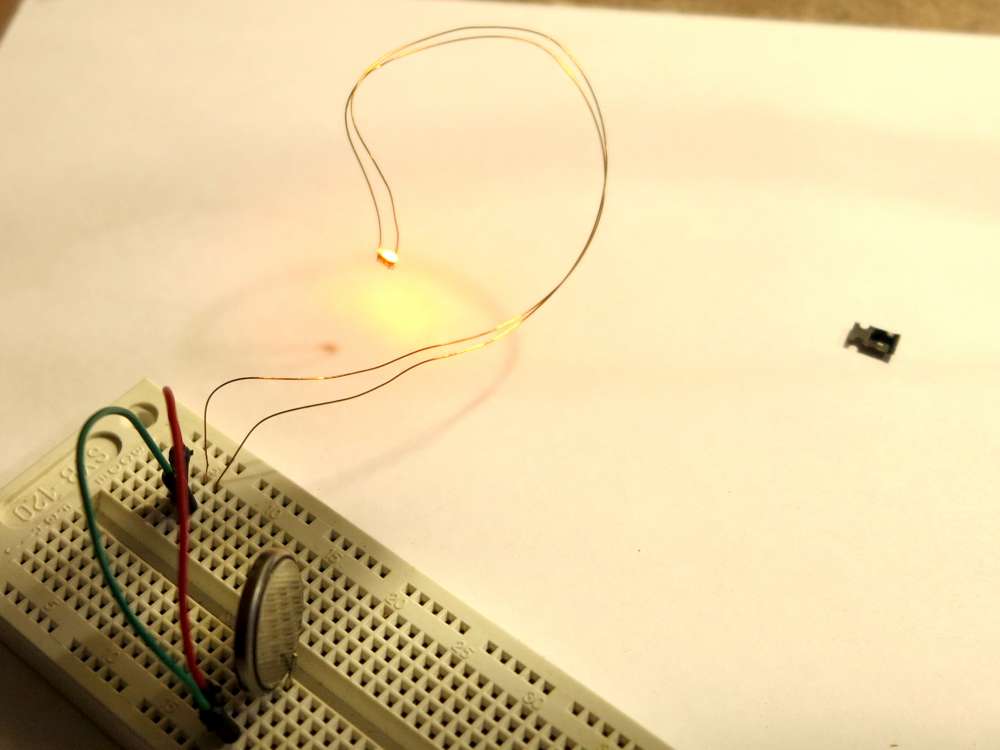
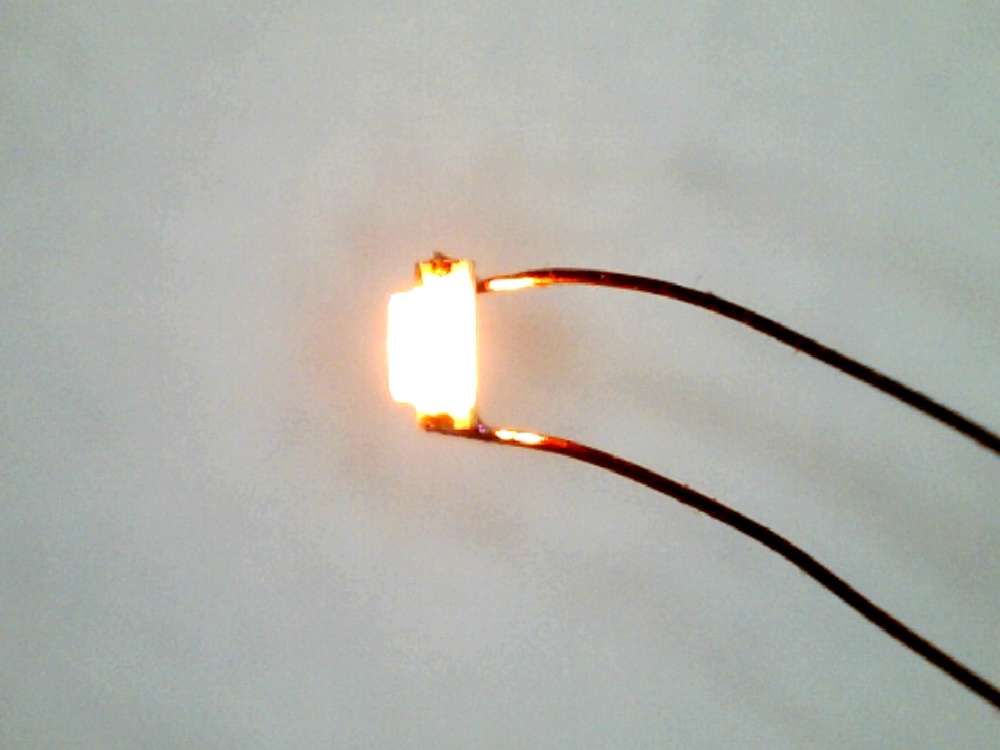
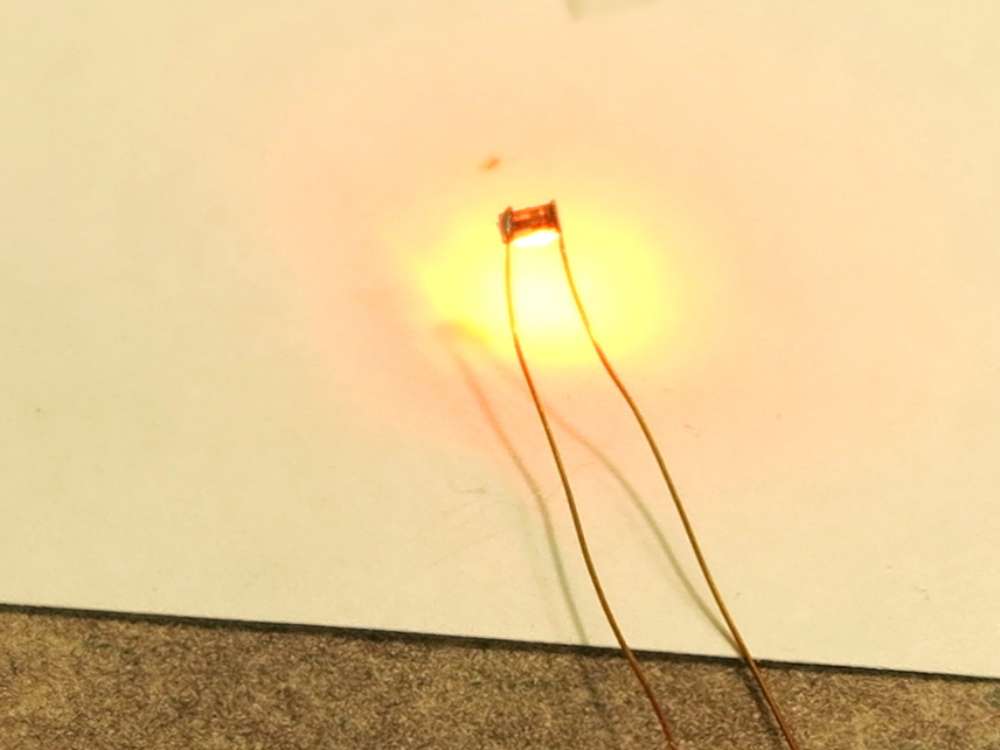
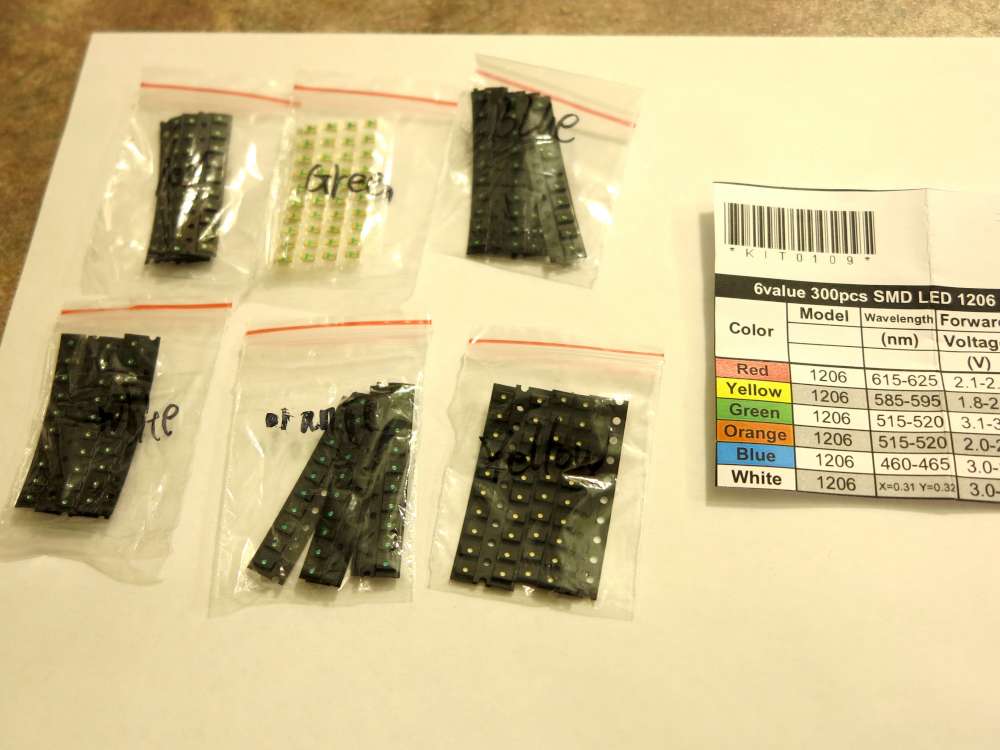
I think a mask should be light and many of the masks have all sorts of things like feathers. So I got some SMD 1206 LEDs in Red, Green, Blue, White, Orange and Yellow. These are the size of a grain of rice. I soldered one up with some 30 gauge enameled copper wire. I ran it off a CR2032 (coin battery). I think these “whisker lights” have a lot of potential.
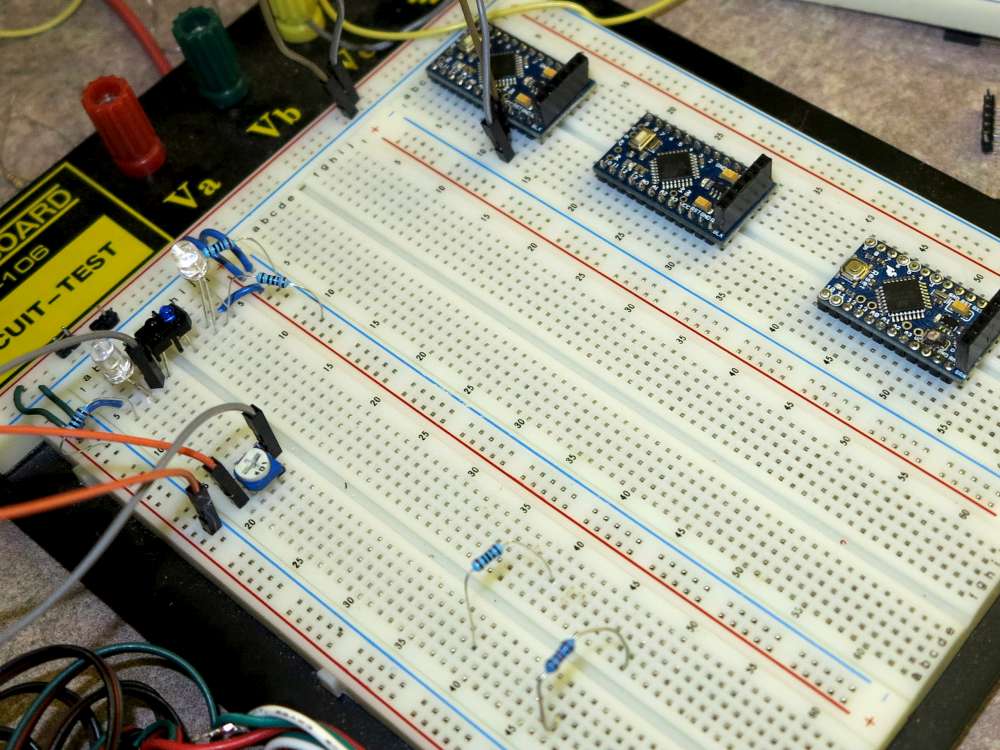
 I also tried another experiment with four WS2811 LEDs so I could start to experiment with light patterns. I managed to get it working with the HSI color system.
Using the SIN and EXP functions I was able to get a nice heart beat among other effects.
The plan is to use a chunk or two of WS2812B strip. This is potentially a large demand for power but I’m planning on using the LEDS fairly sparsely.
Blink Sensing
I manage to figure this out using a cheap sensor. It works very well. You can see the details here in my Blink-O-Matic post.
Heartbeat Monitor
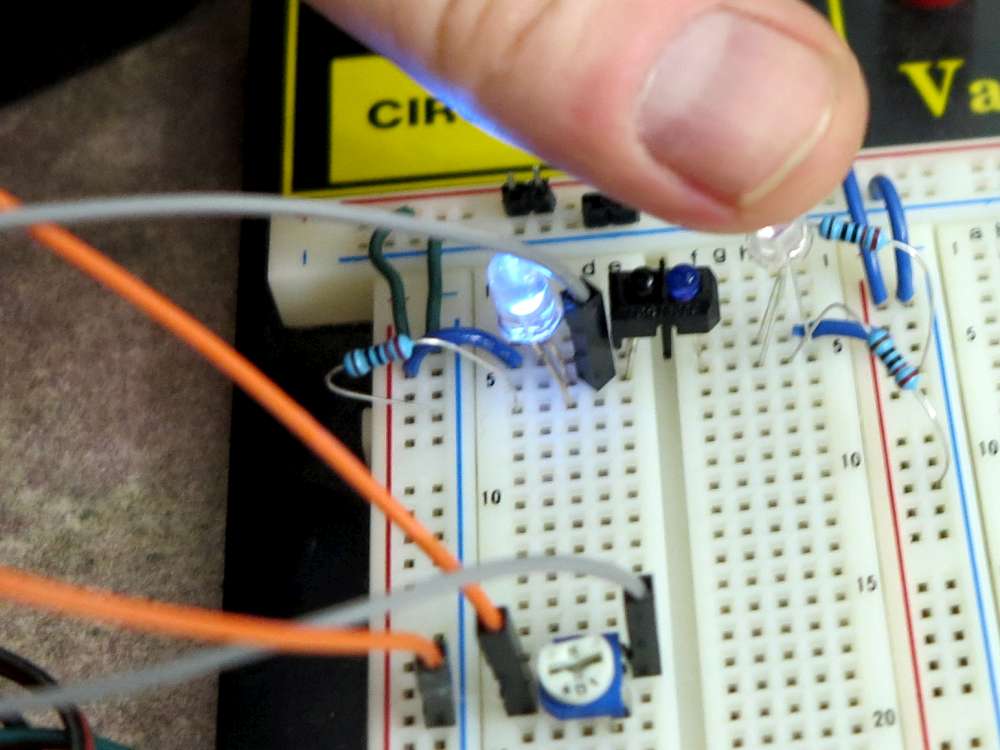
 I’ve got some TCRT5000 IR sensors on hand and thought they might work for measuring IR translucence and/or reflection of your pinky. The theory is that it will vary with blood content. Apparently your body is much more transparent to IR than it is for visible light. So this seems like low hanging fruit for adding heartbeat to a project.
I set it up with at TCRT5000 sensor and it seemed to work. I had to adjust the resistors to increase the IR output and also to get the best range on the sensor side.
It was a little hard to verify that the heartbeat was in sync with mine since I couldn’t seem to check my pulse and put my finger on the sensor at the same time. It seems I can only feel my pulse when my hand is in a certain position and it’s not the position I needed to touch the sensor. So I will make a fixture to attach the system to my pinky. I guess the ear lobe is another candidate.
I also rigged it with two sensors so it was shining through my finger. That seemed even more consistent. I may power both the LEDs and use both sensors to get a better picture next. This looks very promising!
Interactive LEDs
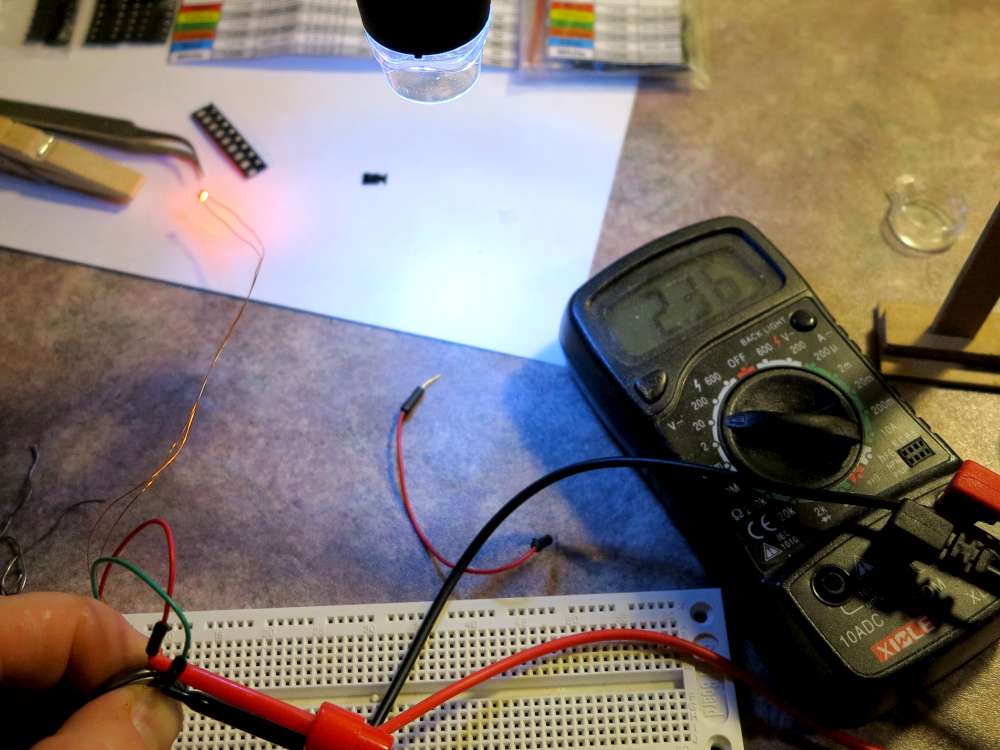
I wired this up directly without an Arduino. Works but you need to be very close to it to trigger the light. I’d say it needs a transistor or an Arduino to make it more sensitive.
Related
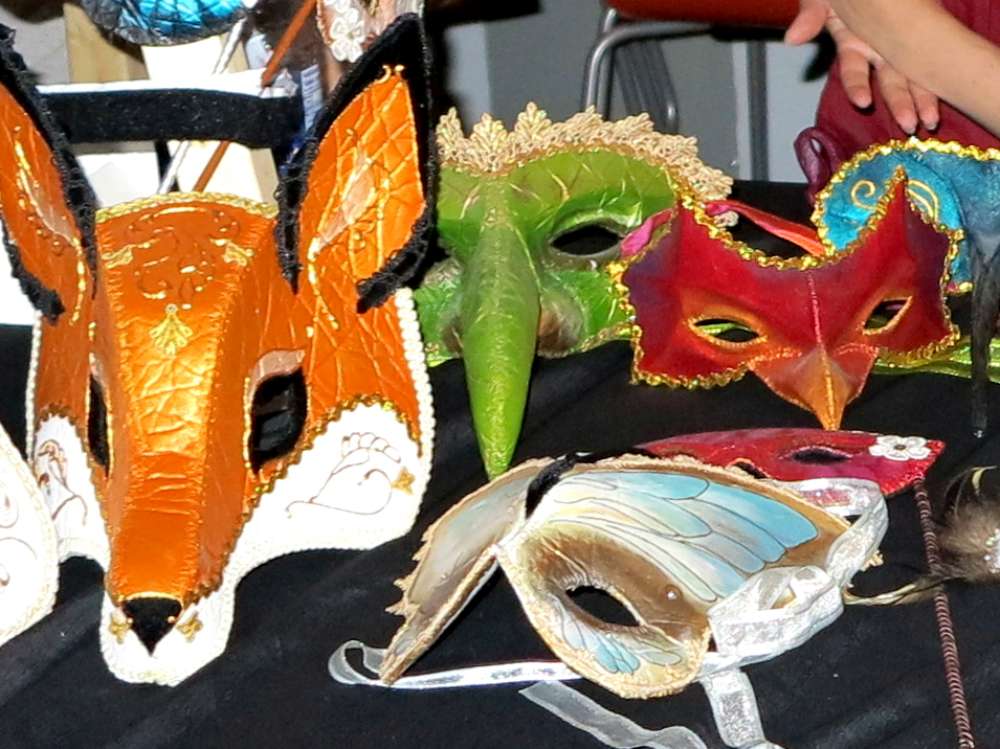
Masks from Celeste and Jacob from La Petite Masquerade.
The masks shown at the right are from Jacob and Celeste of Ottawa area. No electronics but their work sure is nice. It looks very complex so I might be looking for the simplest ideas!
Perhaps we get to do a collaborative project someday.
http://www.instructables.com/id/LED-Infinity-Mirror-32-LEDs-Selectable-Patterns/
http://www.chromationsystems.com/infinitymirror.html
http://www.firstpalette.com/Craft_themes/Wearables/masquerademask/masquerademask.html
pepakura
Summary of WS2812B LEDs.
Article started Aug 11, 2014.
Use your eye blink sensor to activate mechanical eyelids on the mask with mini servos!
What a great idea. 🙂 I was going to trigger lights. Perhaps even mirror the blinking on other masks. So the masks are aware of each other’s blinking. Perhaps a different color for different identities…
https://www.sparkfun.com/products/8661
Suggestion from reddit wickedpixel1221: http://makezine.com/projects/make-29/beating-heart-headband/