Arduino in a Bag
 I’ve been toting Arduino stuff for the Blink Arduino Meetup Group and to work on projects with friends. So I’ve been trying to make this easy.
It was a big help when I went form tackle boxes and tool boxes to bags. They weigh nothing and use less space. You need to divide things into a many bags and that caused a bit of trouble but you’re still way ahead.
I realize people are going to get all excited about static protection but everything that requires protection comes with it.
Recently when I was making a Paint Box I found a better way of bagging . So I decided to start using it with my Arduino Lab. It’s good for portability and it’s good for the lab!
Resist-O-Bag
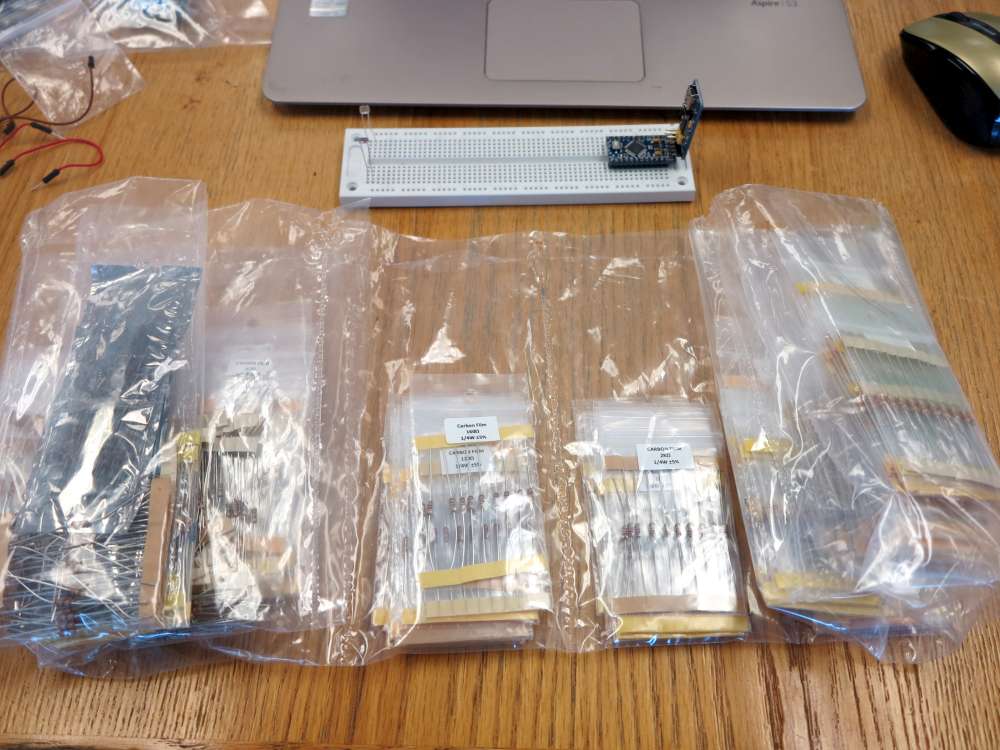
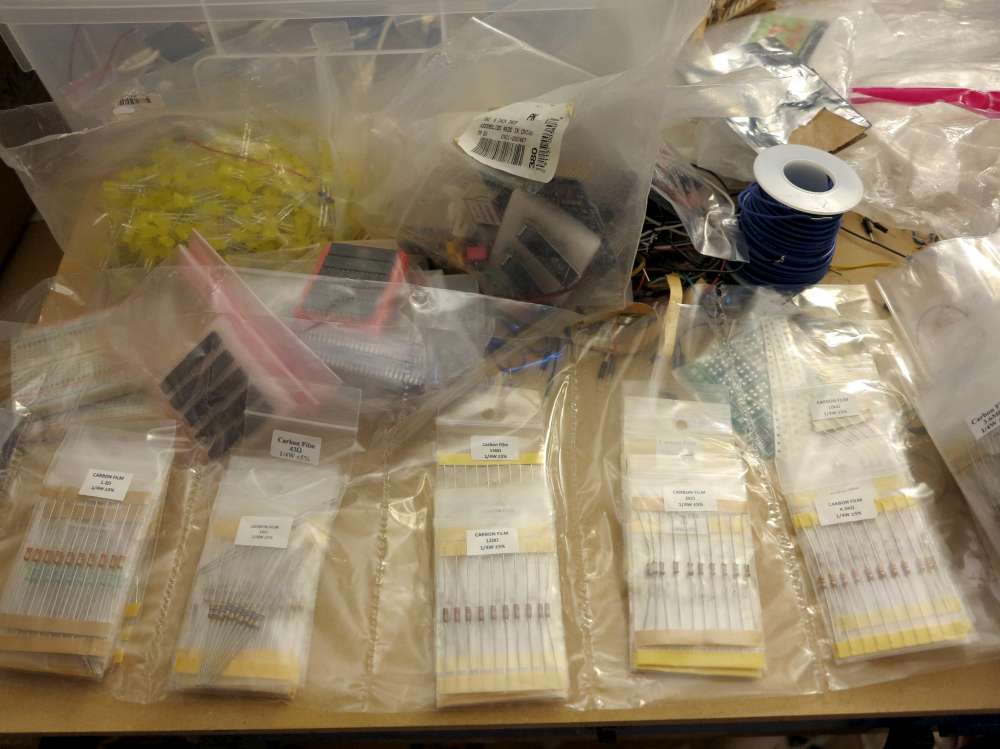
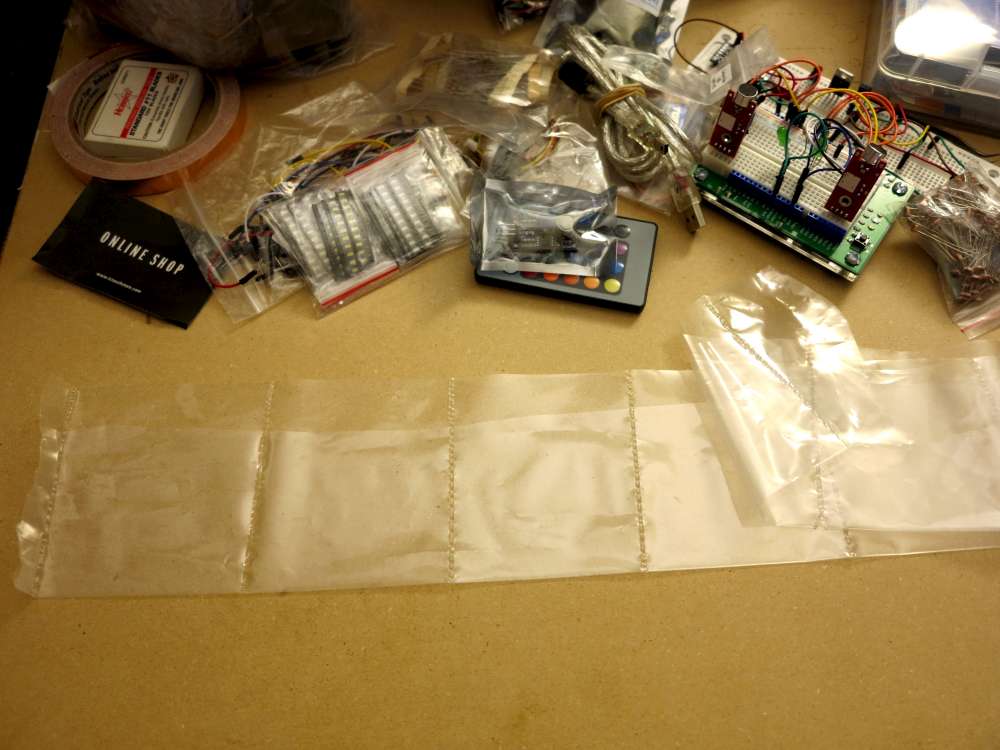
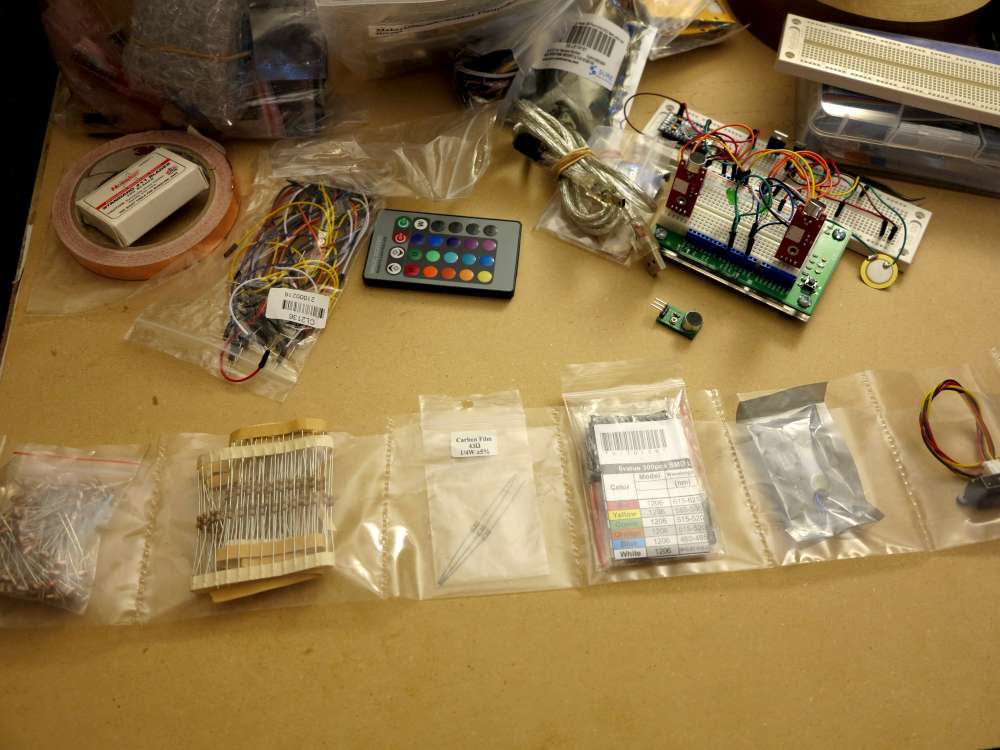
I’m now using a bunch of connected bags. This has made things a lot easier. At the right you can see how I roll both the ends so I can “scroll” back and forth looking for the bag of resistors I need.
I’ve used this out in the field and it really makes things accessible without adding bulk.
Making Resist-O-Bag
I cut 2mm (4mm is probably better) polyethylene sheet, folded and sealed it with an impulse sealer leaving the side edge open. I’m starting with 8″ flat tubing. I split the tube with a pair of scissors before sealing. I only cut one side about 1″ from the end. This makes it easy to find the hole and open the bag. It also reduces the chance of things falling out (sometimes).
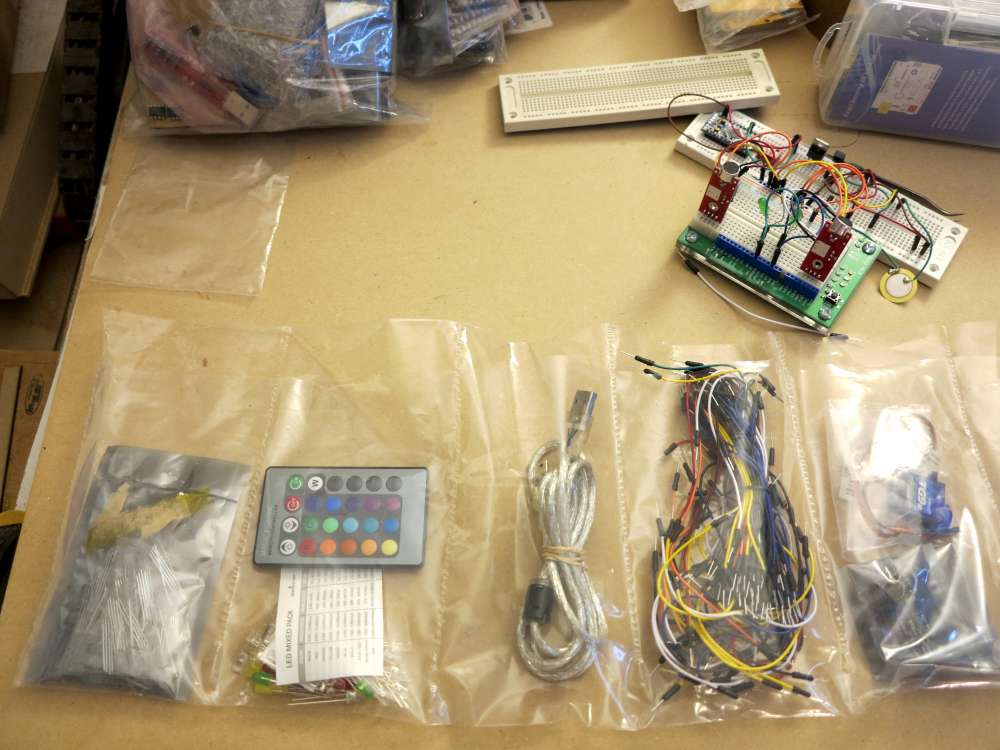
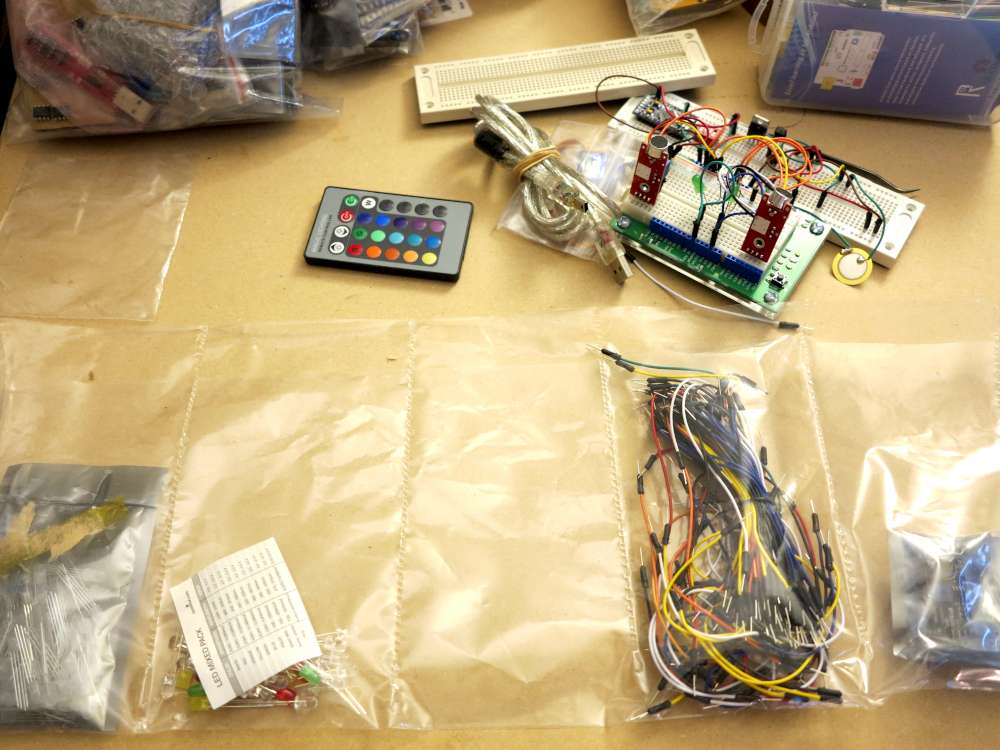
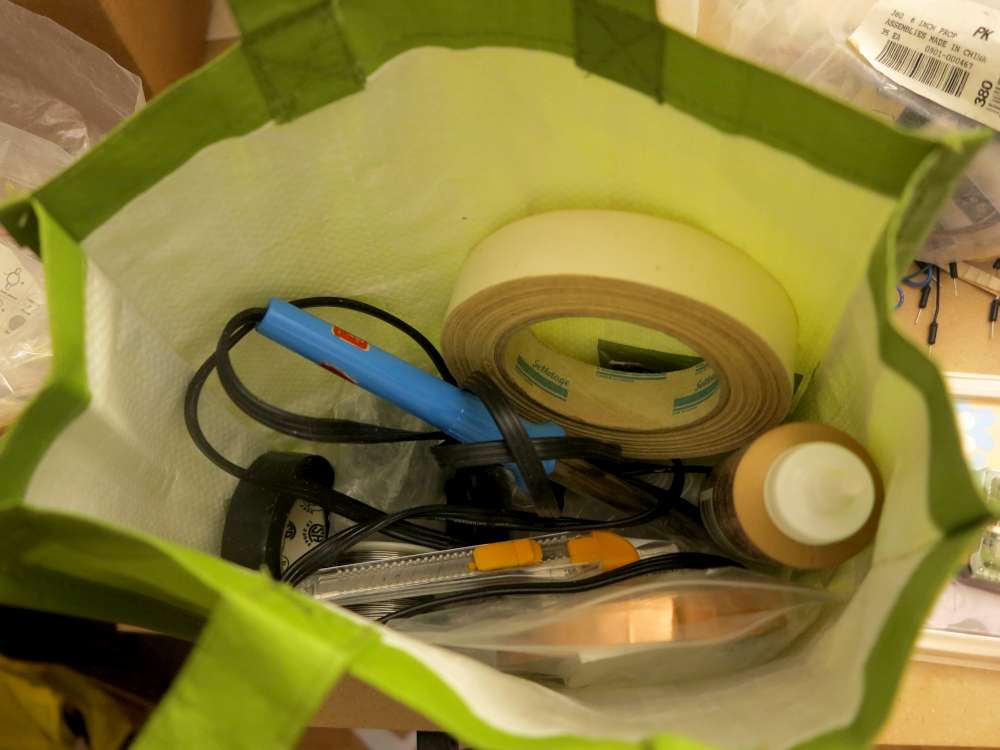
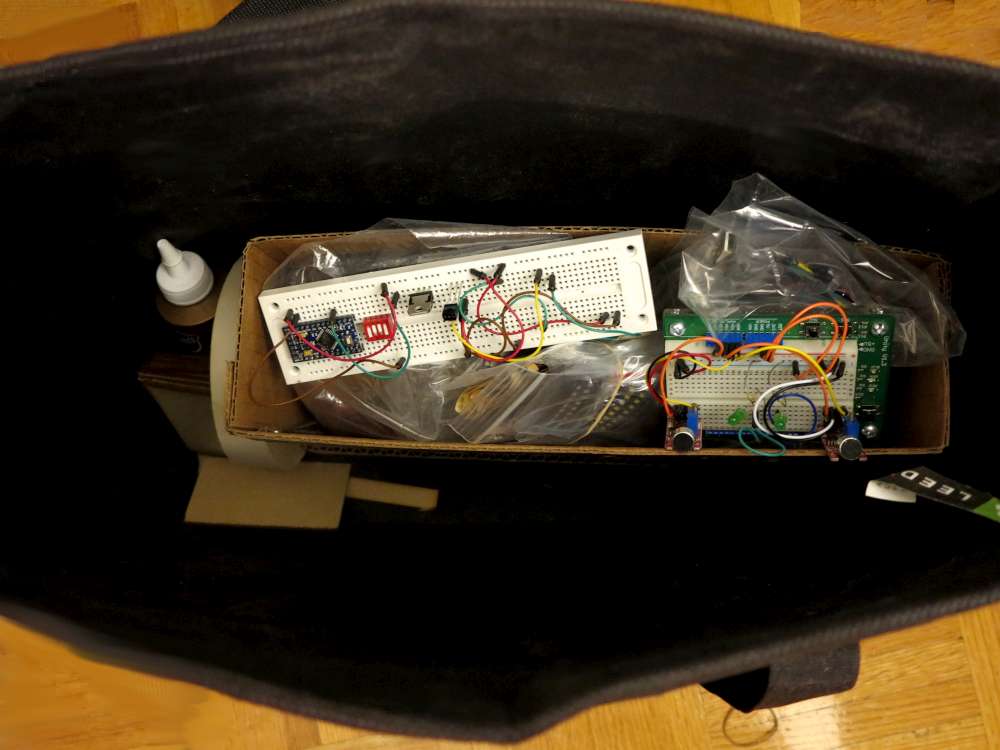
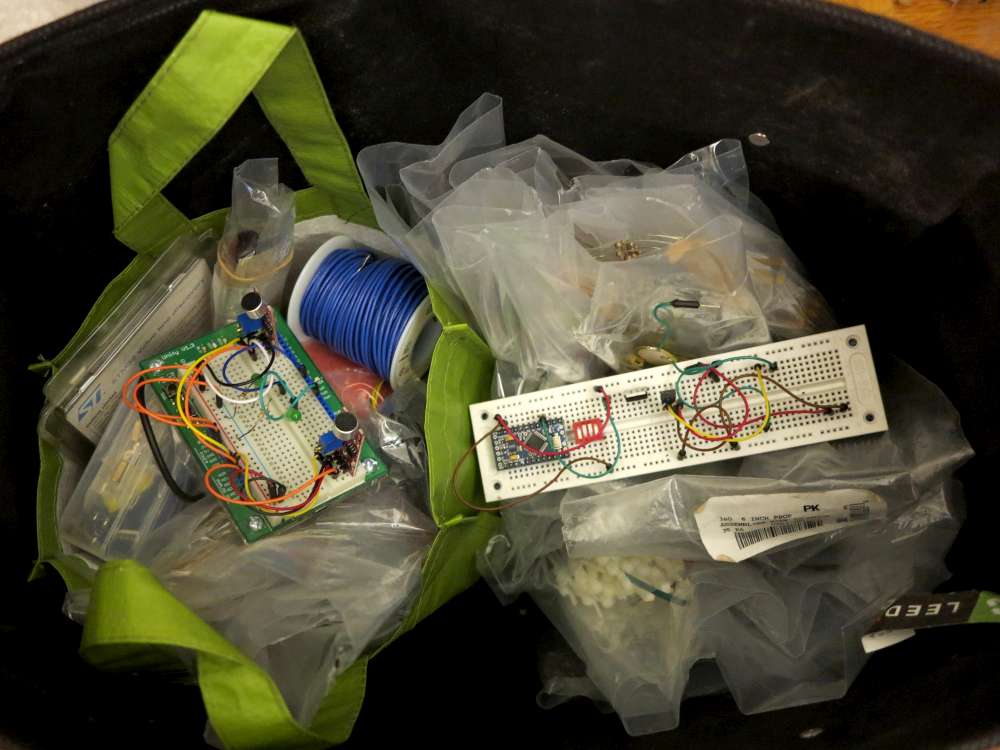
Here you can see a bunch of stuff stuffed in my shopping bag for transport.
This isn’t the sealer I have but it’s the same idea. I have the U-Line…
Related
Well this is good but it exists in book form as Kmart Business card holders
I put all my small components in them
The red doublesided tape from the same etore is cut to 1 x 1/2 inch strips to seal the top
Congratulations, you’ve reinvented the roll-up tool pouch! 😉
Further suggestions:
* A little scissor work will give you tuckable flaps. Or, add Velcro dots (or snaps, or magnets) as pouch latches.
* The heat seal lines don’t have to be parallel – tiny openings can work well for tiny parts.
* Seal two separate sheets face-to-face to make pleated pouches with more capacity.