Drawing Robots
 I’m not the first to attempt a drawing robot but for me the drive originates from wanting to make a painting robot. The idea floated in my head until one day in New York City at the Metropolitan Museum of Art I saw a painting by Chuck Close. He used color juxtaposition to achieve additive color mixing. I believe the color gamut is actually wider than a printing process or RGB monitor so the piece is very striking. The additive mixing combined with a unique color system gives an experience not seen with ordinary mixing of pigment or even textiles. I was so excited I was almost in tears. It helped me realize that a painting robot was doable. And worth doing because it could be used explore different color systems and paint application methods. A machine would take care much of the labor content since it could do overnight and could run for days without a rest. I also saw an attempt at a drawing robot at the New York Hall of Science during the World Makerfaire during the same visit to NYC. That was pretty encouraging and after seeing that I knew what I had to do. I figured making a drawing robot would be a great way to start.
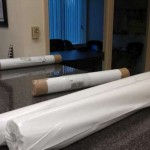
The first thing I did was to start to look for paper. I found some 18″ rolls of paper at Ikea which I imagined would be a great start.
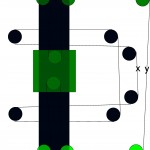 I started to think about the mechanical systems that could carry a pen around.
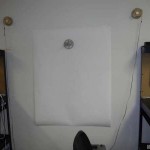
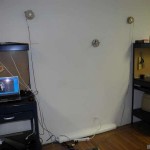
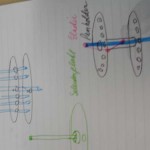
My first thoughts were a frame which had axles at it’s four corners. There would be a stack of pulleys on each axle and they would be wound like in the diagram. The diagram shows the pulleys in different locations for clarity.
This is a bit like an Etch A Sketch in that it used pulleys and cables. This configuration wouldn’t require gravity to keep the cables in tension (like the one I saw a the Makerfaire).
I felt it was fairly simple but as you can probably imagine there are a few issues to work out. Such as calibration.
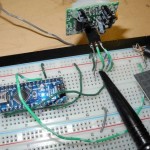
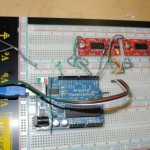
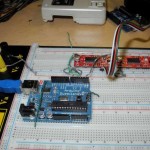
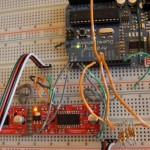
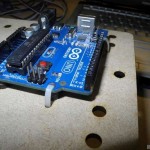
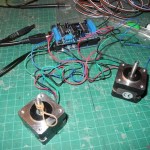
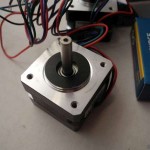
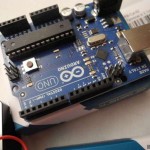
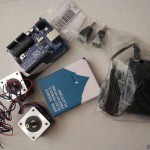
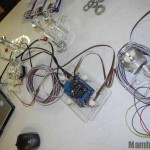
While I was thinking about that in the back of my mind I connected some stepper motors to controller and Arduino micro-controller and started to explore different ways of coming up with paths for the motors. There were a couple of projects using Cartesian coordinate systems such as an Etch A Sketch. Here’s one with and without an Arduino. I found some code at AS220 lab Web site as well. That started to give me some ideas.
I also started to explore ways of having wireless control and sensors and cameras on my drawing robots. There were a few ways to get wireless working on the Arduino but I wanted to keep an open mind so I researched a bunch of other micro-controllers, computers, blue-tooth and much more ($99 PC in a plug (another source), Linutop (a bit pricey), Another small linux system, Dreamplug (getting a little warmer at 150), Beagleboard, Raspberry ($25 but wasn’t sure if it was actually available).
 Needless to say not only was the mechanical possibilities overwhelming the robotics and control system was looking like an infinite project.
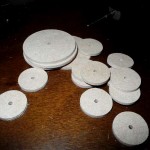
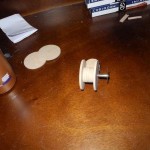
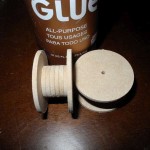
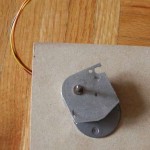
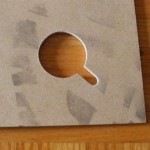
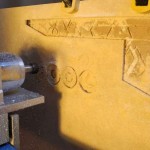
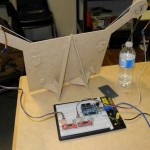
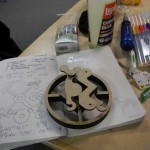
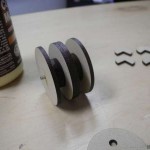
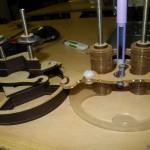
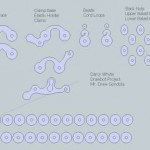
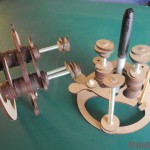
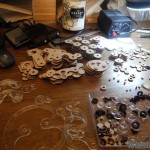
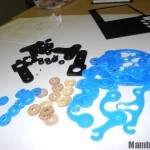
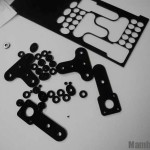
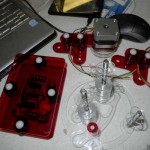
I decided to get some hands-on experience and stick to minimalism. I started to make up my own pulleys on my CNC mill.
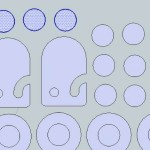
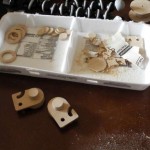
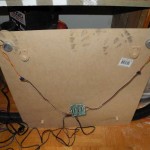
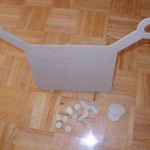
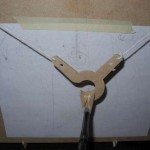
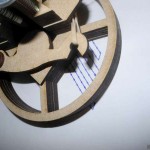
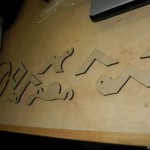
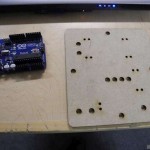
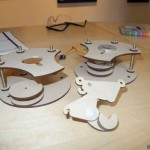
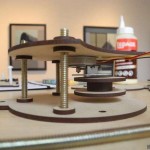
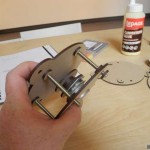
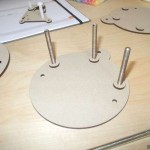
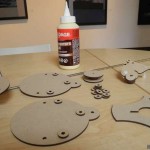
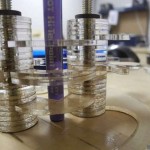
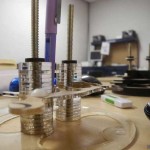
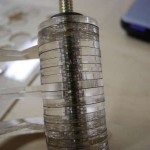
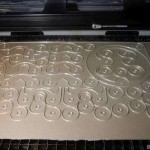
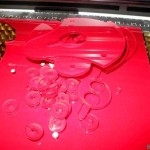
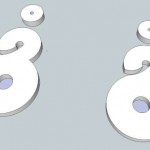
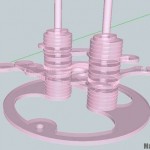
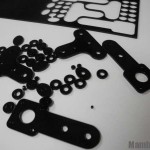
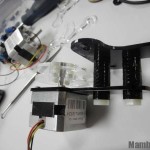
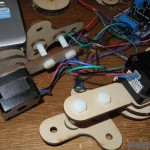
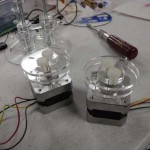
I cut out some circles from hardboard and glued them together. This proved to make some nice pulleys but I was concerned how well they would stay put on the shaft of a motor.
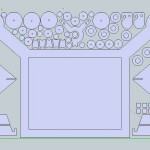
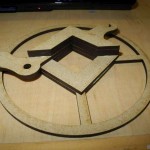
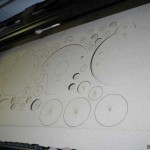
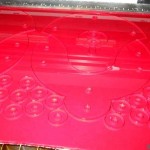
That was pretty satisfying so I then cut out a whole machine using this layering technique.
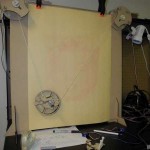
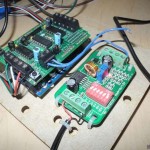
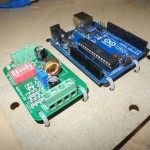
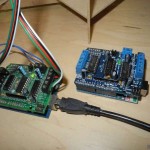
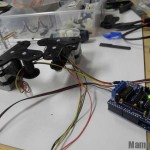
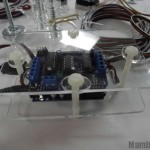
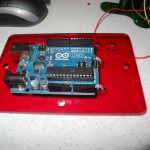
I wired it up to an Arduino and Motor Shield and presto:
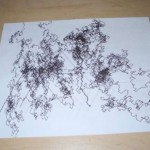
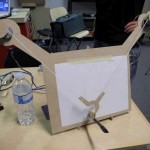
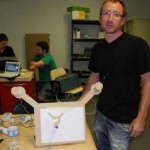
The machine was really fun to operate. I decided that I could share it with people labeling it the Community Drawbot. I loaded some programs into it to draw some random stuff. Changing the parameters gave different effects.
This was all pretty exciting so I started my second machine.
It came out as cute as a button. I called this one Baby Drawbot.
I continued to study sensors, controllers and opened up the community one to the public. Lots of people took interest in both projects.
I started to become interested not just in the machines but how people interacted with them.
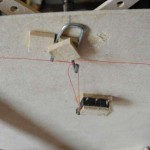
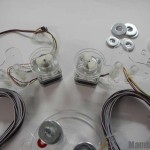
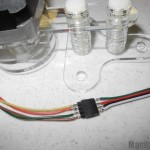
I pressed on. I decided to try and make some “zero-switches” to act as limit switches so the Baby Drawbot machine could calibrate itself and find “zero, zero”.
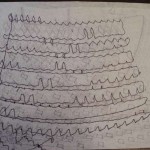 I started to look at different ways of estimating a Cartesian plane. I was figuring it would be fun to just have four stepper motor modes.
1) To move along the X axis in a positive, spool A out and B in.
2) To move along X in a negative direction, spool A in and B out.
3) To move positive in the Y axis, spool A and B in.
4) To move negative in the Y axis, spool A and B out.
This is a rough approximation.
The system now had the ability to perform a rough raster and self zero itself.
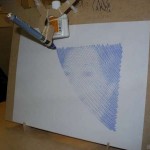
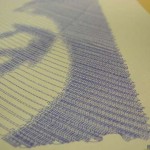
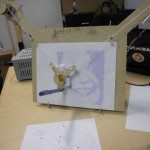
I took this back to the community with a program I made that can transfer a matrix to the raster pattern to see what would happen.
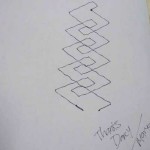
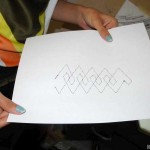
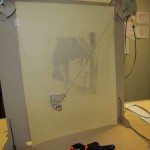
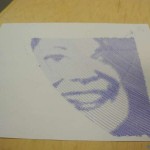
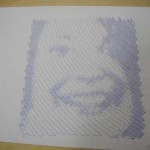
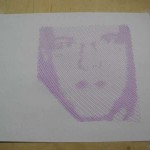
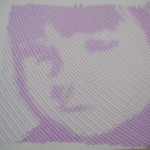
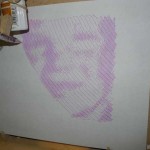
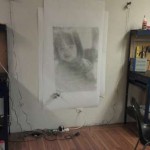
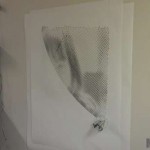
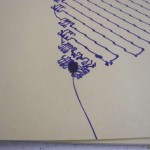
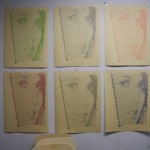
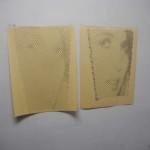
It is a month later and finally images are emerging.
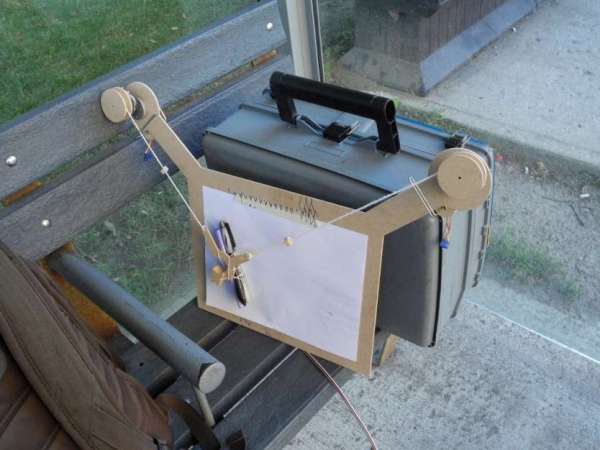
Also this is the only drawing robot that took the bus regularly (I’m sure).
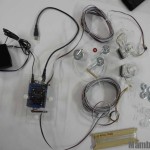
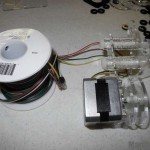
I stocked up on motors, controllers and other parts as I knew there would be many more experiments ahead.
I revisited the continuous paper and cutting of paper.
Also the software side of the machine was quite overwhelming. I was looking at all the prior art out there (motorshield Adafruit, “polargraph“, James Provost motorshield, Jeffry Street is up to the same thing, polar based one, G-Code is another approach to eyeball: Here’s one g-code attempt. Another thread. Here’s one that shows the code. I have a copy here (ArduinoCNC). Another arduino based CNC machine has code posted (GCode_Interpreterdc).Here’s a whole project on streaming g-code to arduino).
Sandy Nobles Polargraph approach was brilliant. He used processing.org software and abandoned the Cartesian concept in favor of a more polar approach that is totally sensible with this style of machine. Here’s what came forward:
Now we’re getting somewhere!
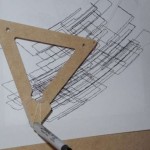
Now that we’re drawing stuff for real I started to get more interested in the machine’s precision. I added a ballast and stabilizers to the pen holder.
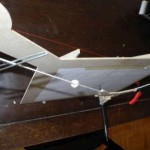
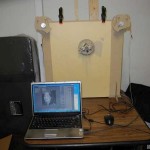
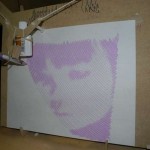
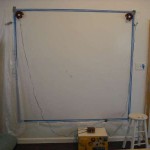
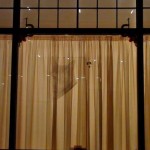
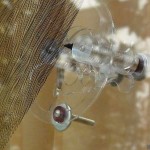
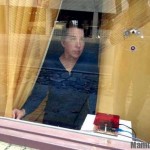
Things are getting pretty fun. I got two commissions. One to do a portrait and another to supply a machine for a show in an art gallery in San Antonio. So I worked on a prototype for that machine. It was a fairly demanding requirement as it had to function on large vertical surfaces including drawing on windows. So I had to experiment with a few pens to see what would happen. The new prototype would have a clamp pen holder, removable spools for wall mounting. It would also have an enclosure for the electronics.
I started to dream about a pen changer so different colors could be loaded at once. I experimented with different pens and found a source of large format paper. I also continued with experiments making different drawings.
The prototype worked pretty well.
People loved to watch it.
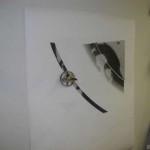
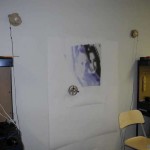
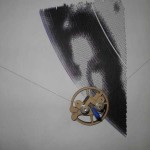
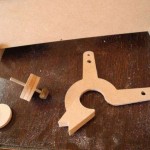
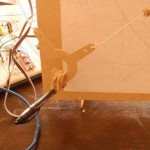
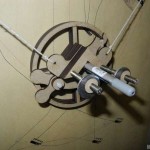
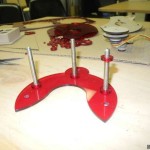
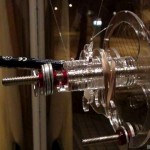
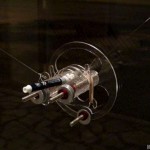
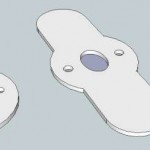
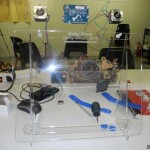
I redesigned the pen holder and decided to make a machine out of acrylic since that was the agreed material for the commission in Texas. The new pen holder would have a better clamp, more configurable ballast and a more visible pen contact point. It would also have an adjustable pen angle.
I did a great deal of testing on this machine.
I started to make a batch of machines to share with my friends. I also made one for Sandy Noble who was making drawing robots overseas. I published my gondola design. Other gondola (pen-holders) showed up using the methods that I developed.
The machine was installed in Texas.
I learned a lot from all this.
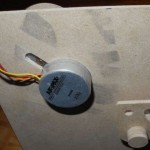
I started to procure larger stepper motors. I thought it would give the machine more charisma and with direct drive the machine would be easier to configure since you could freewheel the spools.
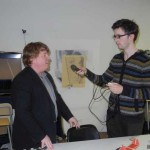
I was interviewed by the media in San Antonio (and a small radio station in Ottawa). The machine in Texas ran in a show lasting four months.
They purchased another machine for another venue. I made lots more machines that were given away or sold.
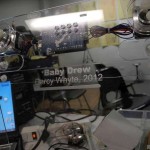
I’ve been working on other improvements including a portable machine called Baby Drew, gondola improvements and much more.
I may even have a couple machines hiding in the closet.








I will immediately snatch your rss feed as I can not find
your e-mail subscription link or newsletter service.
Do you have any? Please permit me know in order that
I could subscribe. Thanks.
Look for the word “newsletter” on the page.