Dinky Motor Experiments
I made a few revisions and am in the midst of a few experiments with the Dinky Motor project. The video is at the bottom.
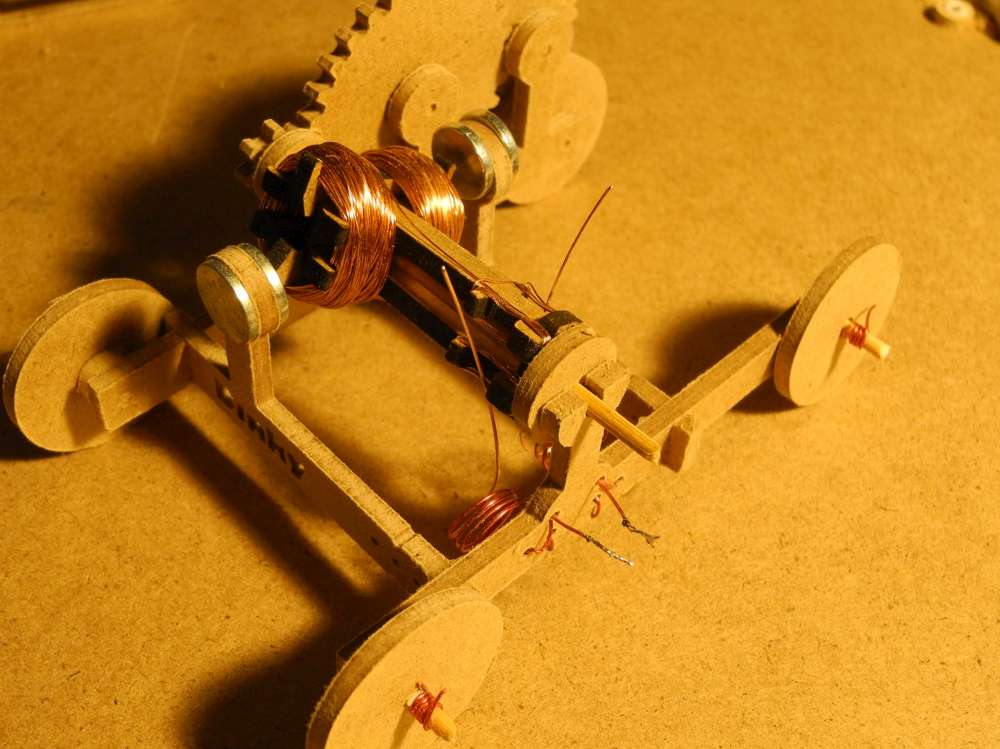
Armature
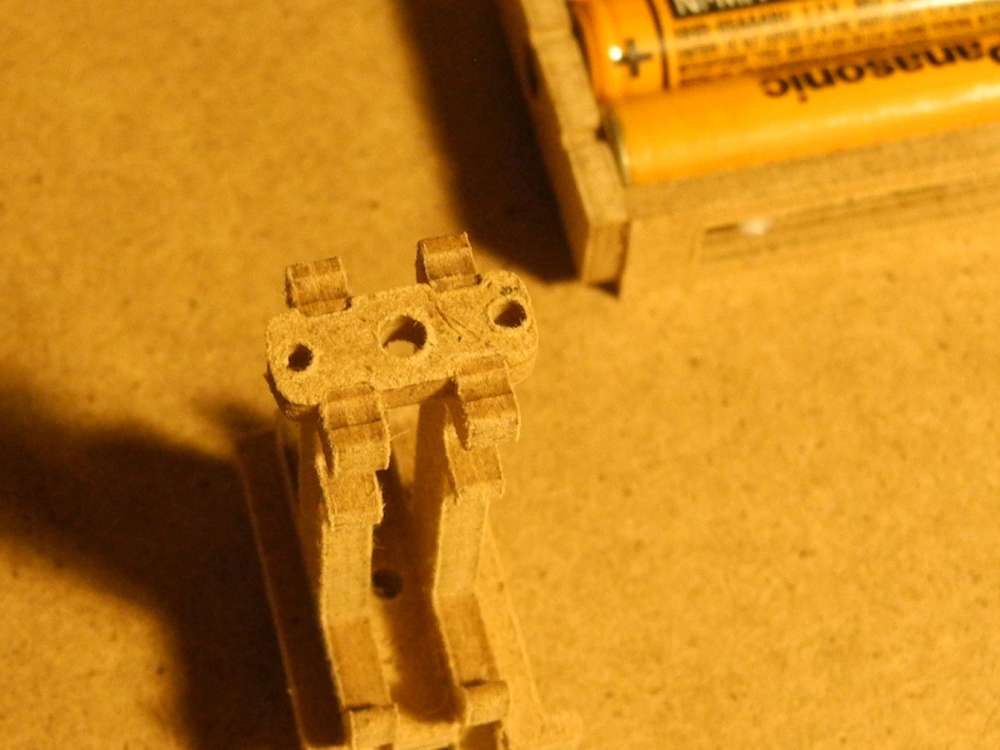 I added some features to the commutator support so it clicks in place. It’s self aligning and it doesn’t need glue anymore. I’ll still suggest a bit of glue since it could still pop apart if it’s handled roughly.
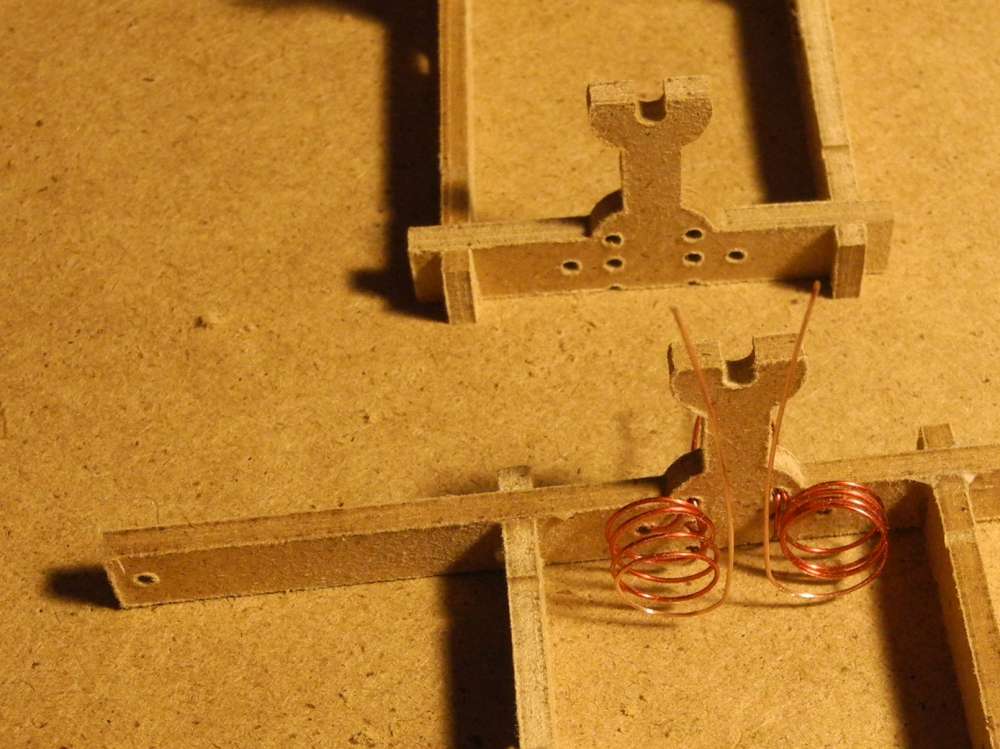
Brushes
This is probably the hardest part to assemble so I wanted to do some experiments to see what I could do. I got rid of the platform for the brushes and decided to attach the brushes from the frame. I added holes under the shaft support and on the sides of the base. So far I’ve just tried attaching the brushes under the shaft support. It worked really well without glue and was easier than what I was doing before. The base doesn’t require glue anymore either. Again, I will probably have a bit of glue as a recommendation to keep it more robust.

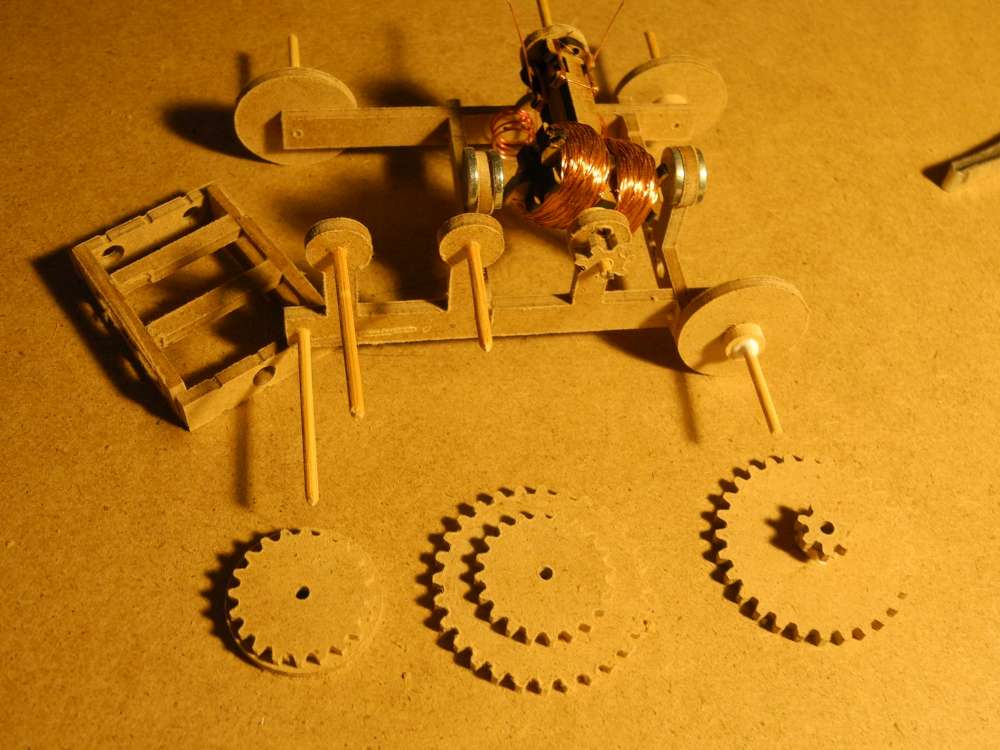
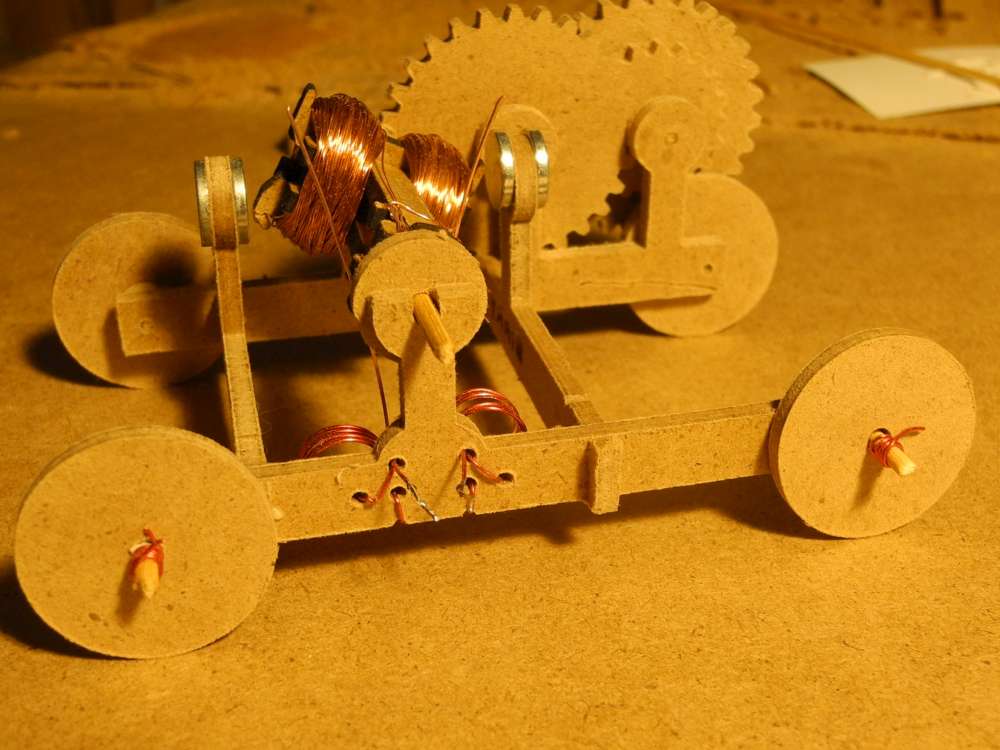
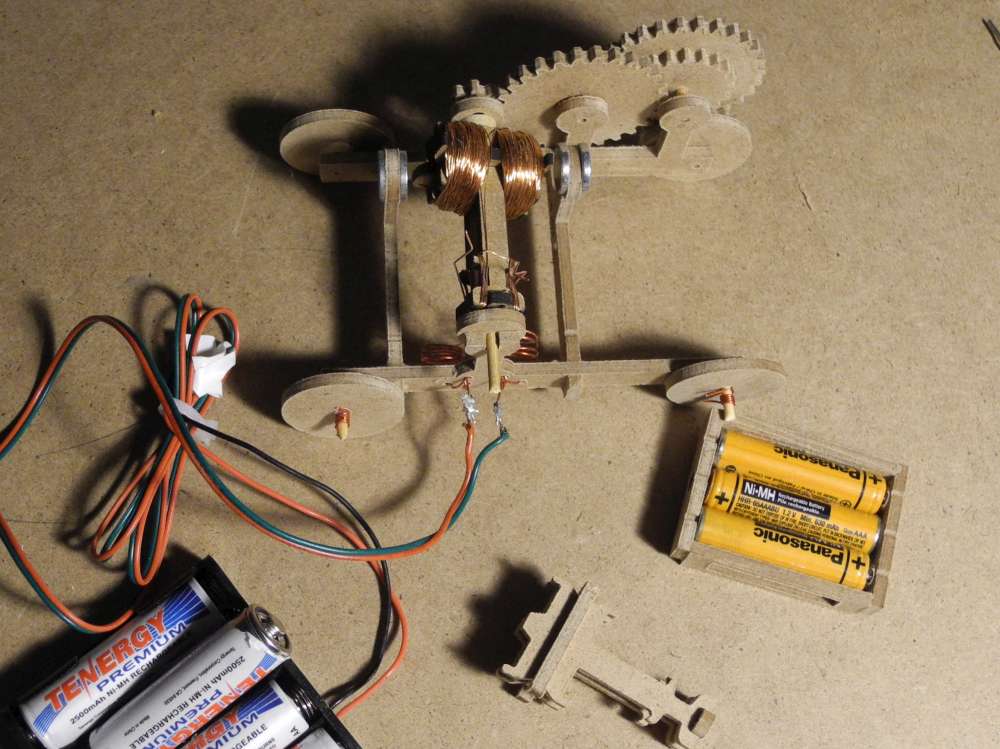
Car Frame
 I think some kids are thrilled to make a motor and learn about it. To sweeten it up even more, I’m making a car version of the motor. Some kids will want to have races and I think it helps them to see something more concrete at the end of their building session.
I think eventually the motor and car frame will be separate projects but for now I just extended the base and attached needed hardware.
I may have a battery pack built into the frame of the car as well. So it will be a neat package allowing the car can run freely across the floor.
I need to do quite a bit more experimenting before all that happens…

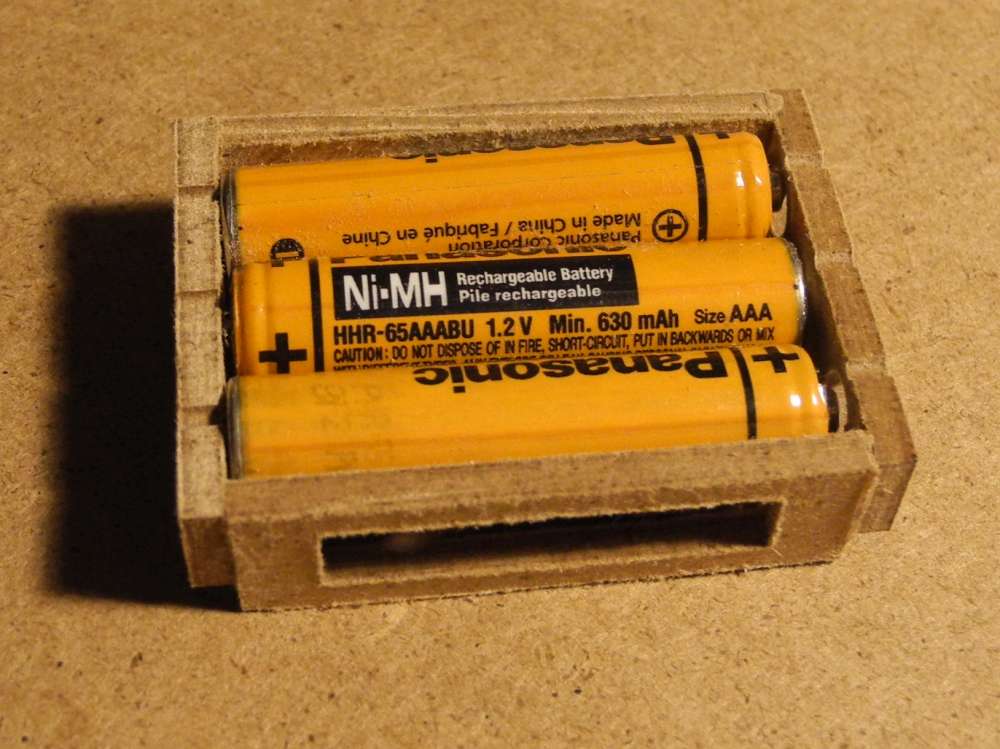
Battery Pack
This will likely be part of the car frame or motor frame. For now I just want to do a proof of concept and see what problems come forward. I made a small box that has some features to allow wire to be wound where the batteries come in contact with the edge of the box. I’m debating if it should be three or four cells.


Here’s a video.