Zen Glider Classroom

Description
Impress your friends, become enlightened or turn any boring party into a riot of fun. Enjoy the miracle of flight and nature through biomimicry!
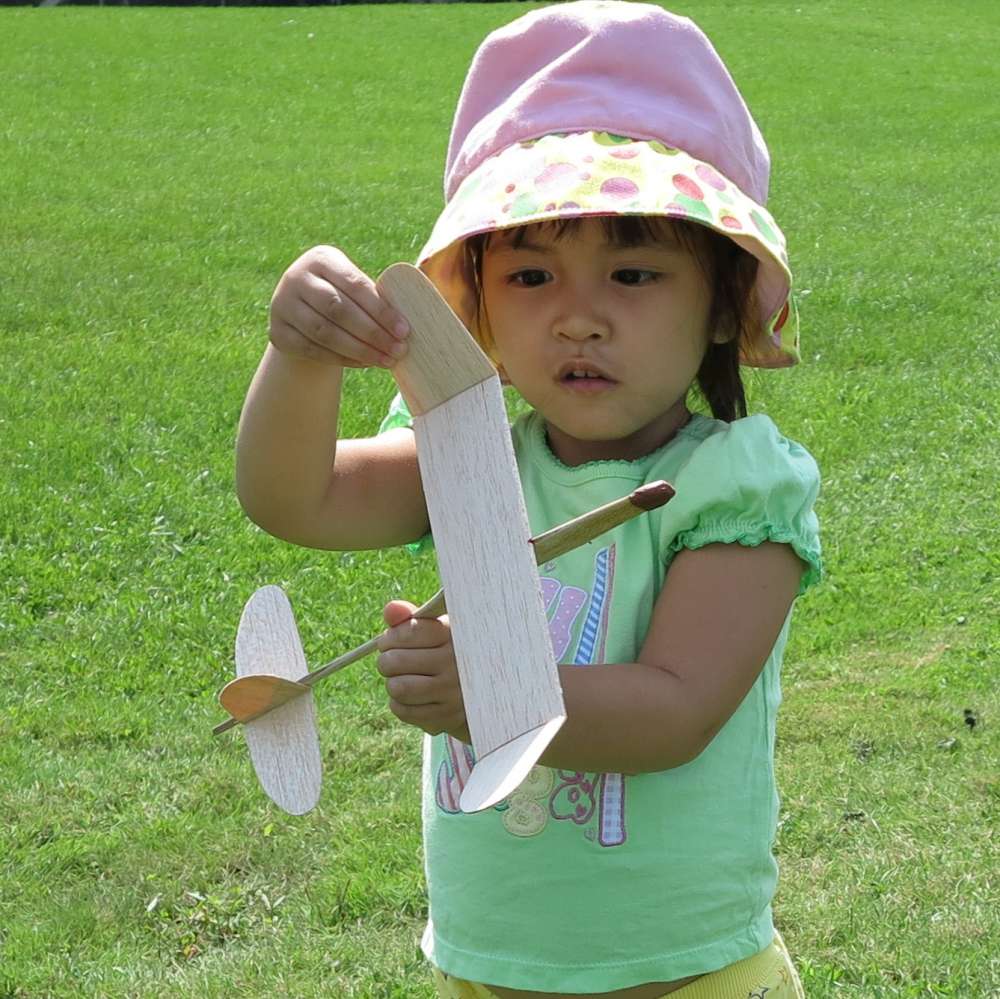
A glider you carry in your pocket.
This is a kit of 25 gliders ready to assemble for your classroom. Don’t teach, enlighten.
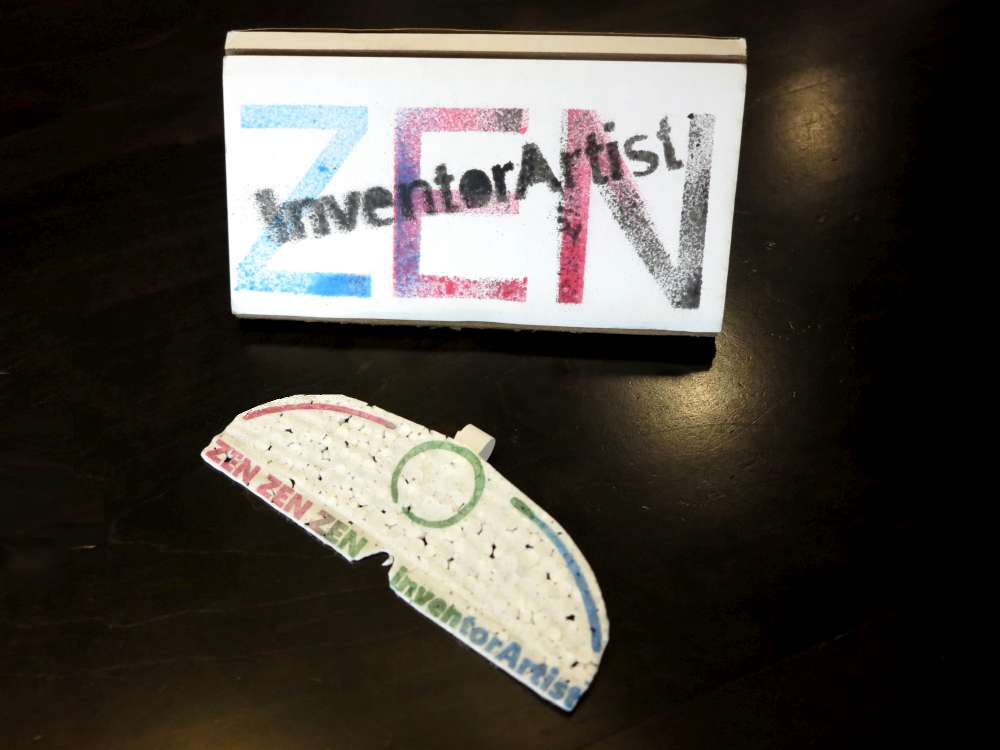
Zen glider is inspired by the flying alsomitra vine seed (zanonia) which flies from it’s pod to a new faraway home on natural air current. The seed is marked by the Zen circle symbol which represents the moment when the mind is free to let the body create. The gap in the circle suggests ideas of the absolute are inevitably incomplete.
Become enlightened, experience the miracle of flight, nature and biomimicry. Liven the party, impress your friends.
Made from paper-thin foam with a curly nose.
Environment: This is a green project reusing cardboard from a public library and other sources. The foam is reuse as well. I’ve marked the carriers by tossing paint on top of a stencil with a spritzer. Different cardboard gives it character.
How Does Zen Fly? Wondering how it flies? Ask Mother Nature. It’s similar to an alsomitra seed glider.
Actually the cardboard directs air upward as you move forward. The glider surfs on this up-draft. Move the cardboard so the draft is just under the glider. Turn the cardboard to steer.
Pitch Stability: It has inherent “pitch stability” since the curly ballast balances it near the center of lift. The back of the wing has a bit of “reflex” or an upward bend. This helps the glider pitch back up when it dives and increases speed. Also the ballast is curled down so the center of gravity isn’t just ahead of the center of lift it’s below.
Roll Stability: It also has roll stability since it has a slight centerfold. That’s called dihedral. There’s a bunch of oogabooga with yaw and roll coupling that comes forward. The curly ballast also brings the center of gravity lower which contributes.
Assembly: If you purchased a kit that needs assembly please follow the instructions in the video above.