Bridging Gap between Breadboards and PCBs
The problem with PCBs (Printed Circuit Boards) is they’ve been around for so long. They’ve become “perfected” and taken for granted as is. They’re over engineered for their wide audience and applications. They have enough strength for any application yet many applications don’t need this extra bulk. Further they’re separate from your project. They’re an entity unto their own.
Bread Boards are also an established technique. They’re more accessible and are used for for experimenting, testing and verifying circuit ideas. They’re flexible, reusable and fun. But bulky, fragile and biased towards through hole components and headers.
Both these systems are important and necessary but a common dilemma is when you need something more robust than a breadboard but you don’t want delays and the learning curve of making a PCB. Especially for small runs or one-offs. And especially for art work where the circuit is part of the aesthetic (not that circuits aren’t beautiful).
Your Project is the Circuit
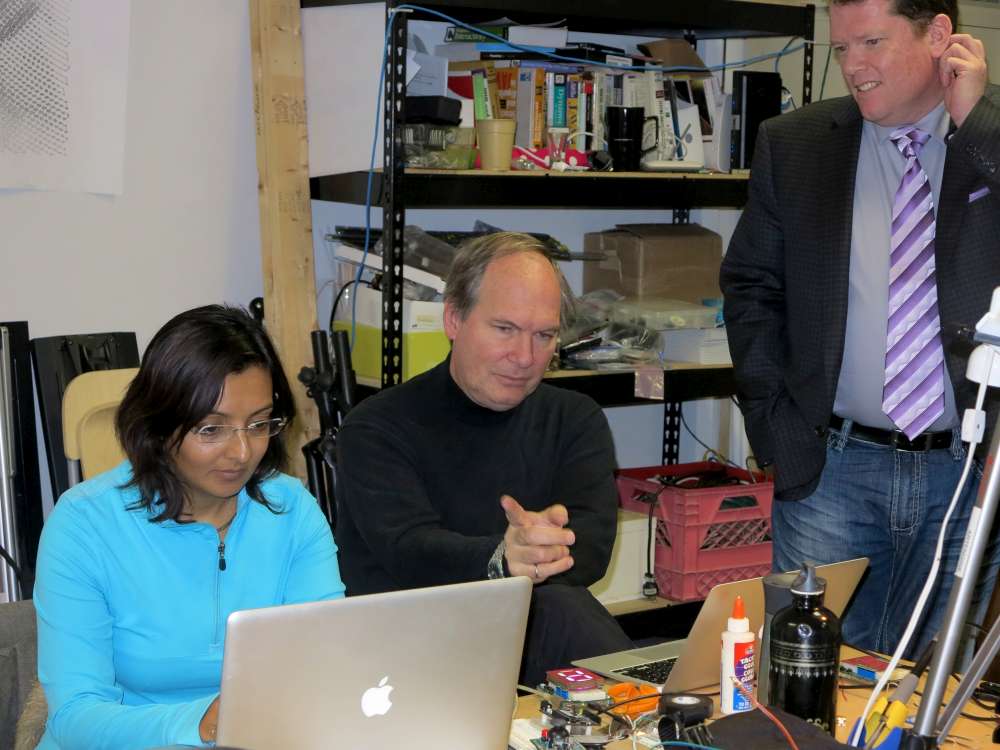
 Doug Commons has been working on a technique that not only bridges the gap between PCB and Bread Boards but the circuit can now be integrated into your project.
I find that Doug’s approach is revolutionary (yet simple).
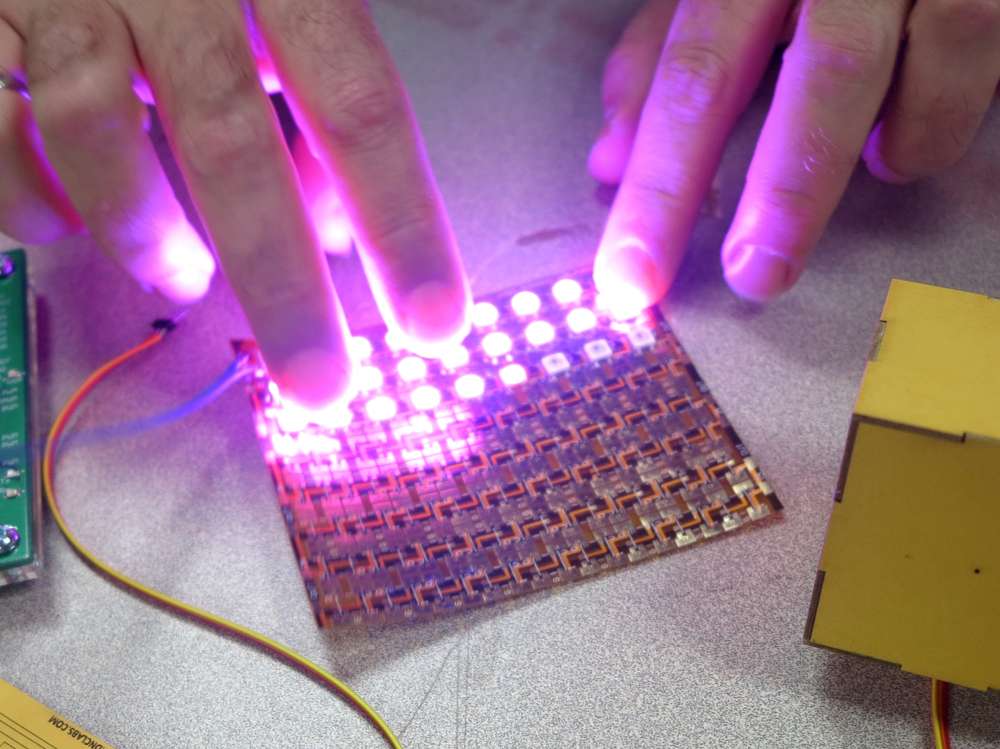
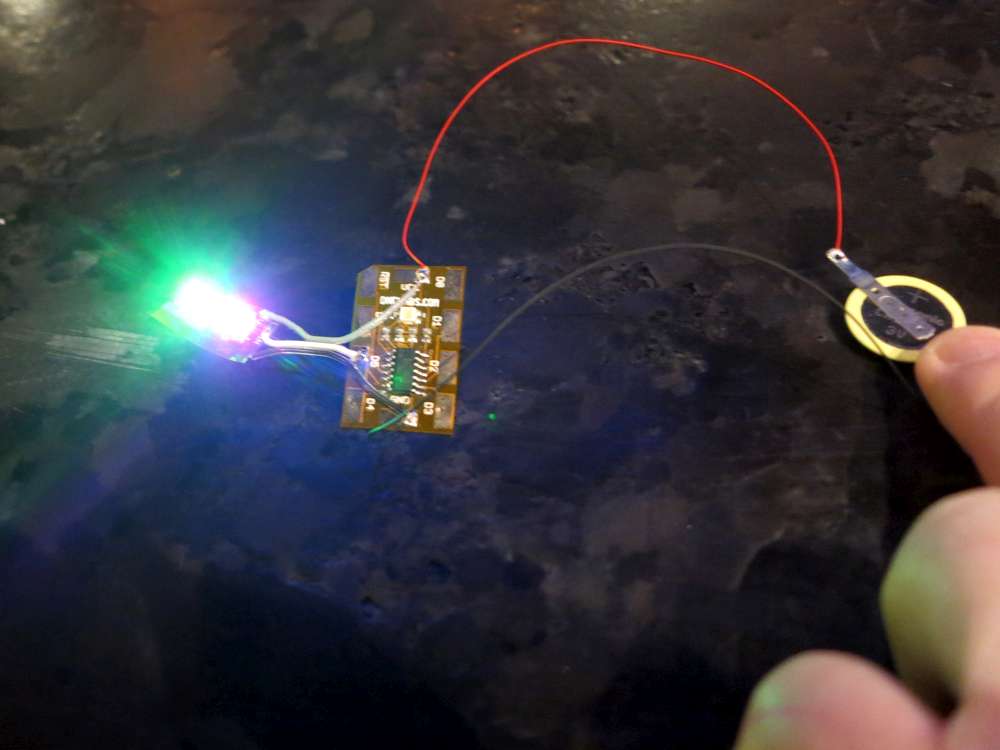
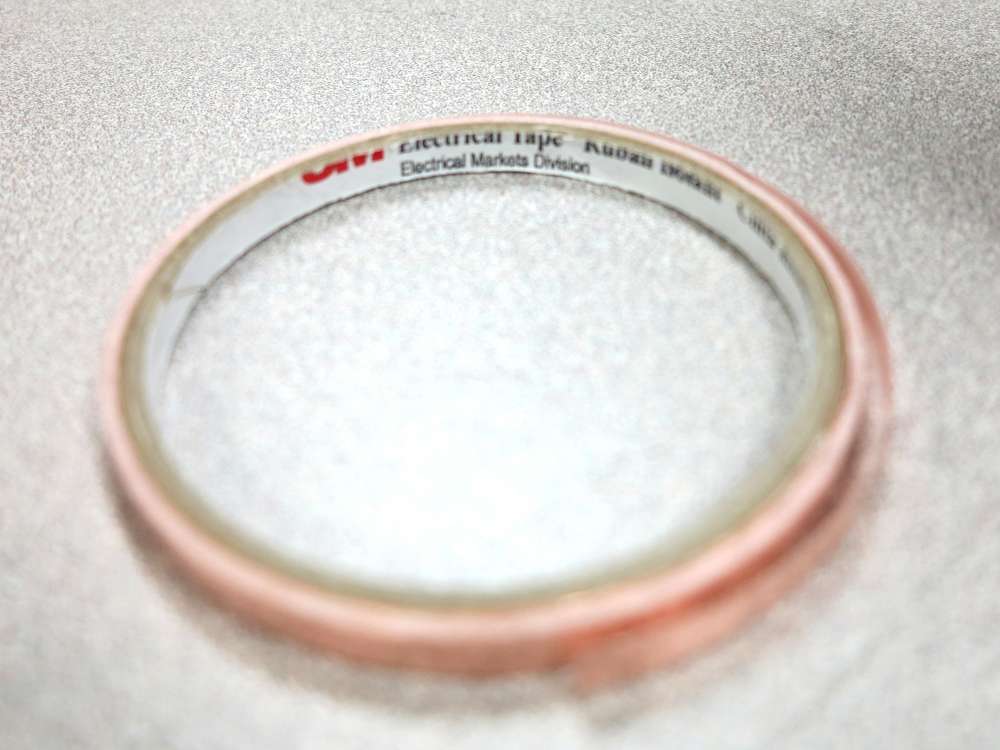
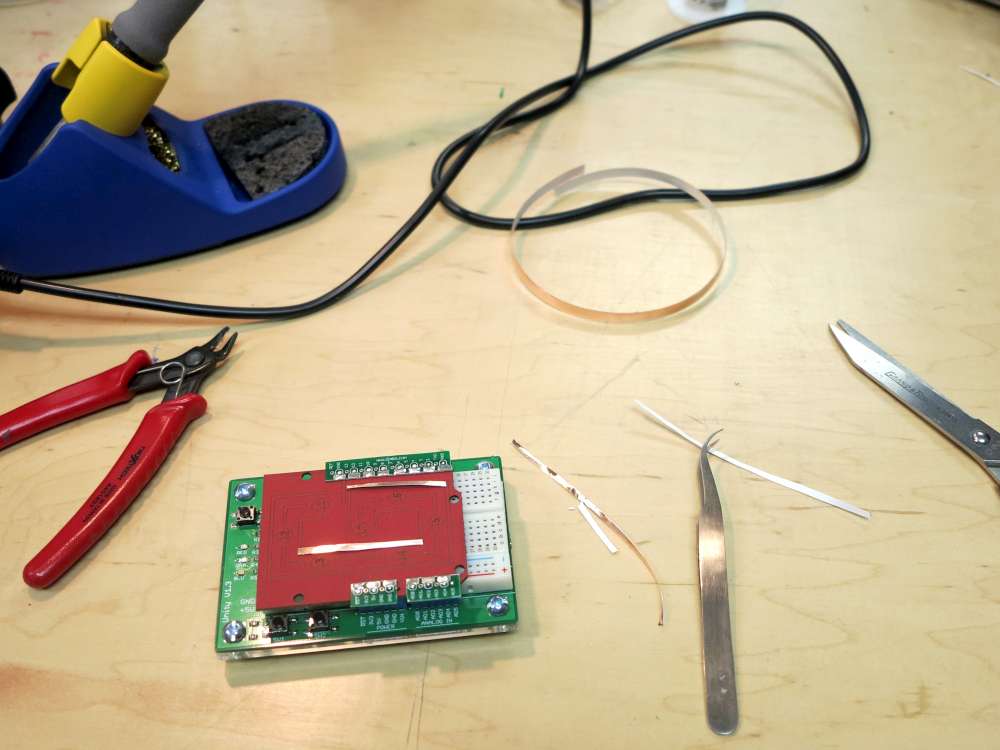
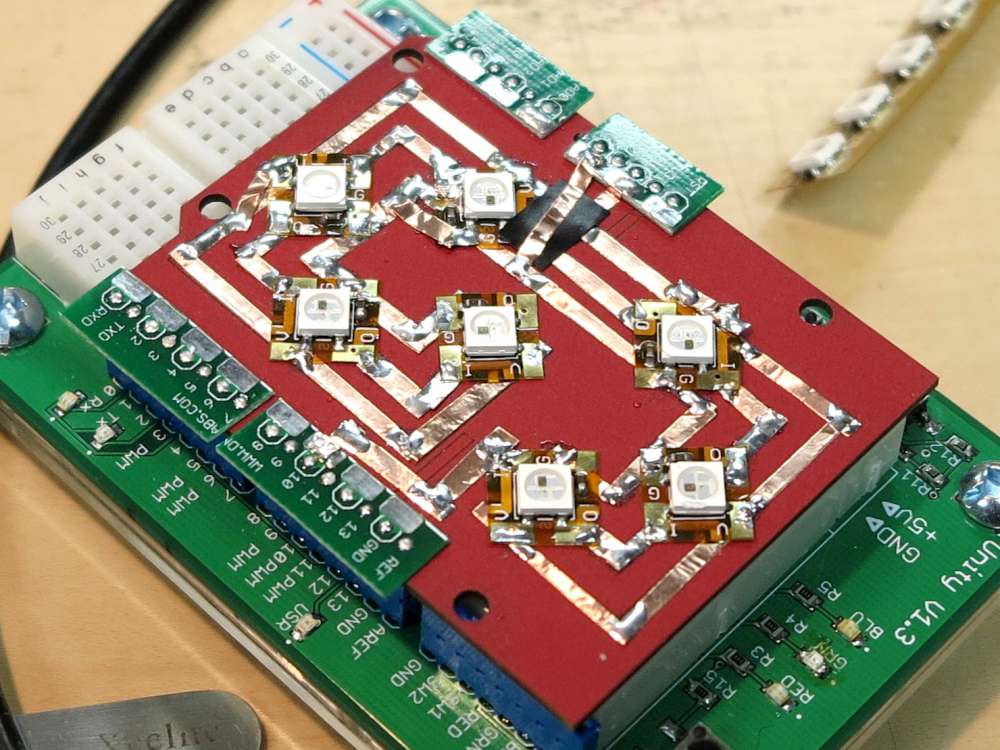
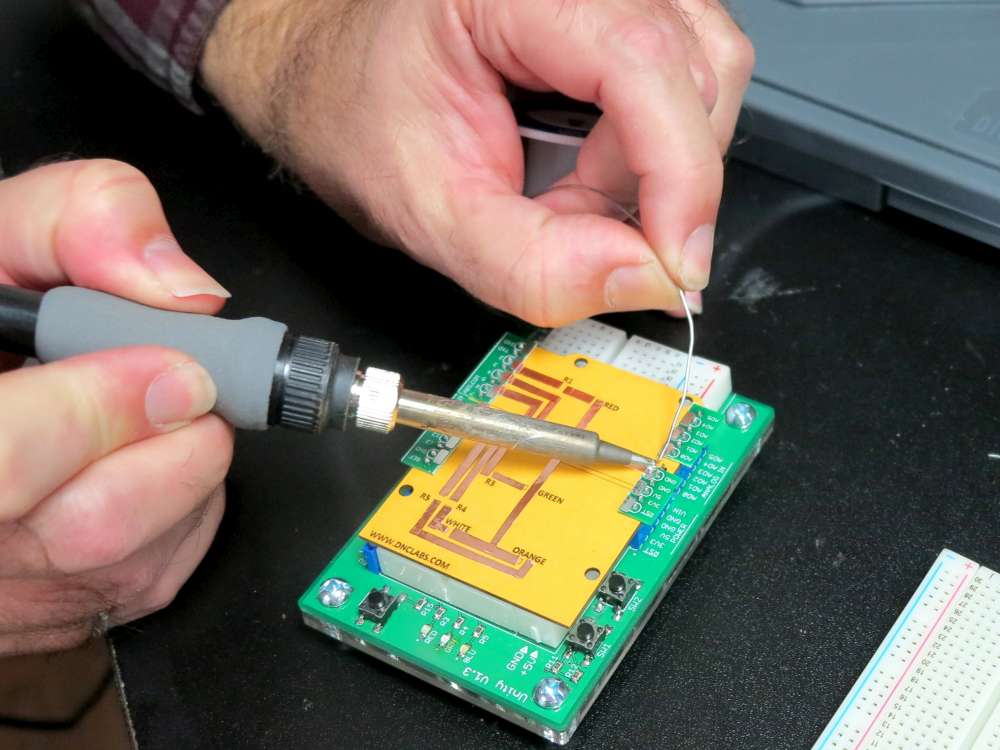
One of the staples of his numerous techniques is copper foil tape. Foil tape can stick to any surface, solders instantly (low heat capacity due to thinness). It can bend, curve, jump gaps, fold, flex and more.
Plus it’s very easy to work with. Doug has proven it’s easy and safe enough for kids.
Here’s a recent example where it was used instead of wire to quickly make a point.
We’ve all see the cool DARPA magnetic robot video. I’ve never been the same since seeing that! Anyway, my friend Doug managed to get a proof of concept going very quickly.
This experiment could have been done in other ways but the foil technique was a great way to verify this concept and is aesthetically pleasing.
And this copper foil technique doesn’t exclude wire, jumpers and so forth. Don’t forget, everything is additive.
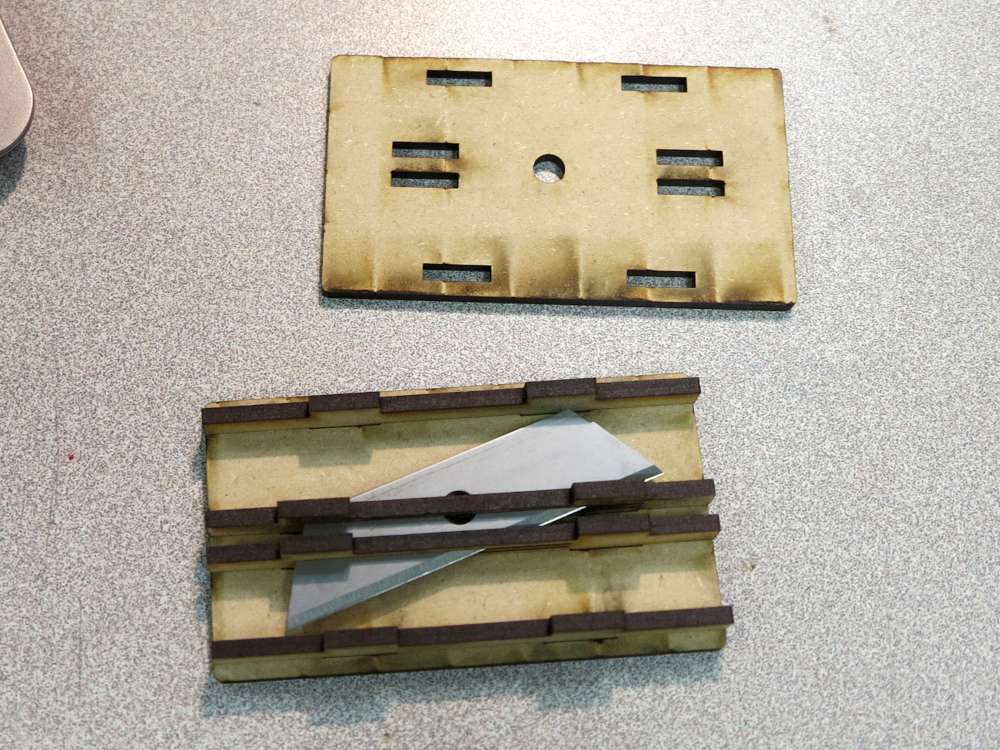

In the photo above you can see the innards of the tape slicer he developed. Scissors works perfectly well of course but the slicer is fast and consistent.
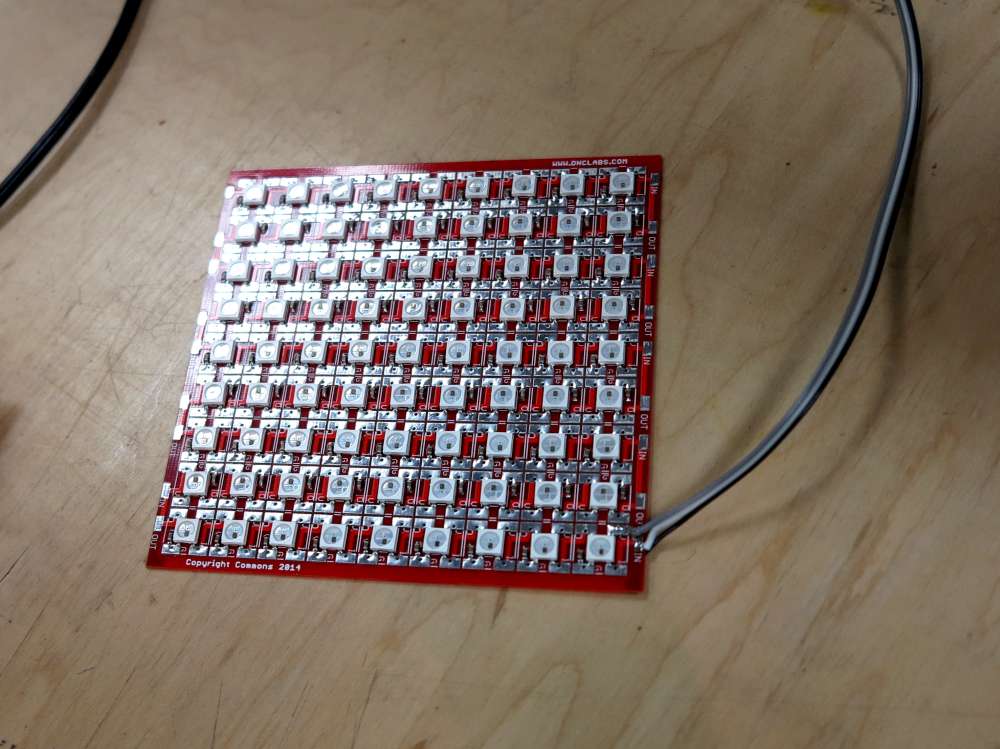
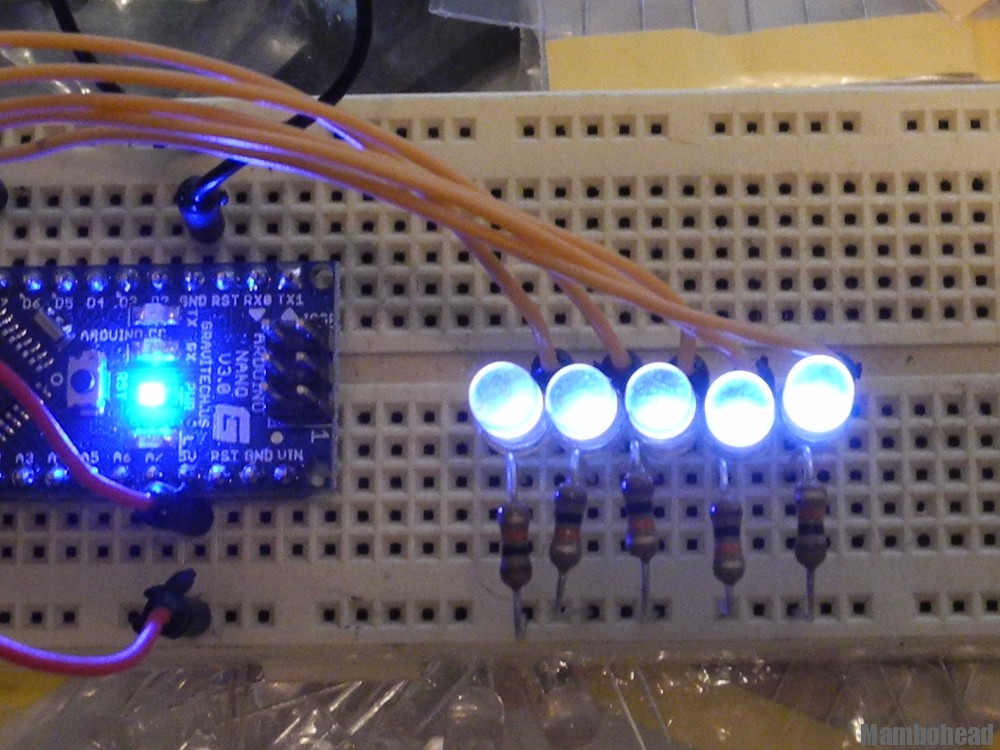
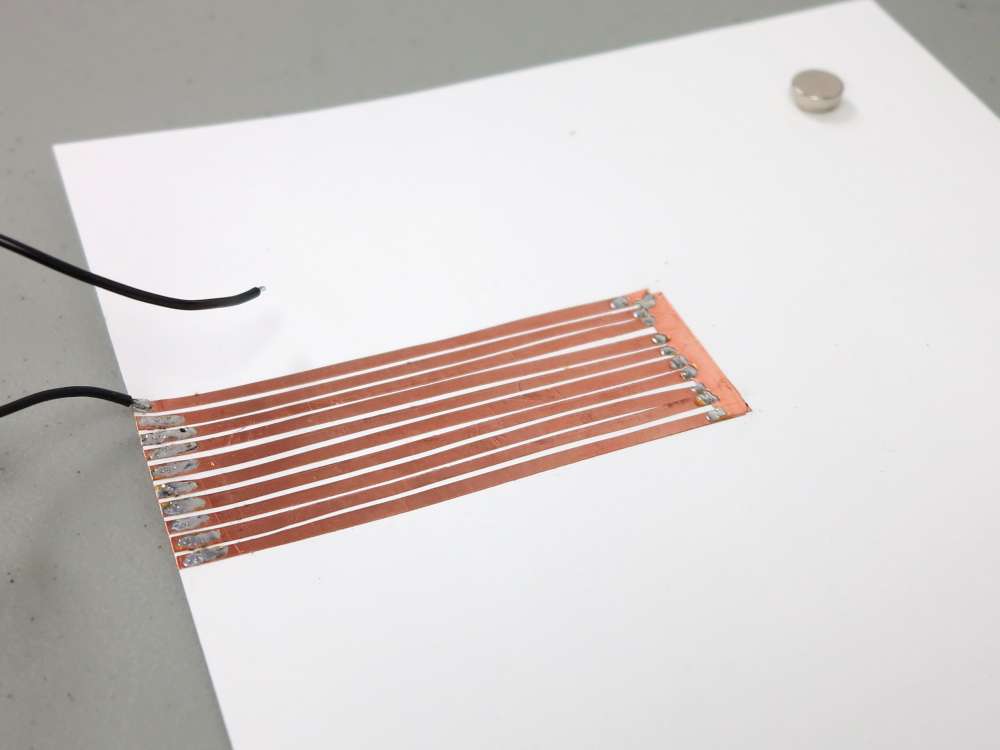
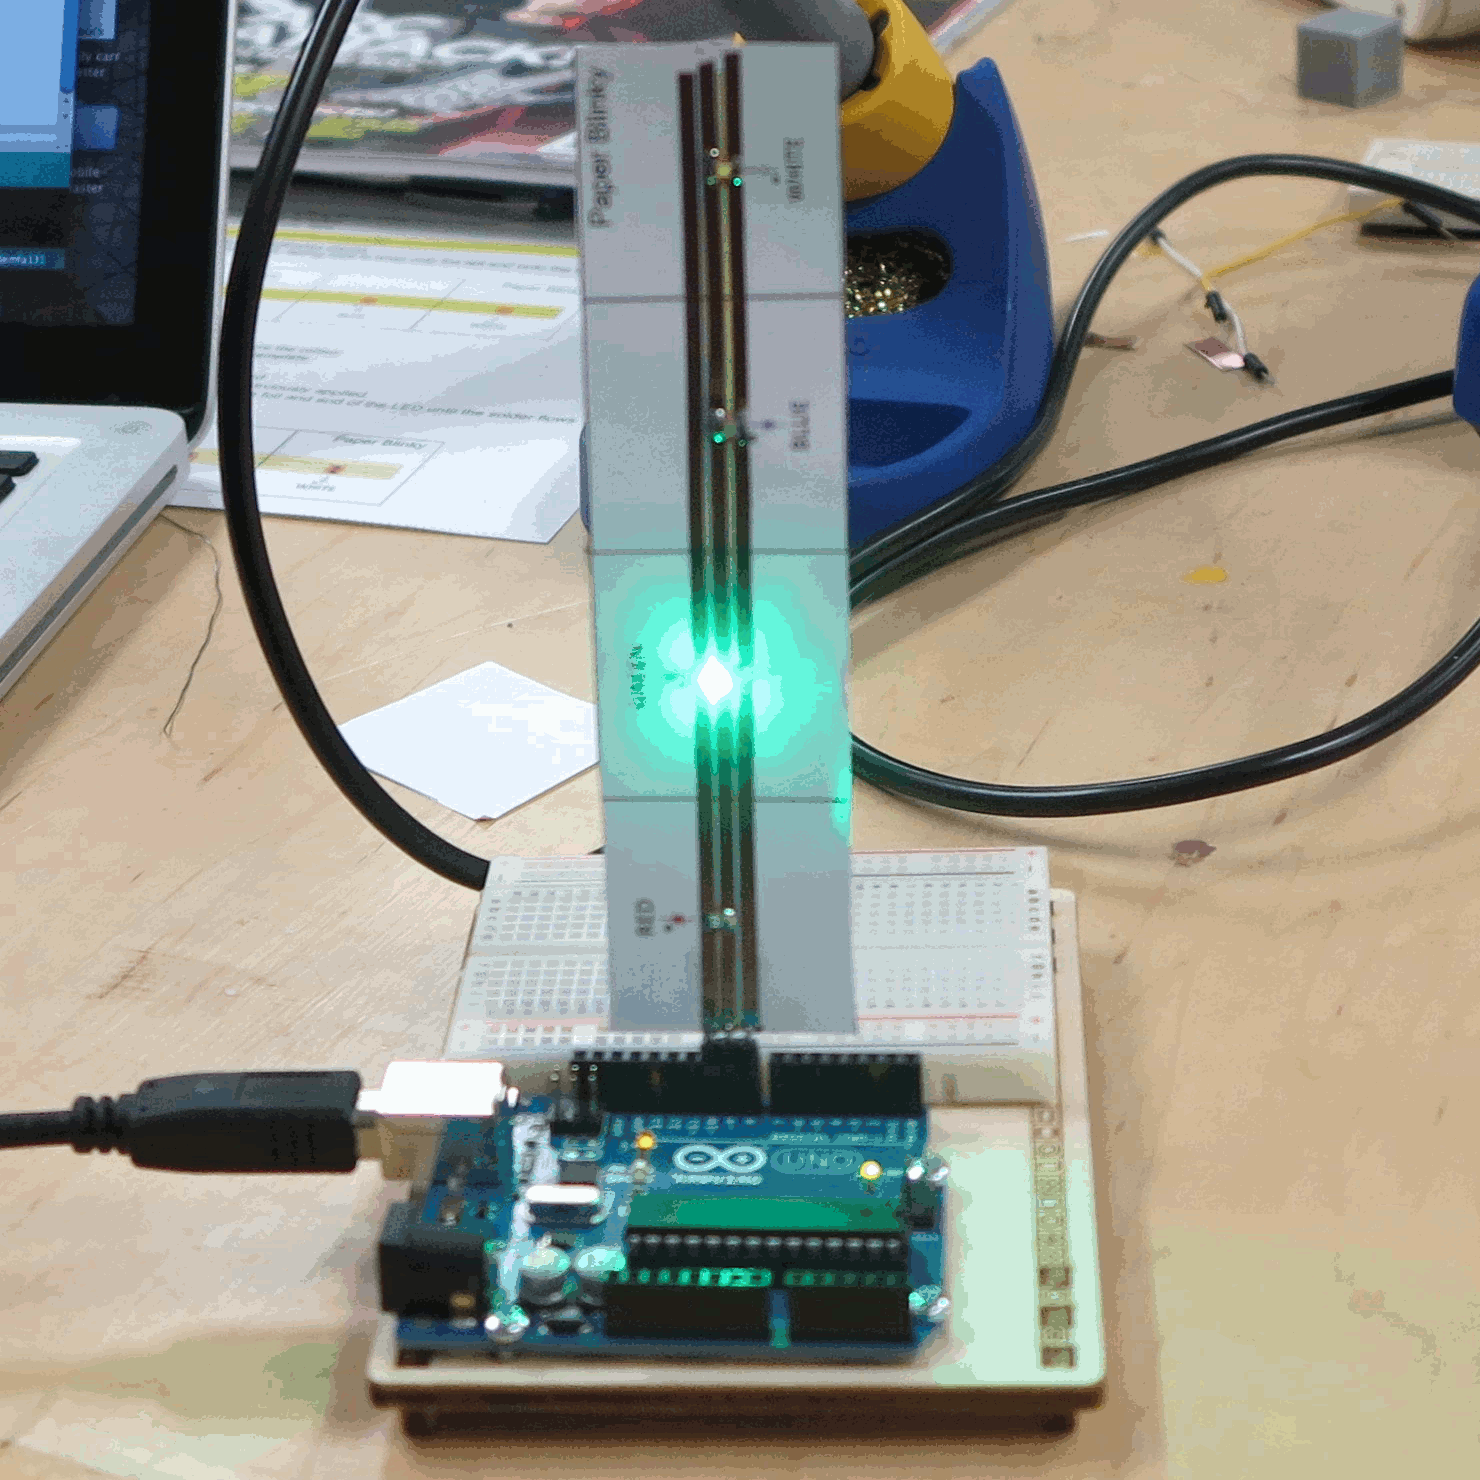
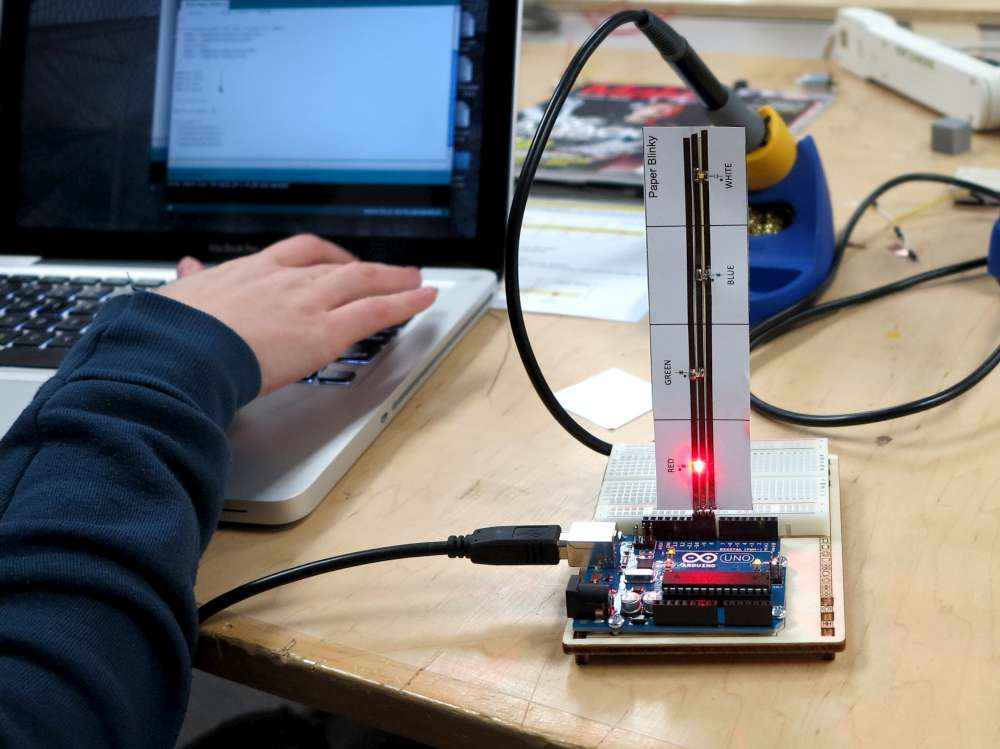
Also a “Blinky” which is a paper circuit board. The Blinky just uses three strips of tape and has four LEDs. It’s been used to tech people about Arduino.
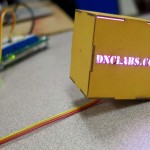
Doug has been using the new tools of the Maker Movement including CNC Laser. This allows for the cutting of paper and cardboard into components that can fold and fit together and also become the basis for circuits.
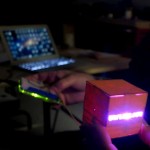
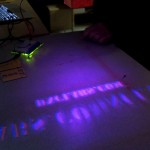
Check out this cube. It has lights, connects to an Arduino and is a projector!

Speaking of Arduino
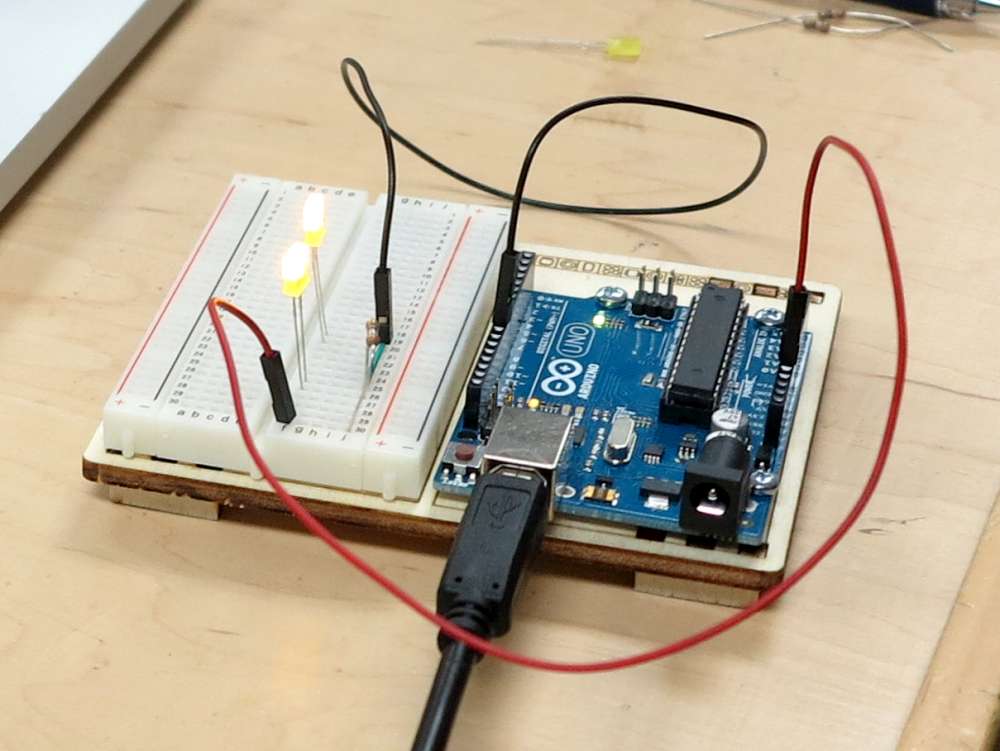
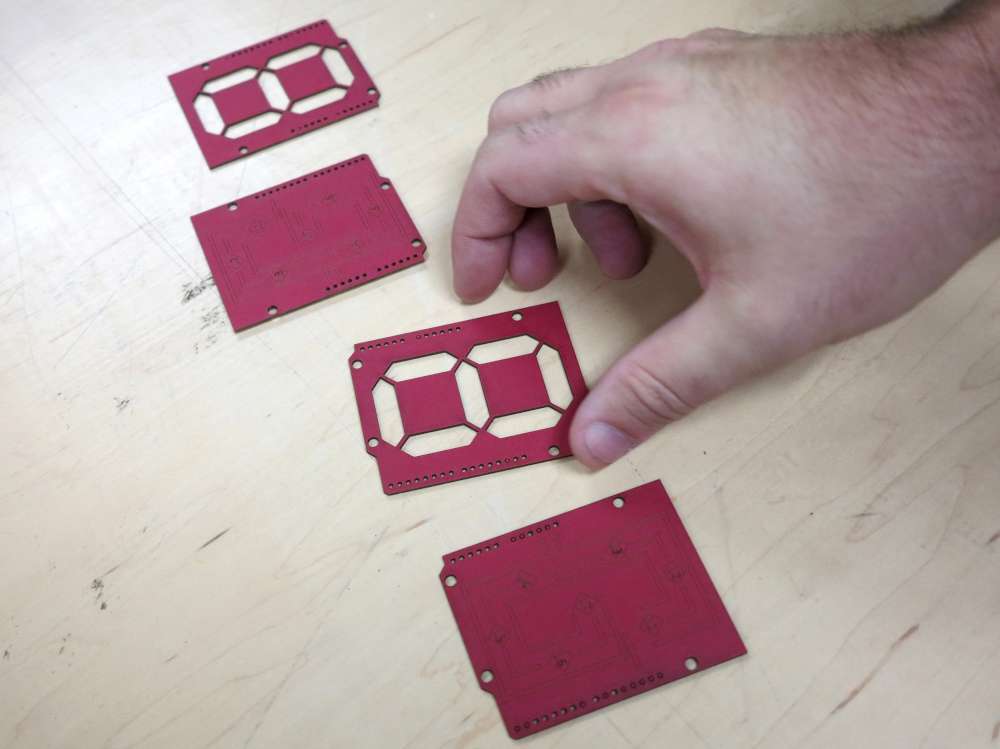
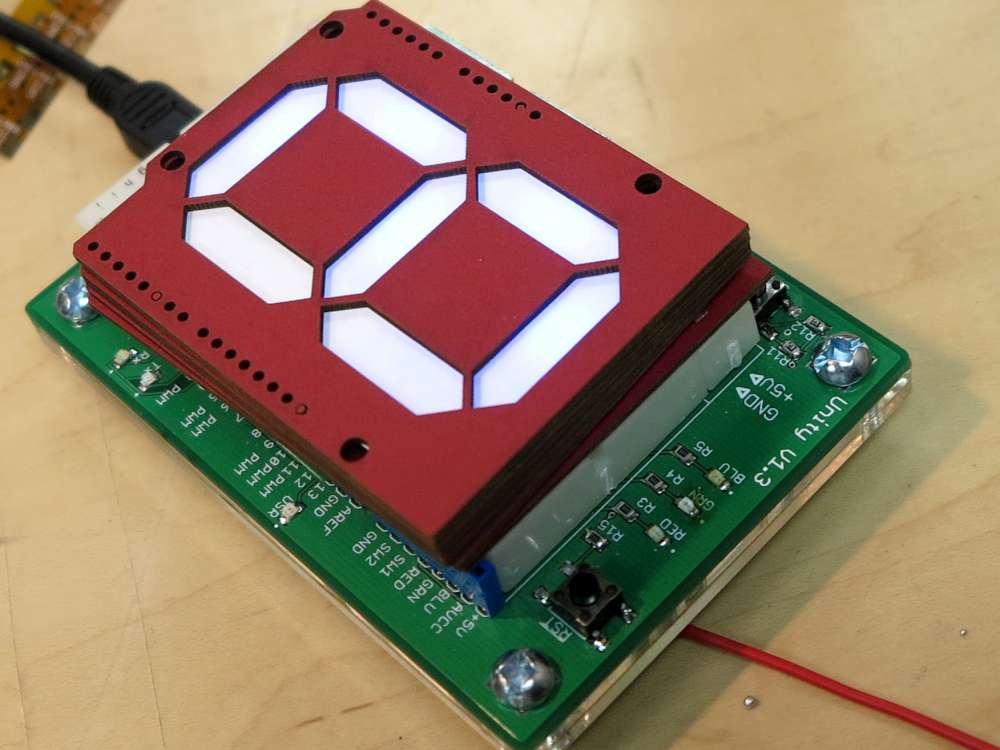
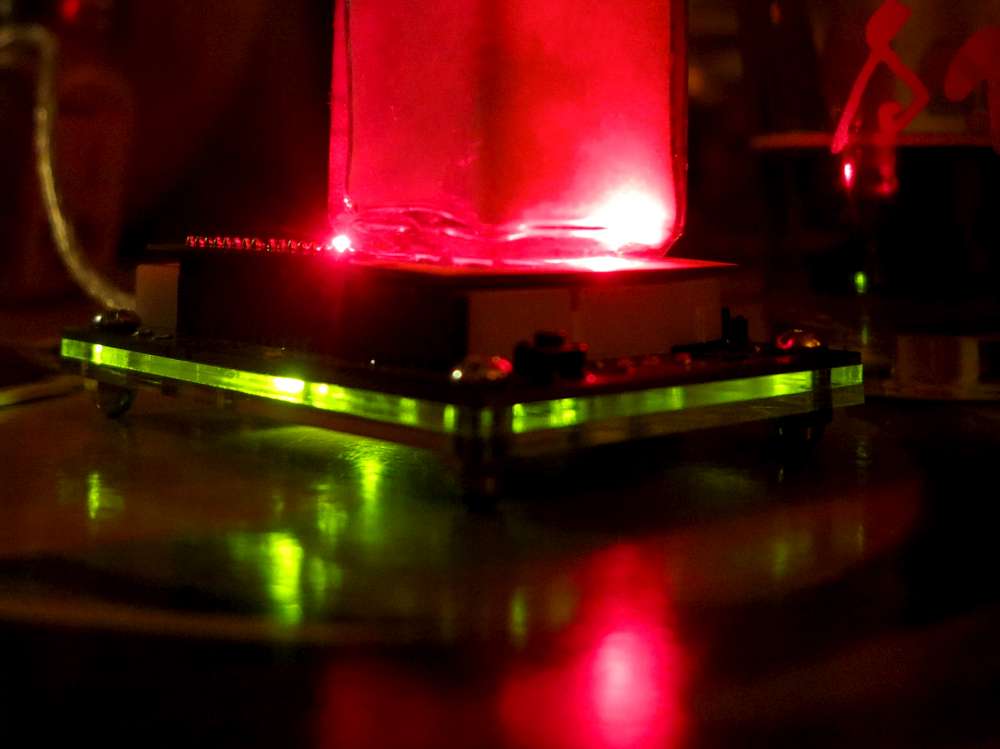
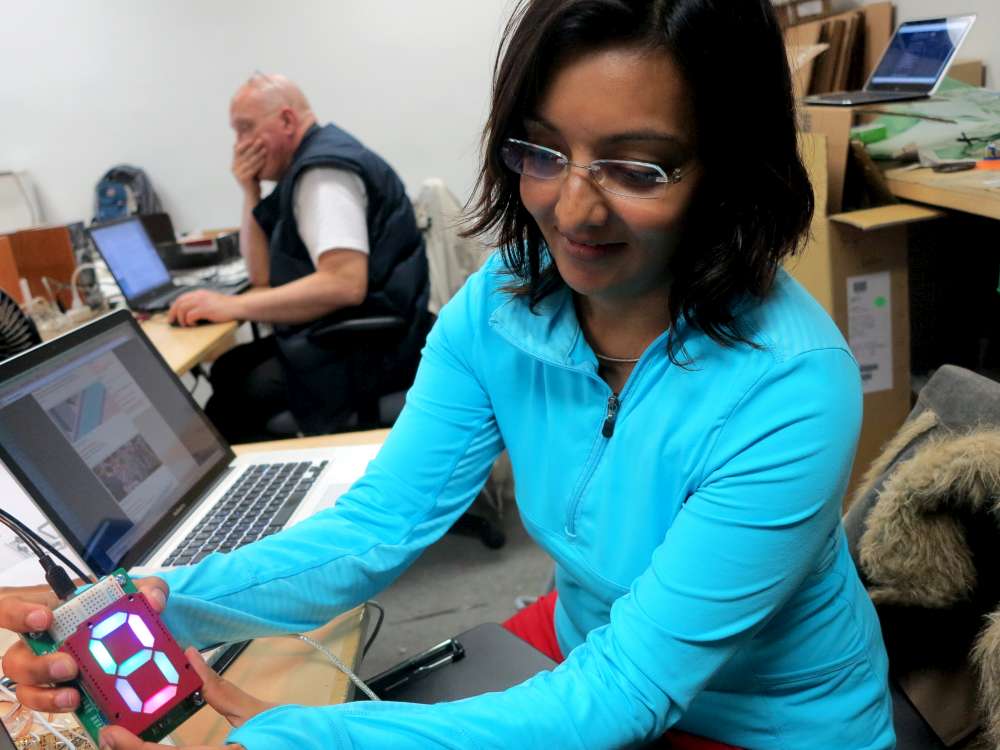
This technique is great for Arduino Sheilds.What’s an Arduino? Doug has come up with a mini component that plugs right into an Arduino header. So educational and other fun shields can be made. Check out this layering technique using a paper diffuser. Oh and the salt shaker diffuser. 🙂
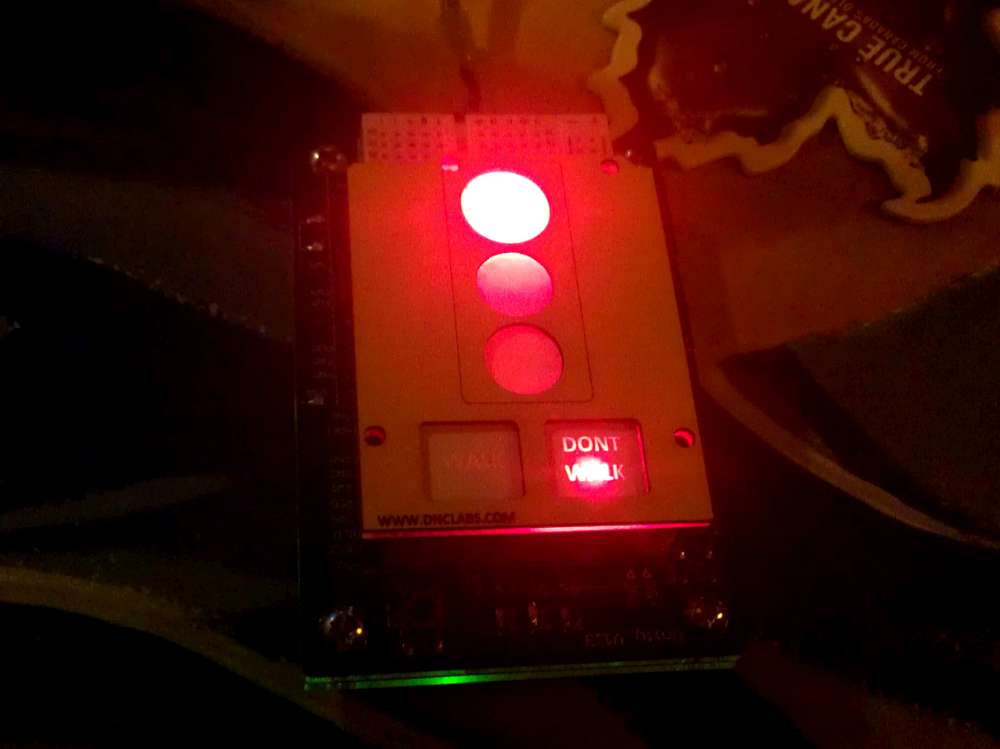 The paper diffuser is also great for state visualization. There’s an eliminated printed “Don’t Walk” light! This little kit has been handy for teaching people Arduino. Everyone relates to a traffic light and of course when programming the Arduino you can get into blocking vs non-blocking coding techniques. Especially if you have a walk button!
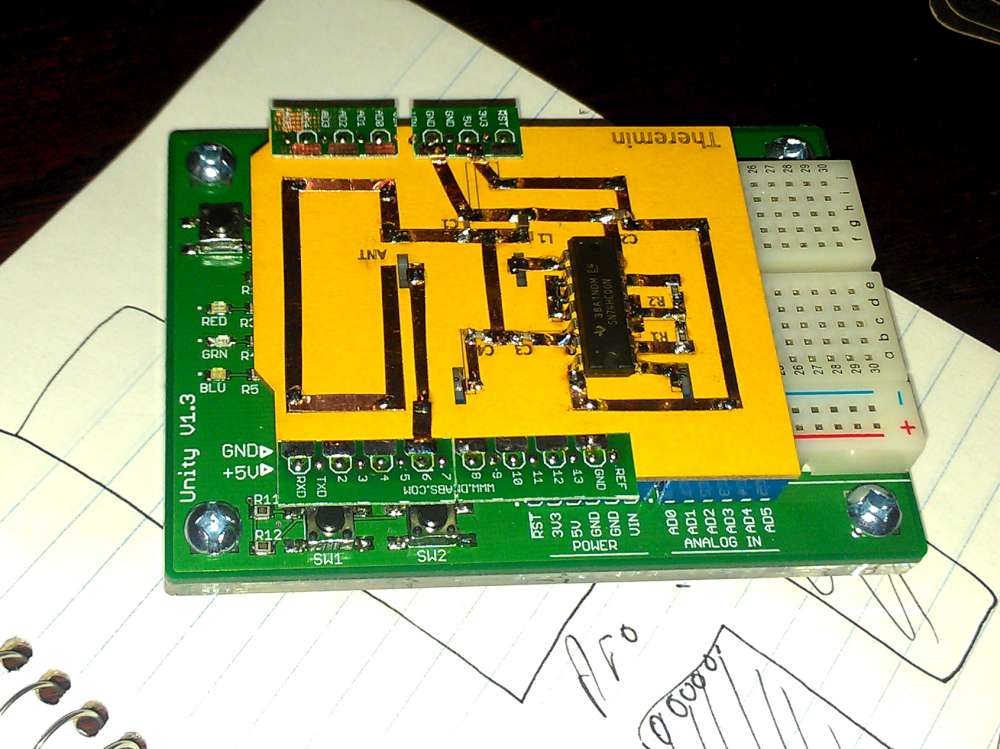
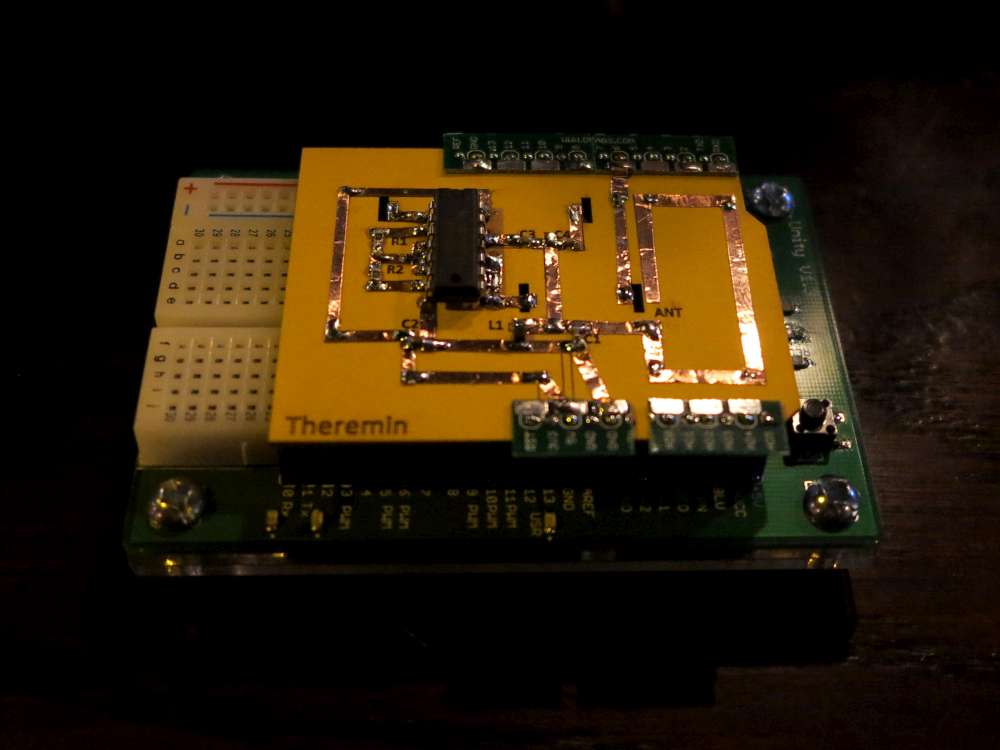
DIP Packages
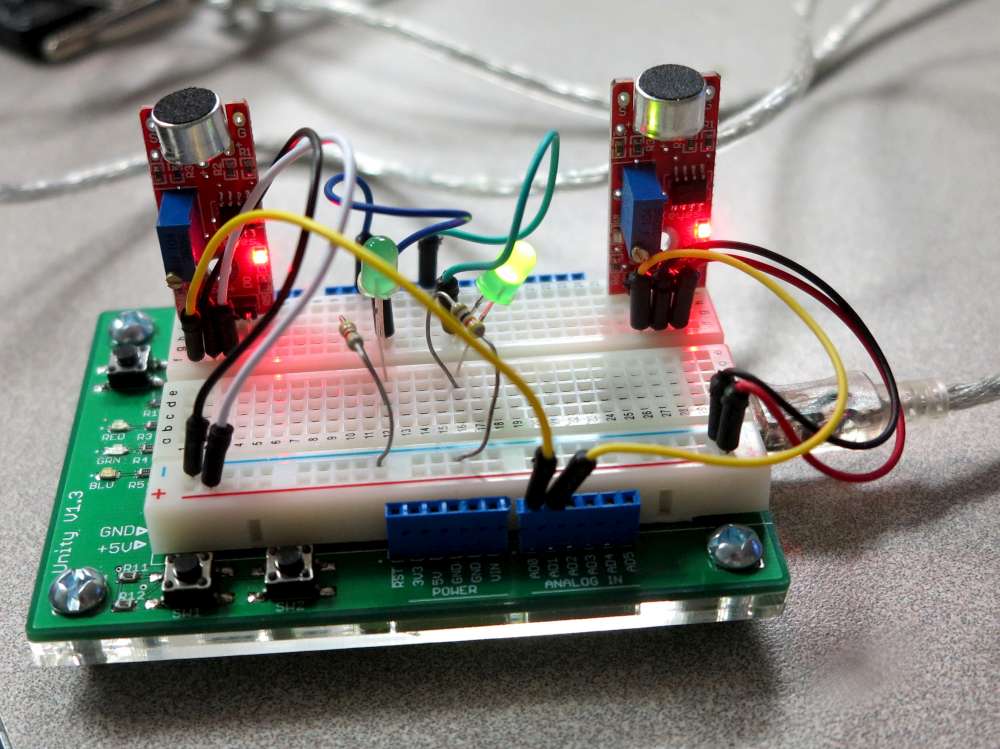
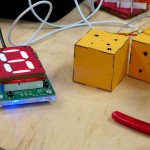
Need a Theramin? Check out his kit. You can knock holes into the circuit using a laser (which also by the way leaves little traces to follow with the foil). Then solder on. It’s better than dead-bug since the parts are constrained by the holes.
Surface Mount
The other thing I really love about Doug’s techniques is that it is surface mount friendly. In fact this helped me learn surface mount soldering.
Further he uses and advocates good tools for design such as Eagle which paves the way for your own real circuit board making.
Did I just say “real circuit board”? That must be a new retronym.
This is all pretty interesting and I think these new techniques are amazing. I’ve been thinking of using some copper wire as well as the copper foil tape. The copper wire could be wrapped and threaded into the project then soldered and snipped into segments.
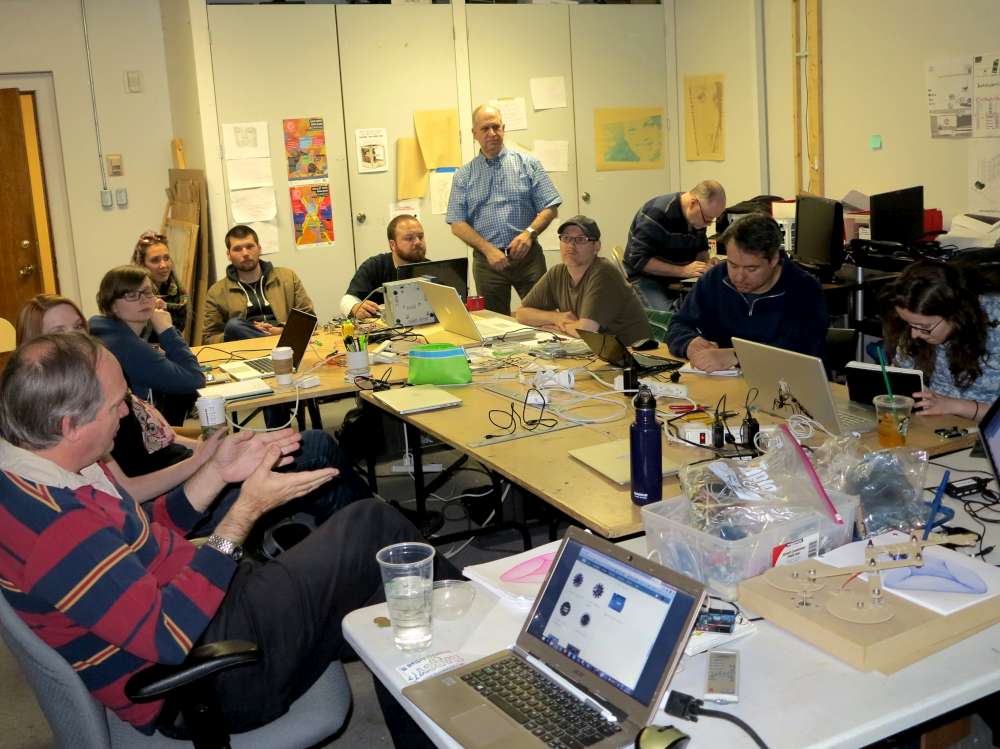
Doug Commons is an active member of the Maker Movement in the Ottawa area. He’s active in the Arduino User Group, ModLab, Ottawa Robotics Enthusiasts and many other groups and activities.
Related