I♥U Glider
 The I♥U Glider is the only glider that comes in a Valentines card![/caption]
“I♥U”Glider” (I<3U) is a walkalong glider designed for a Valentines card. Made of extremely thin foam it flies so slow you can walk along behind it pushing air with the card and the air current will keep it flying indefinitely.
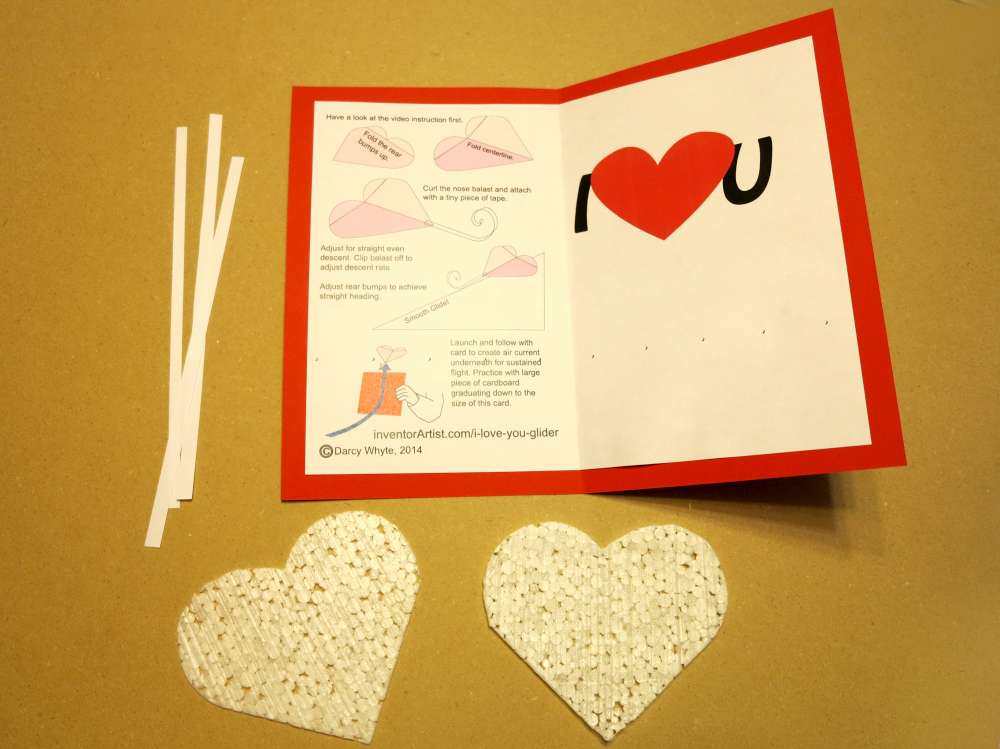
The liner of the card (below) shows the instructions for folding and flying I♥U Glider.
Walkalong gliders are all the rage. This video shows a similar model (at 3m), but rewind to the start for a primer on making and flying a walkalong in general including a tumbling wing style.
Want to try one of these gliders but don’t have the time to make a foam cutter? Send me an email.
Making the Card Itself
 There’s nothing special about this card except two things.
The liner that has instructions so the recipient can make and fly the glider.
Download the card liner.
The second difference is that it is rather large (8.5×11″ unfolded) so it can be used to fly the plane. The bigger it is, the easier it will be.
In fact it’s better to practice with a piece of cardboard to get the hang of it before using the card.
You’ll need a shear cutter, two pieces of construction paper, the liner from above, glue stick and a hobby knife.
- Print the liner including instructions and your Valentine’s message onto 8.5×11″ bond paper.
- Make the card by folding a red piece of 8.5×11″ construction paper in half.
- Trim the liner by removing 5/16″ or 1/4″ from each side using a shear cutter.
- Glue the liner in place using a glue stick that will not wrinkle the paper from moisture.
- Cut the face of the card from construction paper and glue in place (3.75×5″). You may want to decorate it before gluing.
- Obtain or make a 9×6″ envelope.
Making I♥U Gliders
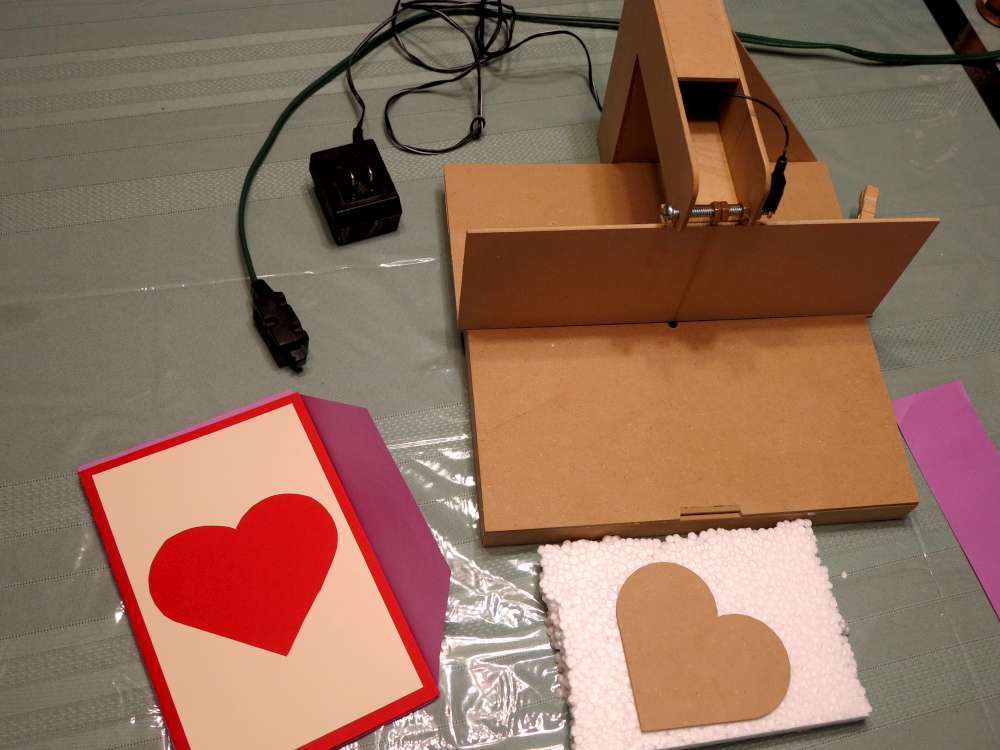 Either bring your foam to the nearest butcher and run it through the baloney slicer or make yourself a foam cutter.
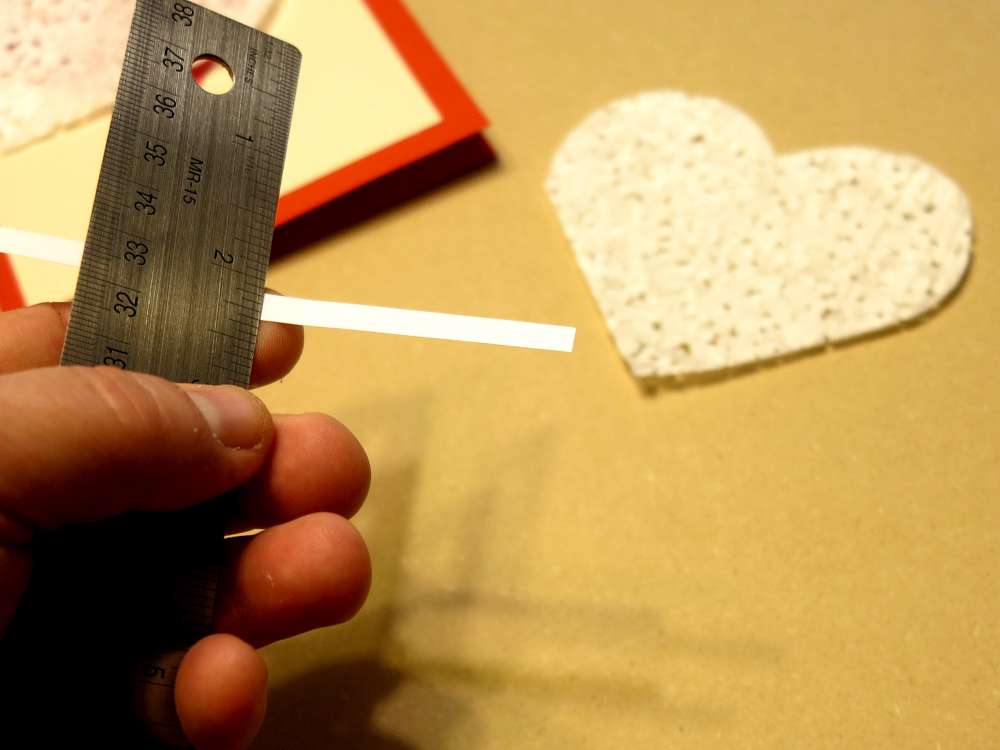
Here’s my DIY foam cutter. This machine can make a Styrofoam heart then slice it down to 1/32 or 3/64″ paper thin layers. Four to five inches across seems nice.
Or contact me to get some foam glider kits.
How To Assemble I♥U Glider
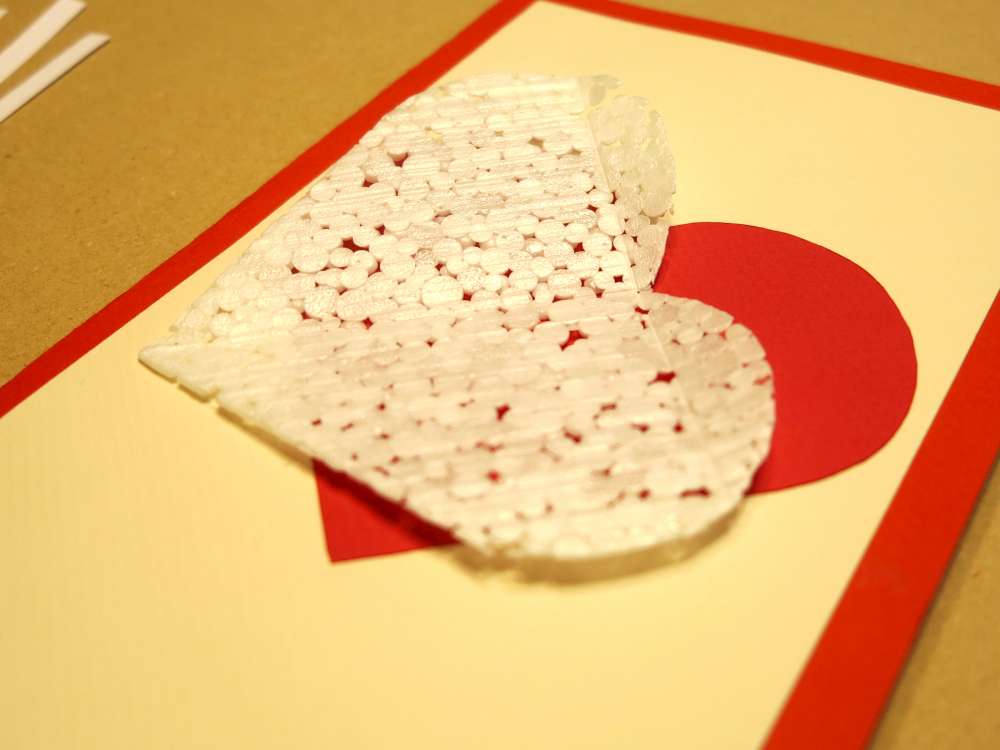
The card recipient (okay I made my own card) will start by folding reflex into the back of the glider. Use a sharp edge to press down on the foam to make it easier to fold.

Next you want to make the dihedral crease on the center-line. Again pressing with a sharp object can make the fold easier and accurate.

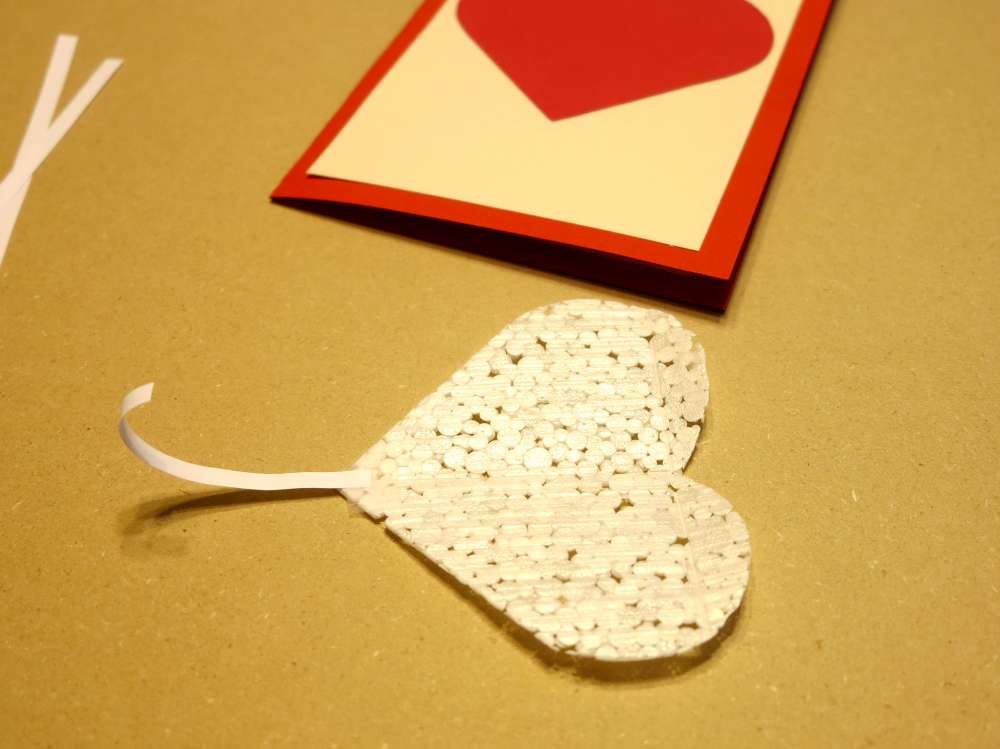
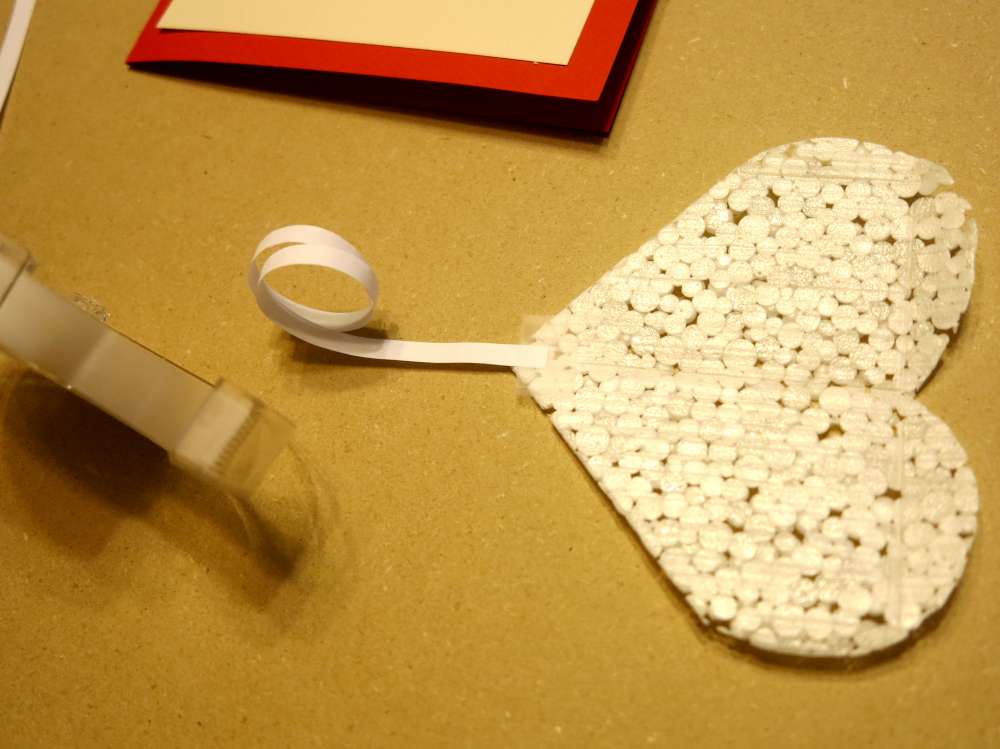
Curl the paper ballast strip by running along an edge. Tape it in place in the front of the model.

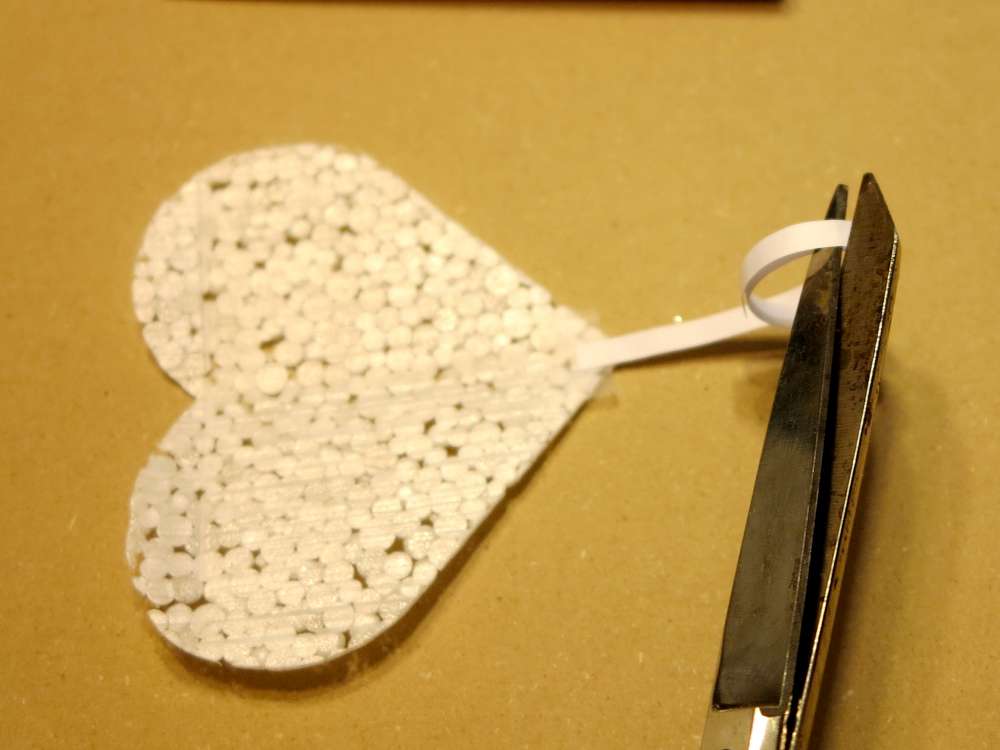
Time to adjust the model. Hold it by the back to launch it very gently. You want it to descend straight and smooth. Most gliders will dive since the ballast is initially too heavy. Clip the nose ballast to remove weight from the nose bit by bit until the glider descends slowly and smoothly. As you clip more and more the glide will be longer and longer. At some point you may notice it turning one way or the other. Adjust the bends at the back of the glider to correct for this. If it turns right, raise the left flap a bit. If it turns left raise the right flap a bit. But be sure the flaps are not too steep. Just a bit like the pictures should work.

Finished glider!
Here’s a video on folding and flying the I♥U Glider. The flying portion at the end is a little rough due to overhead vents but I’m going to re-shoot this today at a walkaling glider meetup I organized!
About the Heart Shape as a Flyer
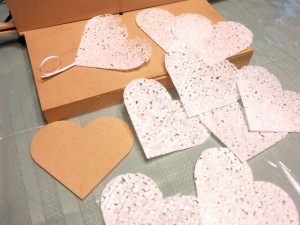
I’ve had the heart shape as a candidate for a while since it has a couple of great properties:
- It’s cute.
- It’s “low aspect ratio” means low load at the root and it’s easy to bend in a dihedral angle for roll stability.
- The bump shapes make it VERY easy to add reflex to the back for pitch stability.
- It’s really easy to cut out.
- It looks even cuter with a curled paper ballast.
I hope you enjoy making and flying this little cutie!
Related
Buy the glider kits.
My little foam cutter.
Good planes for practice: Tumbling Wing Walkalong Glider
Another flyer I designed: Squirrel
This project made hackaday too! http://hackaday.com/2014/01/14/walkalong-heart-glider/